I have lots to show you today! Firstly, yesterday I promised I would show you the birthday invitations
my son and I made for his upcoming 6th birthday party. He wants a Mario
theme! So, here are the invitations we made, based on a design I found
on Pinterest:
 |
| Punch Art Mario Birthday Invitation |
Fun,
huh? Now before I get a zillion questions about the how-to, here is
the list of punches and dies I used to create Mario's face:
Hat brim: 3rd smallest oval in the Ovals Collection Framelits
White Circle on hat: 1-1/4" circle punch (M is from the retired Billboard decorative strip die)
Eyes: White XL oval punch, blue L oval punch, black small oval punch (retired)
Nose: XL oval punch
Moustache: 1-3/4" circle cut in half and 1-1/4" circle cut in half - run all through the Big Shot with the Woodgrain TIEF
The
key to good looking punch art is sponging! Sponging all of the pieces
gives the design depth. I also added a wee highlight to Mario's eyes
with my white gel pen which really brings him to life. Max was thrilled
with these and, so far his friends are excited to attend his party
too! Now for the hard part...figuring out how to entertain 15 5-year
olds for two hours!!
Now, I'm a bit behind posting this week's projects from
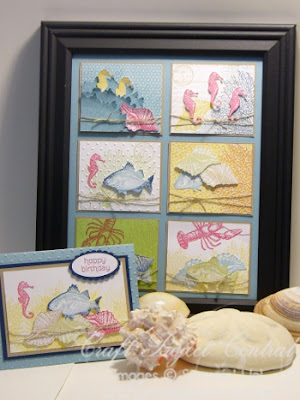
Craft Project Central, so here are two fantastic designs for you. The first is by
Amanda Corbett:
The second, just in time for Easter, is from
Heidi King:
 |
| Hoppy Spring Treats and Place Setting Ensemble designed by Heidi King |
Both of these fantastic projects are available with a March subscription to
Craft Project Central.


