Happy Tuesday...and happy "Mapril"Break to me! Our long-awaited break is finally here and it comes with some less-than-great news of yet another lockdown and school closure as cases here are skyrocketing. That means, instead of spending my vacation on the beach, I'll be spending it in my studio playing with paper and ink...it could be worse, right? To help get myself in a tropical state of mind this week, I am featuring the Friendly Flamingo bundle from the Jan-June Mini Catalogue.
Check out this awesome fun fold...
Now, although this card looks tricky, it is really quite easy! Just a bit of scoring and some cutting. I demonstrated how to cut, score and fold the card base in this week's Live @ Five video. I will post the link at the end of this post. I used some soon-retiring Forever Greenery Designer Paper to decorate my card base...man, I am going to MISS that paper! It works for EVERYTHING!
I stamped my flamingo in...wait for it...Flirty Flamingo ink, with Daffodil Delight for the beak and legs. The greenery is stamped in Shaded Spruce, which is the same colour as the card stock I used for the base.
The sentiment is also stamped in Shaded Spruce and then punched using the 1-1/2" circle punch. That's one retiring item that will NEVER leave my studio. I use it all the time. Speaking of must-have retiring punches, the Story Label punch, which I used to layer behind the sentiment is another one that I'll be hanging onto.
This card looks fabulous standing up on a desk...such a great WOW fold with minimal effort.
On the back side, I added a 2" x 5-1/4" piece of Basic White card stock to allow space to write a message and stamp another greeting.
Check out the how-to in my video below. This card demonstration starts at about the 7:30 mark. I've included measurements in the video description.
Thanks so much for stopping by today. Be sure to swing by on Thursday for another Stamping Symphony Blog Hop. In the meantime, have a great week!
Happy Tuesday! I hope your week is off to a good start and that you had a chance to celebrate World Card Making Day on Saturday with some quality crafting time. I held my virtual Stamp-a-Stack event and it was a great way to spend a Saturday morning! Now I am working on SENDING cards all week long. When was the last time you mailed one of your handmade cards? If it has been a while, this is definitely the week to do it!
Now that October is here I am turning my attention to Halloween projects. I don't typically do a whole lot for Halloween, as it isn't a big thing in our house; however, because this year is so different from every other year, I am working on some fun cards and treat packaging to make Halloween a little bit special for the people in my life. The adorable owl images in the Have a Hoot Bundle are perfect for making fun and cute Halloween projects that aren't scary or gory. Check out these little cuties:
Here's an adorable Halloween gift set I made...
I absolutely LOVE all the Halloween plaid in the Plaid Tidings DSP pack (extra bonus: it's ON SALE in October!). It works perfectly with the adorable owls in the Have a Hoot stamp set.
I made the card as a fun fold, peek-a-boo design. I began with a Basic Black card stock base, embossing the front panel with the Cobwebs embossing folder. To create the front flap, I cut a 3-/2" x 11" piece of Pumpkin Pie card stock, added a 3-1/2" x 5-1/2" piece of Plaid Tidings DSP and then die-cut the largest circle from the Layering Circles dies to make the peek-a-boo window.
On the inside layers, I added a bit of silver Metallic Mesh ribbon behind a Mango Melody circle. It kind of reminds me of wispy clouds behind a full moon. I stamped the cute little scaredy owl in Memento black ink, both on the Mango Melody circle and on Whisper White card stock. I die-cut the owl and spider using the Peek-a-Hoot dies and popped him up on the circle. I added another cute little owl and jack-o-lantern and a sentiment from the Have a Hoot set. Both owls are coloured using Stampin' Blends.
On the inside of the card, I added a 4" x 5-1/4" Whisper White panel, on which I stamped another cute owl and sentiment in Memento Black ink and then coloured them using Stampin' Blends.
My little treat box is a 3"x 3" acetate box wrapped with a belly band of Pumpkin Pie card stock and Halloween plaid. I created my moon and owl in the same manner I did on the card, adding another circle die-cut from black glimmer paper for a bit of bling. The cute little bats on both the card and treat box were die-cut using the Halloween magic dies...such a fun DIY embellishment! Speaking of fun embellishments, check out the body of the little spider...I used an iridescent pearl to give him bling and dimension.
Here is the video in which I demonstrated this project. Measurements are included in the video description on my YouTube channel.
Thanks for stopping by today...I hope you have a fabulous week!
Happy Tuesday...and happy first day of fall! We are headed into the BEST season of the year...warm sunny days, cool crisp nights, pumpkin spice EVERYTHING and oh, those gorgeous fall colours!
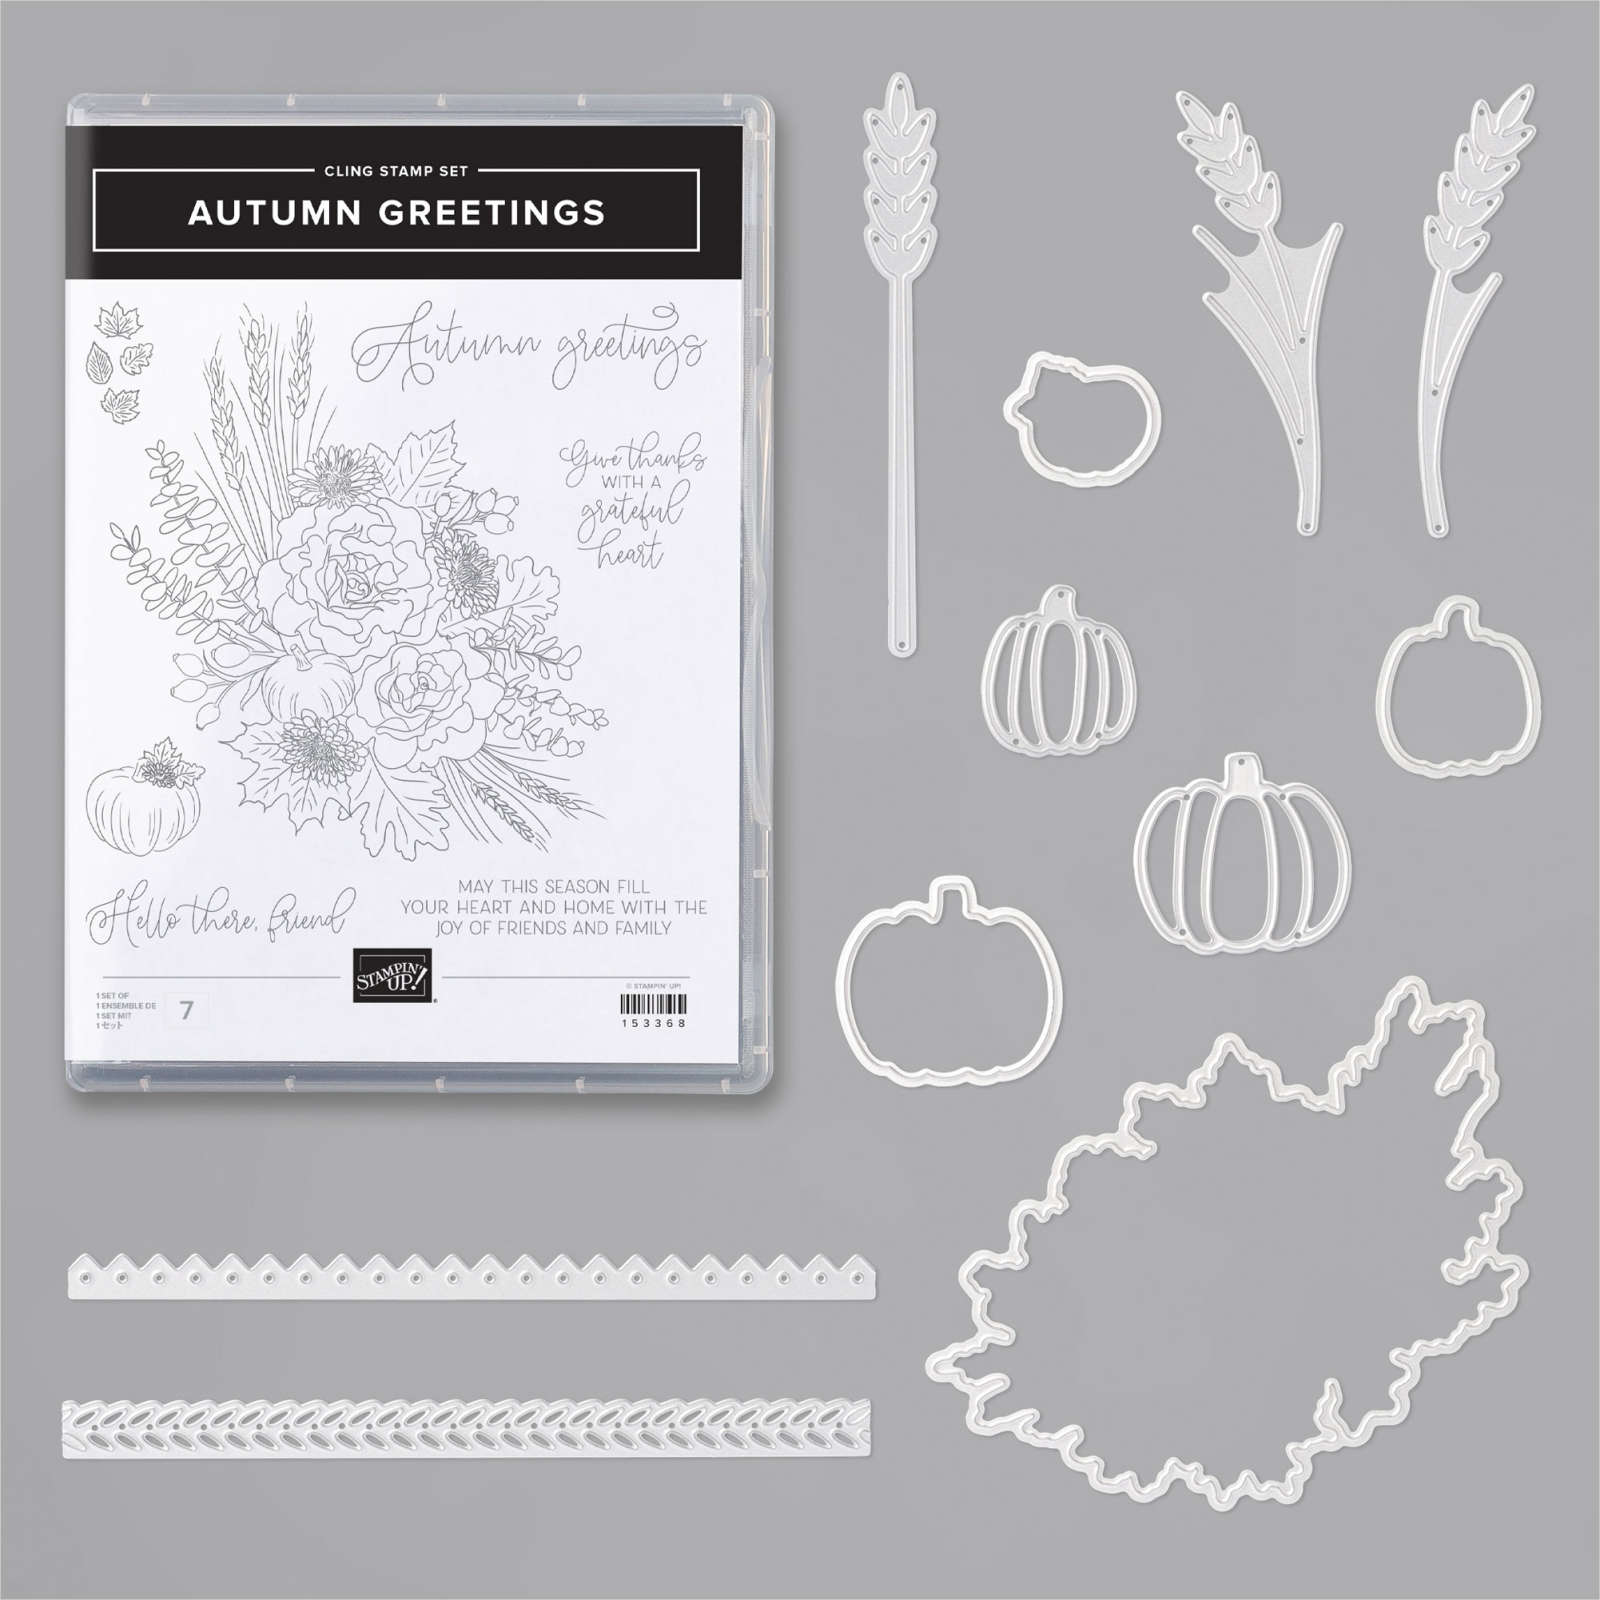
I have been having some fun playing with fall colours and images lately and have fallen IN LOVE with the Autumn Greetings Bundle...
Check out this card I made for today's Live @ Five video...
I used Gilded Autumn DSP for my background...that speckled pattern is my favourite...it is so versatile! I stamped the beautiful floral image in Early Espresso ink and die-cut the edges using the Autumn Essentials dies. The plaid DSP is from the Plaid Tidings pack and is die-cut using the Stitched So Sweetly dies. I addeed several additional die-cut elements, including the wheat from the Autumn Essentials dies and some leaves from the Gathered Leaves dies. The Early Espresso card base is stamped in ink of the same shade using the leaf image from the Autumn Greetings set. My colour palette came from the the DSP: Cajun Craze, Bumblebee and Pretty Peacock.
The sentiment is from the Autumn Greetings set and is stamped in Early Espresso ink I added some Braided Linen trim and a few In Good Taste Wooden Elements. I love the variations in texture on this card!
On the inside of the card I added a Whisper White panel on which I stamped another sentiment from the Autumn Greetings set and some leaves in Early Espresso ink.
I absolutely LOVE this bundle! The images are not only fun to colour, but they also work beautifully as simple line art. Here is the video in which I demonstrate this card and two others using this bundle. Measurements for all three projects are included in the video description on my YouTube channel:
Now, before I go, I have to tell you about a 24 hr flash sale happening tomorrow, September 23rd. During the sale, selected stamp sets will be offered at 15% off. To see the full list of sets that will be on sale, click the image below. Then place your order on my website using Host Code: MK6X3WDR
All orders of $50 or more, placed using the Host Code will receive a free package of Holiday Rhinestone Jewels as a thank you from me!


 Circle Punch")


")


 Designer Series Paper")


 Acetate Card Boxes")


")


 Braided Linen Trim")
