Monday, June 30, 2014

Fabulous Blooms

Happy Monday...and happy summer!!  I am officially on summer holidays from school...WOOHOO!!  It usually takes me a couple of weeks to truly unwind and stop thinking about my classess and curriculum, but is it ever nice to be able to turn it off for a while.
Today I have another over-sized card I made for one of our departing staff members.  I used the brand-new Flower Patch photopholymer stamp set and coordinating Flower Fair Framelits (try saying that one 5 times fast!).

Thank you card featuring the Flower Patch stamp set with sentiment from Million and One.
I just love this stamp set!  There are so many possible combinations to create beautiful flower images and the fact that the stamps are clear makes layering images a breeze.  In case you want to try layering yourself, here are the colour combinations I used:  Daffodil Delight with Crushed Curry, Coastal Cabana with Bermuda Bay, and Strawberry Slush with Rose Red.

I used the starburst image from the Kinda Eclectic stamp set, stamped in Crushed Curry ink, as a background for the sentiment, which is heat embossed in black.  I used the Labels Collection framelits to die cut the label and the black mat behind it.  The flowers were die cut using the Flower Fair Framelits.  The card front is matted on Bermuda Bay and then layered on a Basic Black card base.

I spent tons of time working on my new craft room this weekend!  It is looking fabulous!  I am so excited to finally have my own "sanctuary", as my husband calls it, where everything has a place and I can spread out and create till my heart's content.  I can't wait to share it with you all...it won't be long now ;)

Thursday, June 26, 2014

Something Old, New Borrowed and Blue

Well I got another year older since last you heard from me.  Yesterday was my birthday and it wasn't exactly stress-free.  We had a health scare with my Dad that made for a lot of tense moments on my big day...celebrating wasn't really in the cards.  I'm happy to say that my Dad is ok, but that he'll require follow-up care and close monitoring.  It's so hard when one's elderly parents live almost four hours away!
Anyhow...today I have another of the cards I made for my colleagues at school who are celebrating milestones this year.  This one is another wedding card that features something old, new borrowed and blue...check it out:

Wedding card featuring the Flower Shop and Petite Petals stamp ses with sentiment from Together Forever (retired ).
So here goes: 
  • Old: I used several retired products on this project:  the sentiments are from the long-retired Together Forever set and I used the Lacy Brocade TIEF, which was in the 2012 Holiday catalogue.
  • New:  I used the brand-new In-Colour Lost Lagoon, as well as the Petite Petals stamp set and punch, which are carry-overs from the Occasions catalogue, but are new to the Annual Catalogue.
  • Borrowed:  The silver stretchy elastic cord is borrowed from my gift-wrapping stash!  I love the bit of shimmer it adds without being fussy or bulky.
  • Blue:  Well duh, Lost Lagoon is a gorgeous shade of BLUE!


Once again, it was a challenge to fill the larger 6" x 7" canvas, but by creating the panels and embossing them individually it broke up the larger space quite nicely...something to remember for when you have a large area to fill.
I think my favourite elements on this card are the vellum flowers, which I heat embossed in silver before punching.  Such an easy way to add richness and elegance to any project...when in doubt add bling...and if that's not enough add vellum!

In other news, my new craft room is coming along!  It is at the point where it is usable (I have yet to stamp anything in there yet though), but I want to wait until it is completely finished before I show you.  I have to say it has been a ton of work so far with more to come, but I'm loving the way it is shaping up!  I'm hoping to have it ready to share with you all by the end of next week...we'll see how that goes!

Tuesday, June 24, 2014

World of Dreams Wishes

This is the time of year when we teachers meet to celebrate the various events in eachother's lives that we've been too busy to acknowledge all year.  Later this week, the ladies from our staff are gathering to honour several of our colleagues who are getting married or having babies and, naturally, I volunteered to make the cards for the guests of honour.  Yesterday I sat down to create 5 over-sized cards for 5 special ladies...today I have the first one to show you.  This one is for a colleague who is both getting married over the summer and leaving our staff for another school due to a drop in our enrollment.  It is never easy to say good-bye to colleagues who aren't leaving by choice, so I wanted to focus on the happy event, rather than the unhappy one, this is what I came up with...

Wedding card featuring the World of Dreams stamp set with sentiment from Petite Pairs.
Now, I had a bit of an inside edge in designing this one, as I helped the bride plan her invitations, so I pulled several of the elements from those into this card.  I used some of the recently retired (but still much beloved) Natural Compositions Specialty DSP for the card base, which is over-sized at 6" x 7".  I always find it a challenge to fill the larger canvas, so the texture and pattern provided by the DSP helped. 


The leaf images are stamped in Mossy Meadow and the birds are in Early Espresso.  I heat embossed a Tea Lace Doily in gold for some weddingy elegance and then added texture with burlap ribbon, crochet trim and a bit of seam binding ribbon.  I couldn't omit the bling, so I added a Vintage Faceted button, threaded with some Linen Thread.  The sentiment is heat embossed in gold and die cut using the Banners Collection Framelits.
Of course, making an over-sized card meant also making an envelope to fit it...thank goodness for my large collection of retired DSP and my envelope punch board!  Quick and easy to create a coordinating envelope, sized perfectly to this card.  I think the bride-to-be will love it!

Monday, June 23, 2014

Blended Paperpieced Bloom

Happy Monday!  I hope you had a fabulous weekend!!  The weather here was simply perfect once again, but I was busy in my soon-to-be craft room most of the weekend.  My little piece of stamping heaven is coming along.  It won't be long till the big reveal...stay tuned ;)
I was so busy I completely forgot to post my project for this week's challenge over at The Technique Twist.  This time we are working on 3D Paperpiecing...a fussy, labour intensive technique that we experimented with to find ways to make it a little less daunting.  Here is my take on it:

Thank you card featuring the Blended Bloom and Banner Banter stamp sets
Instead of colouring the entire image, I paper-pieced different patterns of DSP for the various layers of the flower.  Here is a side-view:


I added shadows and coloured the centre with Coastal Cabana and Daffodil Delight Blendabilities.  To get the dimension I burnished the wrong side of the layers with a stylus on a piercing mat.  It causes the paper to curl ever so slightly...you have to take care not to press too hard when burnishing so as not to tear the paper.

The sentiment in the banner is from the new Banner Banter stamp set.  I love all the little sentiments that fit perfectly inside the Banner punch.  For the background I used the Pretty Print TIEF (retired)...sure wish that one was still available...it is one of my favourites!
I used a few little In-colour sequins and some Hello Honey stain ribbon to pretty this one up.  What's not to love about ribbon and bling??

Thursday, June 19, 2014

Eclectic Kindness

Happy Thursday...just one more day till the weekend...WOOHOO!  We have finished classes at school and start exams today, which means LOTS of marking for little ol' me.  I will be so thankful when I am through it all, not just because I'll be on holidays, but because my boy will be coming home!  He is spending the final two weeks of my school year with my parents, as his school finished last Friday.  I miss him like CRAZY!  Our house is so darned quiet without him.  I can't wait to bring him home!
Today I have a quick card I made using the new Kinda Eclectic stamp set.  I loved this set the moment I laid eyes on it because I knew it would lend itself to quick, easy projects. 

Thank you card featuring the Kinda Eclectic stamp set
This one literally came together in less than 10 minutes...how fantastic is that?!?  My colour scheme is Baked Brown Sugar, Mossy Meadow, Lost Lagoon, Hello Honey and Tangelo Twist, all of which are brand-new In-colours.  Don't they look fantastic together??

I die cut the label using the Apothecary Accents Framelits, which, though one of the original Framelits offerings, are still among my go-to sets.  I added a little Linen Thread for some texture and resisted the urge to emboss or add bling (it wasn't easy!).  I was going for quick and easy...I think I achieved it!

Tuesday, June 17, 2014

Ninja Turtle Birthday

This past weekend my son was invited to a Ninja Turtle-themed birthday party.  Of course that meant that Mommy had to design an appropriate card for the birthday boy.  Here is what I came up with...

Ninja Turtle birthday card featuring the Alphabet Rotary stamp and the Age Awareness stamp set.

Best thing about this card?  I got to use some of my new toys from my first new catty order!  I used the Alphabet Rotary stamp for "Its Your..." and "Cowabunga" and the Age Awareness set for "Birthday".  I also used the Stars Framelits and the Triangles TIEF to do the inlaid embossing technique on the background.


To create Raphael (I'm told that's the correct name for "The Red Guy" as I typically call him) I used Ovals and Circles Framelits (though I can't tell you which ones because I forgot to write it down and, of course, I no longer have the card to check!) and some leftover Gumball Green Core'dinations card stock.  The tails on the mask are cut using the Bitty Banners Framelits (the curvy one).  The eyes and nostrils are from the Owl Builder punch and the mouth is done with the Large Oval punch.

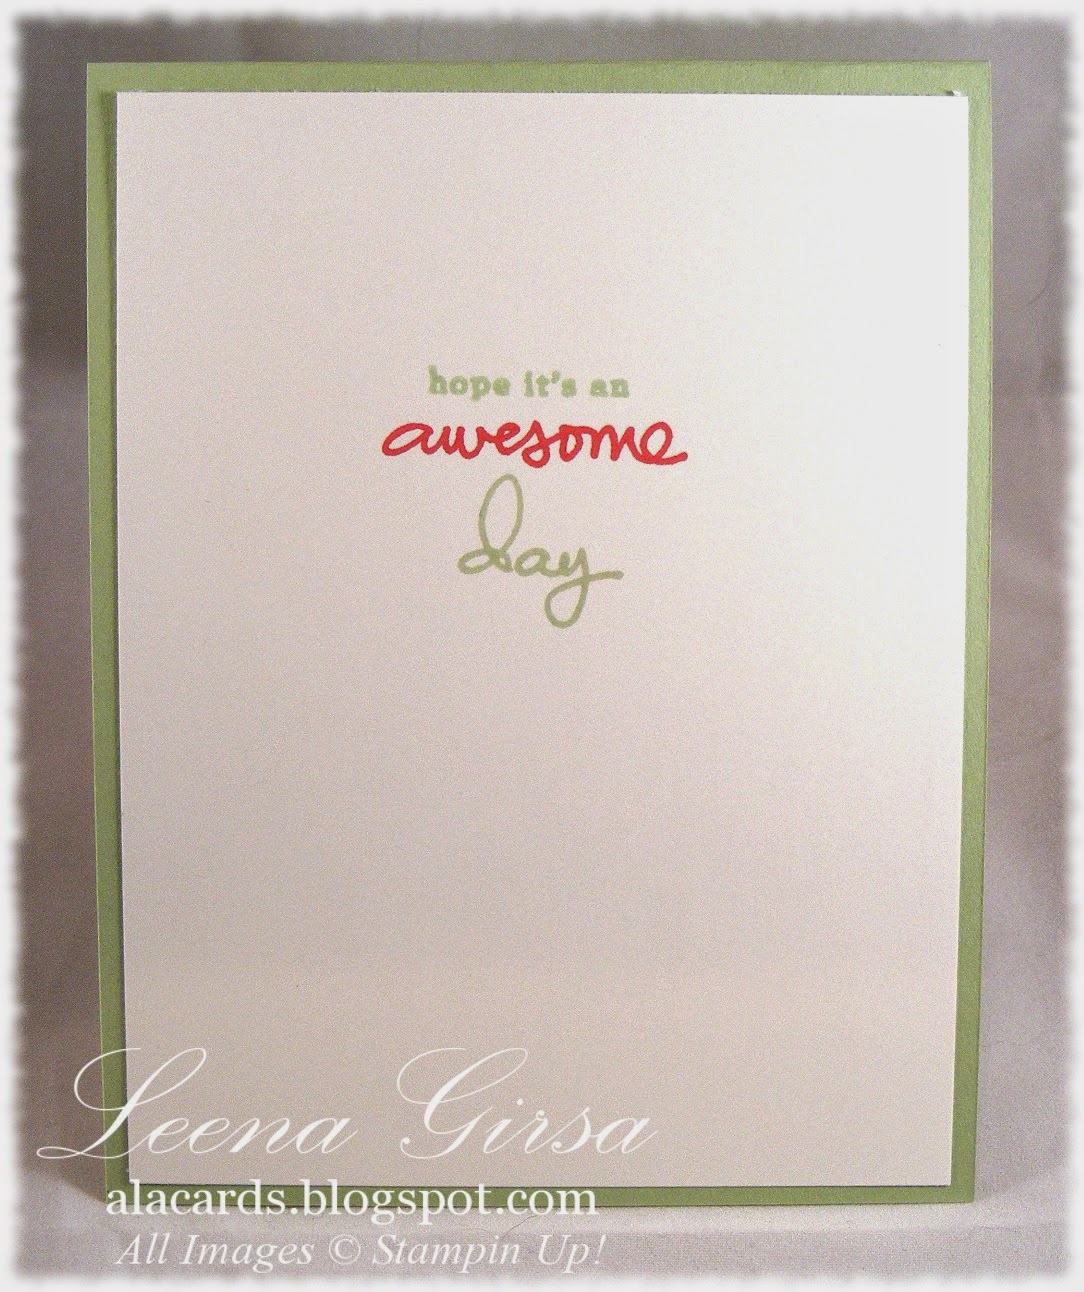
Inside view with sentiments from the Endless Birthday Wishes and Alphabet rotary stamps.
On the inside I stamped a couple of stars from the recently-retired Simply Stars set (won't be getting rid of that one anytime soon!).  The "hope it's an..." is from the Endless Birthday Wishes set and "Awesome Day" is again stamped using the Alphabet Rotary stamp (such an awesome tool!!).
I guess Mommy done good...the card was a hit and my boy was happy :)  Once in a while, Mommy gets it right!

Thursday, June 12, 2014

A New (to me!) Technique!

I am SOOO excited about the project I have for you today!  It uses a new technique I just came across and it is such fun!  It's called Hot Glue Embossing and boy did I go to town on this card...check it out:

Any-occasion card featuring the Hot Glue Embossing Technique
Isn't that cool??  Here's how I did it:

  • Starting with a piece of watercolour paper, I spritzed it liberally with water.  Then I splashed drops of reinker, in the following order:  Hello Honey, Pear Pizzazz and Lost Lagoon.  I let the ink do it's thing...helping it along with a small paint brush in spots to ensure the entire piece of paper was inked.
  • Once the paper was dry I squeezed strings of hot glue all over it.  I worked from a height of about 12" above the paper to get thin strings of glue.  I also at times added a couple of large daubs for interest.
  • While the glue was still tacky I sprinkled the whole thing with gold embossing powder and shook off the excess.  Then I heated the glue with my heat tool, melting the glue and activating the embossing powder at the same time.  The glue strands smooth out nicely and also move around a bit during this process.
  • I then mounted my masterpiece on a piece of gold foil paper and matted that with a piece of Lost Lagoon card stock.  
  • The background is embossed using the Pretty Print (retired) TIEF.
  • The sentiment is from the new Work of Art stamp set.

On the inside I stamped the sentiment from the Best of Greetings set (retired) and added a bit of Watercolour Wonder Washi tape.


I love the simplicity of this card...and the technique?  Well let's just say I'll be experimenting with it a whole lot more once I get finished with my report cards!

Now for some fun news!  I am FINALLY getting my very own craft studio!!  A room in our home has recently been vacated by a gal who had been living with us and it is soon to become stampin' heaven on earth!  I can't wait to get started on it.  I have a design in mind and I'm getting some fantastic (free!) shelving and cabinets to make it happen.  It will take some work and  a whole lot of creativity, but I am so looking forward to the challenge!  I am going to document my progress here during the month of July.  I won't have time to get much done till then, as I am swamped with end-of the-school year craziness.  I also likely won't have much time to stamp while this project unfolds, so I hope you'll bear with me.  I can't wait to share this dream-come-true with all of you and, who knows...maybe I'll give you an idea or two for how you can improve your little corner of stampin' heaven ;)

Tuesday, June 10, 2014

Hooray its your Birthday

Last night I held my monthly team meeting where we gather to discuss business ideas, encourage one another, eat some yummy snacks and, of course, stamp together.  This is one of the make-n-takes we did.  It is not my original design, but is a CASE of a card I saw on Pinterest from a blog called Stylin' Stampin' Inkspiration.


Birthday card featuring the Work of Art and Endless Birthday Wishes stamp sets.
I wanted my team to have a chance to play with some new products, so I thought this card fit the bill!  I used the Endless Birthday photopolymer stamp set (temporarily unavailable until more get made!) and the Work of Art set.  I also used some So Saffron DSP from the Subtles DSP stack as well as some thick Baker's Twine in Baked Brown Sugar. 

I added a few Candy Dots in Blushing Bride and So Saffron as well as a bit of bling with some little glimmer stars.


I carried some of the elements from the front of the card to the inside and created the sentiment with the Endless Birthday Wishes set. 

Monday, June 9, 2014

Monday Man-card

Happy Monday!!  The end is near...just three more weeks till I'm finished at school for another year!  My son is finished this Friday (Mommy's just a weeeee bit jealous!!)...I can't believe he's done grade one!
Today I have a Man-card for you.  Father's Day is coming up next weekend and I've been busy creating cards for the men in my life.  This one will be for my dad, who will be spending the weekend with us!  This will be the first Father's Day in 10 years I've been able to spend with my dad...so special!  Here is the card I made for him:

Masculine card featuring the World Map background stamp, Traveller stamp set and the new Alphabet Rotary stamp
I pulled out my new Alphabet Rotary stamp for the sentiment on this one...I love how easy is it to create any sentiment I want.  I think this may well become one of my favourite new products.
To create the background I stamped the World Map using Staz-On ink and then sponged the land masses with Hello Honey ink and the bodies of water with Lost Lagoon.  Then I sponged the entire thing with Soft Suede....I love the way it antiques those vibrant shades!  The best part is that I didn't have to try to be super-precise with my sponging.  I cut the background panel into four parts and matted them on a piece of Lost Lagoon card stock.

The focal image, from the Traveller stamp set, is stamped in Staz-on and sponged very lightly with the same shades I used on the background to add just a hint of colour.  I used a Basic Black Stampin' Write marker to ink the letters on the Alphabet Rotary stamp and then cut the whole thing out with the Circles Collection Framelits.  The frame is cut from Early Espresso card stock.  I added some Burlap Trim and an Antique Brad by way of embellishment.

Inside view with sentiment from Teeny Tiny Wishes
On the inside I stamped the globe again, this time in Early Espresso ink.  I stamped the sentiment from Teeny Tiny Wishes in Lost Lagoon ink and trimmed it into a banner, leaving me lots of space to write and tell my dad just how special he is!


Saturday, June 7, 2014

New and Innovative at the Twist

Happy Saturday!  Today is going to be absolutely perfect weather-wise, so I am typing this post early so that I can get out and enjoy the beautiful sunshine!  It's time for a new challenge over at The Technique Twist and this time we are challenging you to use new products and/or existing products in an innovative way.  As you likely are aware, the new 2014/15 Annual Catalogue went live this week and I have had fun playing with some new goodies.  I decided to try using one of the Everyday Adventure Project Life cards, intended for scrapbooking, as to basis for a card design.  Here is what I came up with:

Any occasion card featuring one of the Everyday Adventure Project Life cards.
I chose a 4"x4" card that had a pre-printed greeting and lots of colour and pattern, then I began experimenting with different design elements until I was satisfied with the result.  I did end up cutting down the PL card to 3-3/4" square so that I could layer it to add more colour.

The little banners were punched using the banner punch and I used the Decorative Dots TIEF on the background.

For the inside I used a sentiment from the Really Good Greetings set that seems to work well with the sentiment on the front.  Of course I couldn't resist adding a wee bit of bling to finish it off ;)

I hope your Saturday is a fabulous one...enjoy!

Friday, June 6, 2014

SO Excited!

Happy Friday!

Layout Image


I have to share some exciting news with you!  One of my designs has been featured in the Trends Watch section of the Papercrafter's Library blog!  I know it's not the same as being published-published, but it is as close as I'll ever likely come, so I am very flattered :)

The article is all about ideas for Man-cards, which I know is something many struggle with.  Check out the post HERE for some Friday inspiration.  There are tons of great ideas and with Father's Day coming up next weekend you just might be needing a man-card sooner than you realized!

Have a great weekend!!

Thursday, June 5, 2014

Endless Birthday Wishes

I am so loving the newest photopolymer offering from Stampin Up!  It is called Endless Birthday Wishes...

http://su-media.s3.amazonaws.com/media/docs/Photopolymer/NA/Flyer_photopolymer_Endless_Wishes_CA.pdf
Click the image for a larger view

I decided to design a project using this week's Mojo Monday sketch as well as the colour challenge from Hand Stamped Sentiments.


Here is what I came up with:

Birthday card for HSS187 and MOJO348 featuring the Endless Birthday Wishes photopolymer stamp set and the new  Work of Art stamp set.
I used both old and new products on this one.  The stamp sets are all new, but the DSP is from the returning Subtles stack.  The Pistachio Pudding Ruffled ribbon and Silver Glimmer paper are on the retirement list, as is the Needlepoint Border TIEF I used on the pennant.

On the inside I used three different stamps from the Endless Birthday Wishes set to create my message...I love how versatile this set is!

Of course, the very best thing about this set is the price point:  27 stamps for just $16.95!!  It doesn't get much better than that!

Tuesday, June 3, 2014

Work of Art Just for You

So?  Have you got your wishlist from the new catalogue put together yet?  Mine is five pages long...gonna take me a while to get through it!  I did place an order yesterday that put a good dent in it though...can't wait for that box of goodness to arrive!!
In the meantime I'm playing with my pre-order stuff and created this man-card using the new Work of Art set, along with the Serene Silhouettes set:

Masculine card featuring the Work of Art and Serene Silhouettes stamp sets.
For this one I actually used a piece of the new Moonlight DSP to stamp on.  I love the added texture it provides.  The background is stamped using one of the brushstroke stamps and four different shades of blue:  Pool Party, Coastal Cabana, Bermuda Bay and Island Indigo.  The birds are stamped in Basic Black, as is the Just For part of the sentiment.  I stamped You in Island Indigo.

I am of the opinion that every man-card should have some metal on it so I added a couple of mini silver brads, as well as some baker's twine.  The background is Basic Gray card stock that I embossed using the Woodgrain TIEF and I adhered it to an Island Indigo card base.

Inside view with sentiment from the new Something to Say set.
On the inside I stamped the brushstroke again but this time inked it using three shades of blue (Pool Party, Bermuda Bay and Island Indigo), applying the ink with a sponge dauber to get the ombre look.  The sentiment is from the Something to Say set and is stamped in Basic Black.

So much to love about this new set...and I'm just getting started! 

Monday, June 2, 2014

Happy New Catty!!

WOOHOO!!  Today is the BIG day!  The brand-new, hot-off-the-presses 2014/15 Annual Catalogue goes live today!  I am SOOO excited about this awesome book filled with fantastic new products that I can't wait to get my inky little hands on!  To browse the new catalogue right now click the image below...but be warned:  anything else on your agenda for today might just have to wait!!  Enjoy...

http://su-media.s3.amazonaws.com/media/catalogs/2014-2015/NA/20140602_AnnualCatalog_en-CA.pdf
Click the catalogue to view it online!

To celebrate this big day I have a project I created using the new Work of  stamp set: 

Birthday card featuring the new Work of Art stamp set
I think this may just become my favourite stamp set in the new catty.  It will be this year's Gorgeous Grunge (the one set I can NOT live without!) for me.  I love the simple, versatile images and the fact that there are sentiments included.  To create my watercolour flower I stamped one of the brushstroke images repeatedly in a circle with Crisp Cantaloupe ink, both full strength and then stamped off.  Then I repeated the process with Calypso Coral ink...I love the depth the use of two shades gives.  For the centre I used the same brushstroke and So Saffron ink and again stamped repeatedly, both full strength and stamped off.


The sentiment is stamped in Basic Black ink.  I added a bit of bling with some rhinestones and a Vintage Faceted button, held on with some Baker's Twine.

Inside view with sentiment from Remembering Your Birthday
On the inside I stamped two more brushstrokes using Crisp Cantaloupe and Calypso Coral again.  The sentiment is from the Remembering Your Birthday and is the exact same font as the sentiment from the Work of Art set...how cool is that??

So...do you have a copy of the new catalogue yet?  If not, drop me an email with your mailing address and I will send you a copy FREE...no strings attached!  


Sunday, June 1, 2014

Last day to order!

Happy June!  This is just a quick reminder that today is the last day to order from the Occasions Catalogue.  After midnight tonight many items will be gone for good!  Dont' miss out on those last few items from your wishlit!

Related Posts Plugin for WordPress, Blogger...