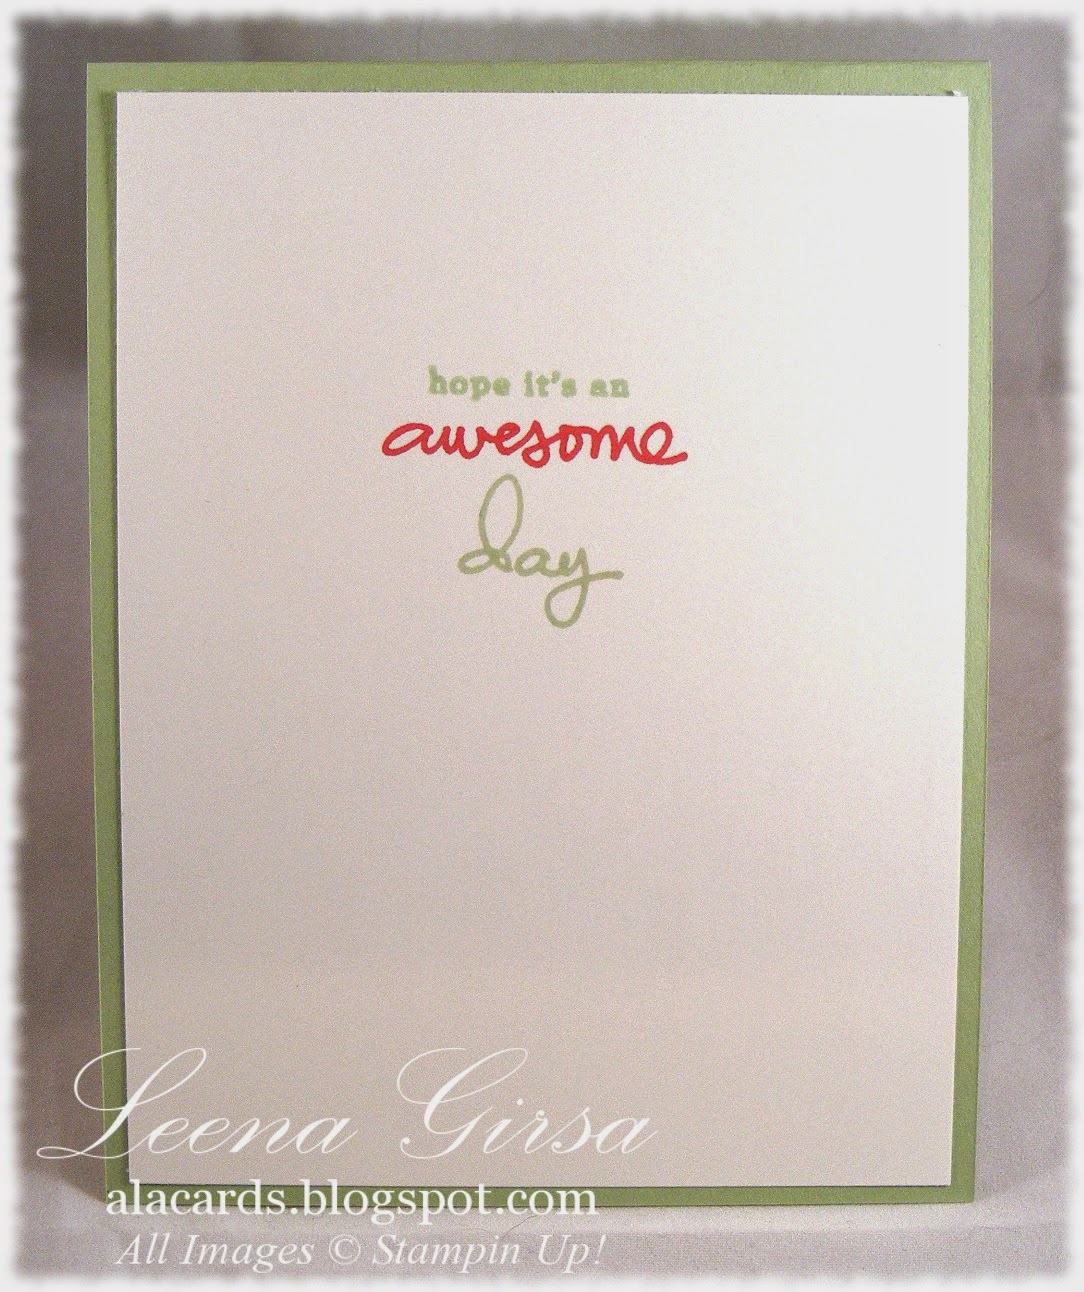
Showing posts with label Work of Art stamp set. Show all posts

Tuesday, October 13, 2015

My Anchor

Last Friday my hubby and I celebrated our 11th wedding anniversary. It was the first time in three years I haven't had to work on our big day. It was wonderful to be able to celebrate and spend some quality time together...it seems to be in short supply these days!  Here is the card I made for him:

Masculine card featuring the Guy Greetings and Work of Art stamp sets.
Since we had an October wedding, I chose a Fall-inspired colour palette. I used one of the brush-stroke images from the Work of Art set and stamped it in Crushed Curry, Cajun Craze and Cherry Cobbler inks. Then I stamped the anchor image from the Guy Greetings set over top using Early Espresso ink and die-cut it using the Lots of Labels Framelits.

The background panel is a piece of Kraft card stock that I embossed using the Woodgrain TIEF and then layered on a slightly larger piece of gold foil sheets. I added some subtle sparkle with single strands of gold metallic thread. The sentiment is also from the Guy Greetings set and is stamped in Early Espresso ink. I die-cut it using the Banners Framelits. The only additional embellishment is a bow made from gold Baker's twine. The card is built on an Early Espresso card base.

On the inside I stamped the heart from the Work of Art stamp set in Cherry Cobbler ink and added a sentiment from the (retired) Good Greeting set in Early Espresso ink.

My hubby loved the simplicity of this project...try it for the man in your life!

Here are the products I used to make this card:


Built for Free Using: My Stampin Blog

Tuesday, May 5, 2015

Flower Patch Ghosting

Happy Tuesday!  I hope your week got off to a good start :)  My son started his baseball season last night, so summer mustn't be too far off!

Today I have a sneak peek at one of the projects we'll be making in my monthly techniques class next week.  This one uses the ghosting technique.  Check it out:

Thank you card featuring the Flower Patch stamp set with sentiment from Work of Art.
I just love the fresh, spring-like colour scheme on this one.  I began by stamping several  images from the Flower Patch stamp set using Whisper White craft ink on Crumb Cake card stock.  Once that was dry, I stamped over top of the white images using the three Colorbox Chalk inks from the Occasions catalogue: Aquamarine, Rose Coral and Yellow Citrus.  While it isn't necessary to use chalk inks for this technique, I like the soft colour they offer.    You'll notice I didn't quite line up the images exactly, but that is part of the charm of this technique.

The sentiment is from the Work of Art set.  I stamped "thank" in Crumb Cake ink and "you" in Coastal Cabana.  I punched the sentiment with the 1-3/4" circle punch and then layered it on a 2" circle in Coastal Cabana.  (What will I ever do without that colour??? *sob*)  I added some pearls that I coloured with my Blendabilities as well as a bit of thick baker's twine in Coastal Cabana.

On the inside I stamped several of the flower images again using the same inks I did on the front, leaving plenty of space to write.

I'm pretty excited that I get to pre-order my new Annual Catalogue Sneak Peek products today!  With any luck they'll be here by the weekend and I'll have lots of new surprises for you next week!

Now, here are this week's new Weekly Deals.  As always, prices are good until Monday at midnight:

1/16 Handheld Punch by Stampin' Up!
1/16" Circle Handheld Punch
Price: $11.95 
Sale:  $8.96
1/8 Handheld Punch by Stampin' Up!
1/8" Circle Handheld Punch
Price: $11.95  
Sale: $8.96
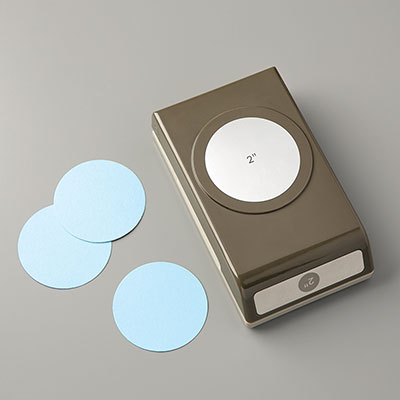
2 Circle Punch
2" Circle Punch
Price: $22.95  
Sale: $17.21
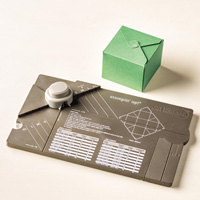
Gift Box Punch Board by Stampin' Up!
Gift Box Punch Board
Price: $24.95  
Sale: $18.71
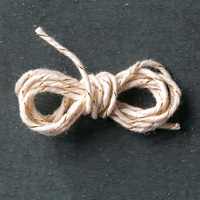
Gold Baker's Twine
Gold Baker's Twine
Price: $3.95 
Sale:  $2.96
Soft Sky 1/2 Seam Binding Ribbon
Soft Sky 1/2" Seam Binding Ribbon
Price: $9.50  
Sale: $7.13
Sweet Taffy Designer Series Paper by Stampin' Up!
Sweet Taffy Designer Series Paper
Price: $13.50  
Sale: $10.13
Wisteria Wonder 1/2 Seam Binding Ribbon by Stampin' Up!
Wisteria Wonder 1/2" Seam Binding Ribbon
Price: $9.50  
Sale: $7.13

Thursday, October 23, 2014

Strong and Free...still

Yesterday was a day my country hoped would never come.  An armed gunman shot and killed an unarmed soldier who was guarding the National War Memorial near Parliament Hill in Ottawa.  Then he entered our Parliament Buildings and opened fire.  Two security guards were injured, thankfully not fatally, before the Sergeant at Arms, a ceremonial figure in our House of Parliament, shot and killed the gunman. 
The death of Corporal Nathan Cirillo, the unarmed soldier shot while keeping vigil over our War Memorial, is senseless and tragic.  That someone was able to enter the heart of our governement with a weapon and open fire is terrifying.  But we will not live in fear.  We will not let the hatred of others turn us to hate.  We are strong.  We are free.
This is a card I posted earlier this year in celebration of our country's birthday.  Today I am reposting it in honour of Corporal Cirillo, and of all those who fight each day to keep us strong and free...

Oh Canada, our home and native land;
True patriot love, in all thy sons' command.
With glowing hearts we see thee rise
The True North strong and free.
From far and wide, Oh Canada,
We stand on guard for thee.
God keep our land,
Glorious and free.
Oh, Canada, we stand on guard for thee.

Monday, July 28, 2014

Another Monday Man-card

I have to admit that I love making Man-cards.  I know many struggle with them, but I guess being the only female in my household has made it easier for me to design projects for the boys in my life.  Here is a retirement card I did recently using the new Traveller stamp set:

Maculine retirement card featuring the Traveller, Work of Art and Really Good Greetings stamp sets.
I started with a piece of Typeset specialty DSP which I mounted on a Basic Black mat and then adhered to a Lost Lagoon card base.  On some scrap Very Vanilla card stock I stamped one of the brush stroke images from the Work of Art stamp set three times in Lost Lagoon ink.  Then I stamped the globe, suitcase and camera images over top in black ink.  I punched each one with the 1-3/4" circle punch and then matted each one with a 2" black circle. 

The sentiment is stamped in black, cut into a pennant and embellished with some black twine from my stash as well as a silver button.  I adhered it to the card with dimensionals.

Inside view with sentiment from the And Many More stamp set.
On the inside I stamped the brush stroke image in Lost Lagoon and the sentiment from the Any Many More stamp set in black over top.  I thought it was the perfect sentiment for a retirement card!

Wednesday, July 23, 2014

Endless Birthday Wishes Make-n-take

On Monday evening I did a card party for a fellow teacher and her family.  It was a fun girls' night where we did two projects and enjoyed being creative together.  Here is one of the projects we made:

Birthday card featuring the Endless Birthday Wishes Photopolymer stamp set and the Work of Art stamp set.
Now this is a CASE of a card I found on Pinterest by Chiaki Haverstick.  I kept most of the elements of her design but changed out the stamped images.  I love the combination of Hello Honey and Blackberry Bliss...such a rich duo! 


I also added a hint of gold by using the Gold Metallic Encore ink to stamp the confetti.  The DSP is from the Moonlight DSP stack and I used the Large Polka Dot TIEF for the backgound, leaving space at the bottom to stamp my sentiment.  The brushstroke image in the background is from the Work of Art stamp set and the cake and sentiments are from the Endless Birthday Wishes photopolymer set.  I added a bit of bling with rhinestones (coloured with the Daffodil Delight Blendabilities) as the flame on the candles.


On the inside I stamped the confetti in gold and the brushstroke in Hello Honey.  I stamped the sentiments in Blackberry Bliss.  This was a quick and easy card to put together and easily converted to a more masculine design by omitting the doily and rhinestones...gotta love versatility :)

Saturday, July 5, 2014

@Strong&free

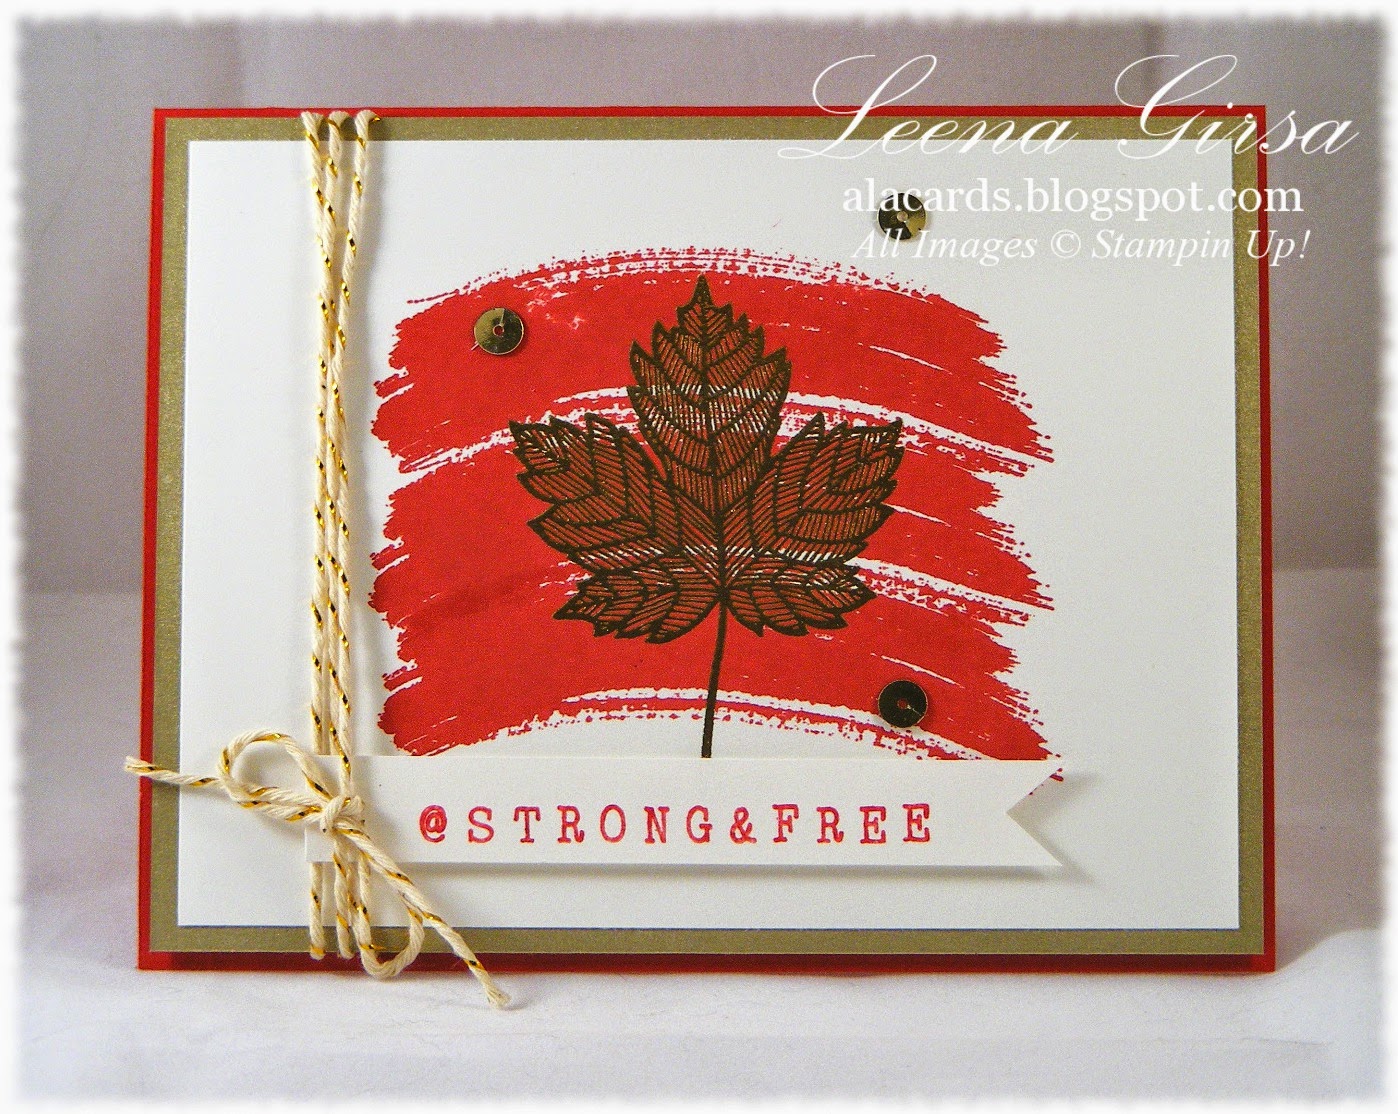
Happy day-after-the-4th-of-July/Saturday-after-Canada-Day!  It's time for a new challenge over at The Technique Twist and this time we're all about national pride.  We're using patriotic colours on our projects to show our love for our respective countries.  Since I'm a Canadian my project is all about the red and white and, of course, the maple leaf...

Patriotic card featuring the Magnificent Maple (retired) stamp, Work of Art stamp set and the Alphabet Rotary stamp
Since we don't have a current maple leaf image in the Stampin' Up! catalogue (holding out hope for one in  the Holiday catalogue), I turned to one of my favourite images from last year's Holiday catty...Magnificent Maple.  I heat embossed the leaf image in gold over top of the brush stroke images stamped in Real Red.  To accentuate the gold embossing I matted the front panel on Brushed Gold card stock before mounting it on a Real Red card base.


The sentiment was done using the new Alphabet Rotary stamp...love it...and inked with a Real Red marker.  I added a little gold baker's twine to keep the gold theme going and added a few gold sequins as well.

Inside view with sentiment from the And Many More stamp set
On the inside of the card I stamped another brush stroke image from the Work of Art set, stamping off once to get a lighter shade of red.  I heat embossed in gold the sentiment from the new And Many More set.

I hope you had a chance to celebrate your nation, whether American or Canadian, this week.  We all have so much to be thankful for!

Thursday, June 12, 2014

A New (to me!) Technique!

I am SOOO excited about the project I have for you today!  It uses a new technique I just came across and it is such fun!  It's called Hot Glue Embossing and boy did I go to town on this card...check it out:

Any-occasion card featuring the Hot Glue Embossing Technique
Isn't that cool??  Here's how I did it:

  • Starting with a piece of watercolour paper, I spritzed it liberally with water.  Then I splashed drops of reinker, in the following order:  Hello Honey, Pear Pizzazz and Lost Lagoon.  I let the ink do it's thing...helping it along with a small paint brush in spots to ensure the entire piece of paper was inked.
  • Once the paper was dry I squeezed strings of hot glue all over it.  I worked from a height of about 12" above the paper to get thin strings of glue.  I also at times added a couple of large daubs for interest.
  • While the glue was still tacky I sprinkled the whole thing with gold embossing powder and shook off the excess.  Then I heated the glue with my heat tool, melting the glue and activating the embossing powder at the same time.  The glue strands smooth out nicely and also move around a bit during this process.
  • I then mounted my masterpiece on a piece of gold foil paper and matted that with a piece of Lost Lagoon card stock.  
  • The background is embossed using the Pretty Print (retired) TIEF.
  • The sentiment is from the new Work of Art stamp set.

On the inside I stamped the sentiment from the Best of Greetings set (retired) and added a bit of Watercolour Wonder Washi tape.


I love the simplicity of this card...and the technique?  Well let's just say I'll be experimenting with it a whole lot more once I get finished with my report cards!

Now for some fun news!  I am FINALLY getting my very own craft studio!!  A room in our home has recently been vacated by a gal who had been living with us and it is soon to become stampin' heaven on earth!  I can't wait to get started on it.  I have a design in mind and I'm getting some fantastic (free!) shelving and cabinets to make it happen.  It will take some work and  a whole lot of creativity, but I am so looking forward to the challenge!  I am going to document my progress here during the month of July.  I won't have time to get much done till then, as I am swamped with end-of the-school year craziness.  I also likely won't have much time to stamp while this project unfolds, so I hope you'll bear with me.  I can't wait to share this dream-come-true with all of you and, who knows...maybe I'll give you an idea or two for how you can improve your little corner of stampin' heaven ;)

Tuesday, June 10, 2014

Hooray its your Birthday

Last night I held my monthly team meeting where we gather to discuss business ideas, encourage one another, eat some yummy snacks and, of course, stamp together.  This is one of the make-n-takes we did.  It is not my original design, but is a CASE of a card I saw on Pinterest from a blog called Stylin' Stampin' Inkspiration.


Birthday card featuring the Work of Art and Endless Birthday Wishes stamp sets.
I wanted my team to have a chance to play with some new products, so I thought this card fit the bill!  I used the Endless Birthday photopolymer stamp set (temporarily unavailable until more get made!) and the Work of Art set.  I also used some So Saffron DSP from the Subtles DSP stack as well as some thick Baker's Twine in Baked Brown Sugar. 

I added a few Candy Dots in Blushing Bride and So Saffron as well as a bit of bling with some little glimmer stars.


I carried some of the elements from the front of the card to the inside and created the sentiment with the Endless Birthday Wishes set. 

Thursday, June 5, 2014

Endless Birthday Wishes

I am so loving the newest photopolymer offering from Stampin Up!  It is called Endless Birthday Wishes...

http://su-media.s3.amazonaws.com/media/docs/Photopolymer/NA/Flyer_photopolymer_Endless_Wishes_CA.pdf
Click the image for a larger view

I decided to design a project using this week's Mojo Monday sketch as well as the colour challenge from Hand Stamped Sentiments.


Here is what I came up with:

Birthday card for HSS187 and MOJO348 featuring the Endless Birthday Wishes photopolymer stamp set and the new  Work of Art stamp set.
I used both old and new products on this one.  The stamp sets are all new, but the DSP is from the returning Subtles stack.  The Pistachio Pudding Ruffled ribbon and Silver Glimmer paper are on the retirement list, as is the Needlepoint Border TIEF I used on the pennant.

On the inside I used three different stamps from the Endless Birthday Wishes set to create my message...I love how versatile this set is!

Of course, the very best thing about this set is the price point:  27 stamps for just $16.95!!  It doesn't get much better than that!

Tuesday, June 3, 2014

Work of Art Just for You

So?  Have you got your wishlist from the new catalogue put together yet?  Mine is five pages long...gonna take me a while to get through it!  I did place an order yesterday that put a good dent in it though...can't wait for that box of goodness to arrive!!
In the meantime I'm playing with my pre-order stuff and created this man-card using the new Work of Art set, along with the Serene Silhouettes set:

Masculine card featuring the Work of Art and Serene Silhouettes stamp sets.
For this one I actually used a piece of the new Moonlight DSP to stamp on.  I love the added texture it provides.  The background is stamped using one of the brushstroke stamps and four different shades of blue:  Pool Party, Coastal Cabana, Bermuda Bay and Island Indigo.  The birds are stamped in Basic Black, as is the Just For part of the sentiment.  I stamped You in Island Indigo.

I am of the opinion that every man-card should have some metal on it so I added a couple of mini silver brads, as well as some baker's twine.  The background is Basic Gray card stock that I embossed using the Woodgrain TIEF and I adhered it to an Island Indigo card base.

Inside view with sentiment from the new Something to Say set.
On the inside I stamped the brushstroke again but this time inked it using three shades of blue (Pool Party, Bermuda Bay and Island Indigo), applying the ink with a sponge dauber to get the ombre look.  The sentiment is from the Something to Say set and is stamped in Basic Black.

So much to love about this new set...and I'm just getting started! 

Monday, June 2, 2014

Happy New Catty!!

WOOHOO!!  Today is the BIG day!  The brand-new, hot-off-the-presses 2014/15 Annual Catalogue goes live today!  I am SOOO excited about this awesome book filled with fantastic new products that I can't wait to get my inky little hands on!  To browse the new catalogue right now click the image below...but be warned:  anything else on your agenda for today might just have to wait!!  Enjoy...

http://su-media.s3.amazonaws.com/media/catalogs/2014-2015/NA/20140602_AnnualCatalog_en-CA.pdf
Click the catalogue to view it online!

To celebrate this big day I have a project I created using the new Work of  stamp set: 

Birthday card featuring the new Work of Art stamp set
I think this may just become my favourite stamp set in the new catty.  It will be this year's Gorgeous Grunge (the one set I can NOT live without!) for me.  I love the simple, versatile images and the fact that there are sentiments included.  To create my watercolour flower I stamped one of the brushstroke images repeatedly in a circle with Crisp Cantaloupe ink, both full strength and then stamped off.  Then I repeated the process with Calypso Coral ink...I love the depth the use of two shades gives.  For the centre I used the same brushstroke and So Saffron ink and again stamped repeatedly, both full strength and stamped off.


The sentiment is stamped in Basic Black ink.  I added a bit of bling with some rhinestones and a Vintage Faceted button, held on with some Baker's Twine.

Inside view with sentiment from Remembering Your Birthday
On the inside I stamped two more brushstrokes using Crisp Cantaloupe and Calypso Coral again.  The sentiment is from the Remembering Your Birthday and is the exact same font as the sentiment from the Work of Art set...how cool is that??

So...do you have a copy of the new catalogue yet?  If not, drop me an email with your mailing address and I will send you a copy FREE...no strings attached!  


Related Posts Plugin for WordPress, Blogger...