Tuesday, November 10, 2020

Trimming the Town Fun Fold

 Happy Tuesday! I hope your week is off to a good start. Here we have had a string of absolutely GORGEOUS summer-like days. Sunshine and mild temperature are SO special in November. I'm back to wearing my sandals to work! Although it seems odd to be working on Christmas cards with warm temperatures like these, that is exactly what I have been doing. I turned my attention this week to the Trimming the Town suite...

easel aperture card


One of the things I love about this suite is the DSP pack. It has so many fun images and patterns and I adore the bright colours. There is even an entire sheet of holiday sentiments in several languages that can be snipped out for use on projects. Many of the images also can be die-cut using the Home Together Dies. I challenged myself to make a card using NO stamped images (gasp!)...here is what I came up with:


easel aperture card

It's nothing special when closed, but when opened you get a fun surprise...

easel aperture card

I love this fun take on an easel card! I was inspired by a project by Mitosoucrafts  and couldn't resist trying it with this fun suite. Getting this look is actually surprisingly easy...it just takes a bit of creating cutting plate placement with the die-cutting machine. Can you believe that every single image and sentiment on this card is from the DSP?? Not an ink pad in sight!


easel aperture card

I used the Winter Snow embossing folder on the front panel and the So Many Snowflakes dies for my dangling snowflake...

easel aperture card

I opted to leave the inside panel blank to allow space to write a message.

easel aperture card

I will be demonstrating this card and two other fun folds in today's Live @ Five video at 5 pm ET over on my Facebook business page. If you miss the live broadcast, the recording will be posted to my YouTube channel shortly afterwards. Included in both videos posts will be measurements for all three projects. 

Thanks for stopping by this week...make it a good one!


Product List

Tuesday, November 3, 2020

Curvy Celebrations for Christmas

 Happy Tuesday...and happy November! A new month means a new release of sneak peek products from the upcoming January-June Mini Catalogue! Curvy Celebrations offers several coodinating products, some of which are exclusive to this sneak peek promotion. The is the Quite Curvy Bundle with all-occasion stamps and coordinating dies. For the holidays, there is the coordinating Curvy Christmas stamp set and Classic Christmas Designer Series Paper. This week I'm focusing on the Christmas-themed products...stay tuned for more with the Quite Curvy bundle in the coming weeks.

Check out the details of these awesome new products by clicking the image below:


Here is a fun gift card holder I made using these new products:


diy christmas gift card holder

I began with a 5-1/2" x 11" piece of Shaded Spruce card stock and scored it at 3" and 7". Then, I adhered a 3" x 5-1/2" piece of Shaded Spruce DSP to the 3" section on the scored card stock. I die cut both layers together using the Curvy Dies...keep in mind you will likely need to run it through a few times to get it to cut through because you are cutting two layers. 

For the belly band, I wrapped a 1-1/4" x 11" piece of Cherry Cobbler card stock around my project and adhered it. Then I added some Wonder of the Season ribbon...I LOVE the sheen and texture of that gorgeous ribbon! I created a rosette with two 1" x 6" strips of Classic Christmas DSP. Then I layered a die-cut brass foil medallion and a stamped and punched sentiment from the Curvy Christmas stamp set. 

diy christmas gift card holder

On the next panel, I adhered a 3" x 5-1/2" piece of Whisper White card stock and die-cut a 4" x 5-1/2" piece of Cherry Cobbler DSP to layer below it. I added stamped images from the Curvy Christmas stamp set in Shaded Spruce ink.


diy christmas gift card holder

On the inside, I used the other half of the die-cut Cherry Cobbler DSP to create a pocket for my gift card...so easy! I also added a 3-3/4" x 5-1/2" piece of Whisper White card stock on which I stamped more images and a sentiment from the Curvy Christmas stamp set in Cherry Cobbler and Shaded Spruce ink.

Here is the link to my video demonstrating this project. Included in the video description on my YouTube channel are all of the measurements...


Thanks for stopping by today...I hope you have a wonderful week!

diy christmas gift card holder


Product List 

Tuesday, October 27, 2020

Peace & Joy

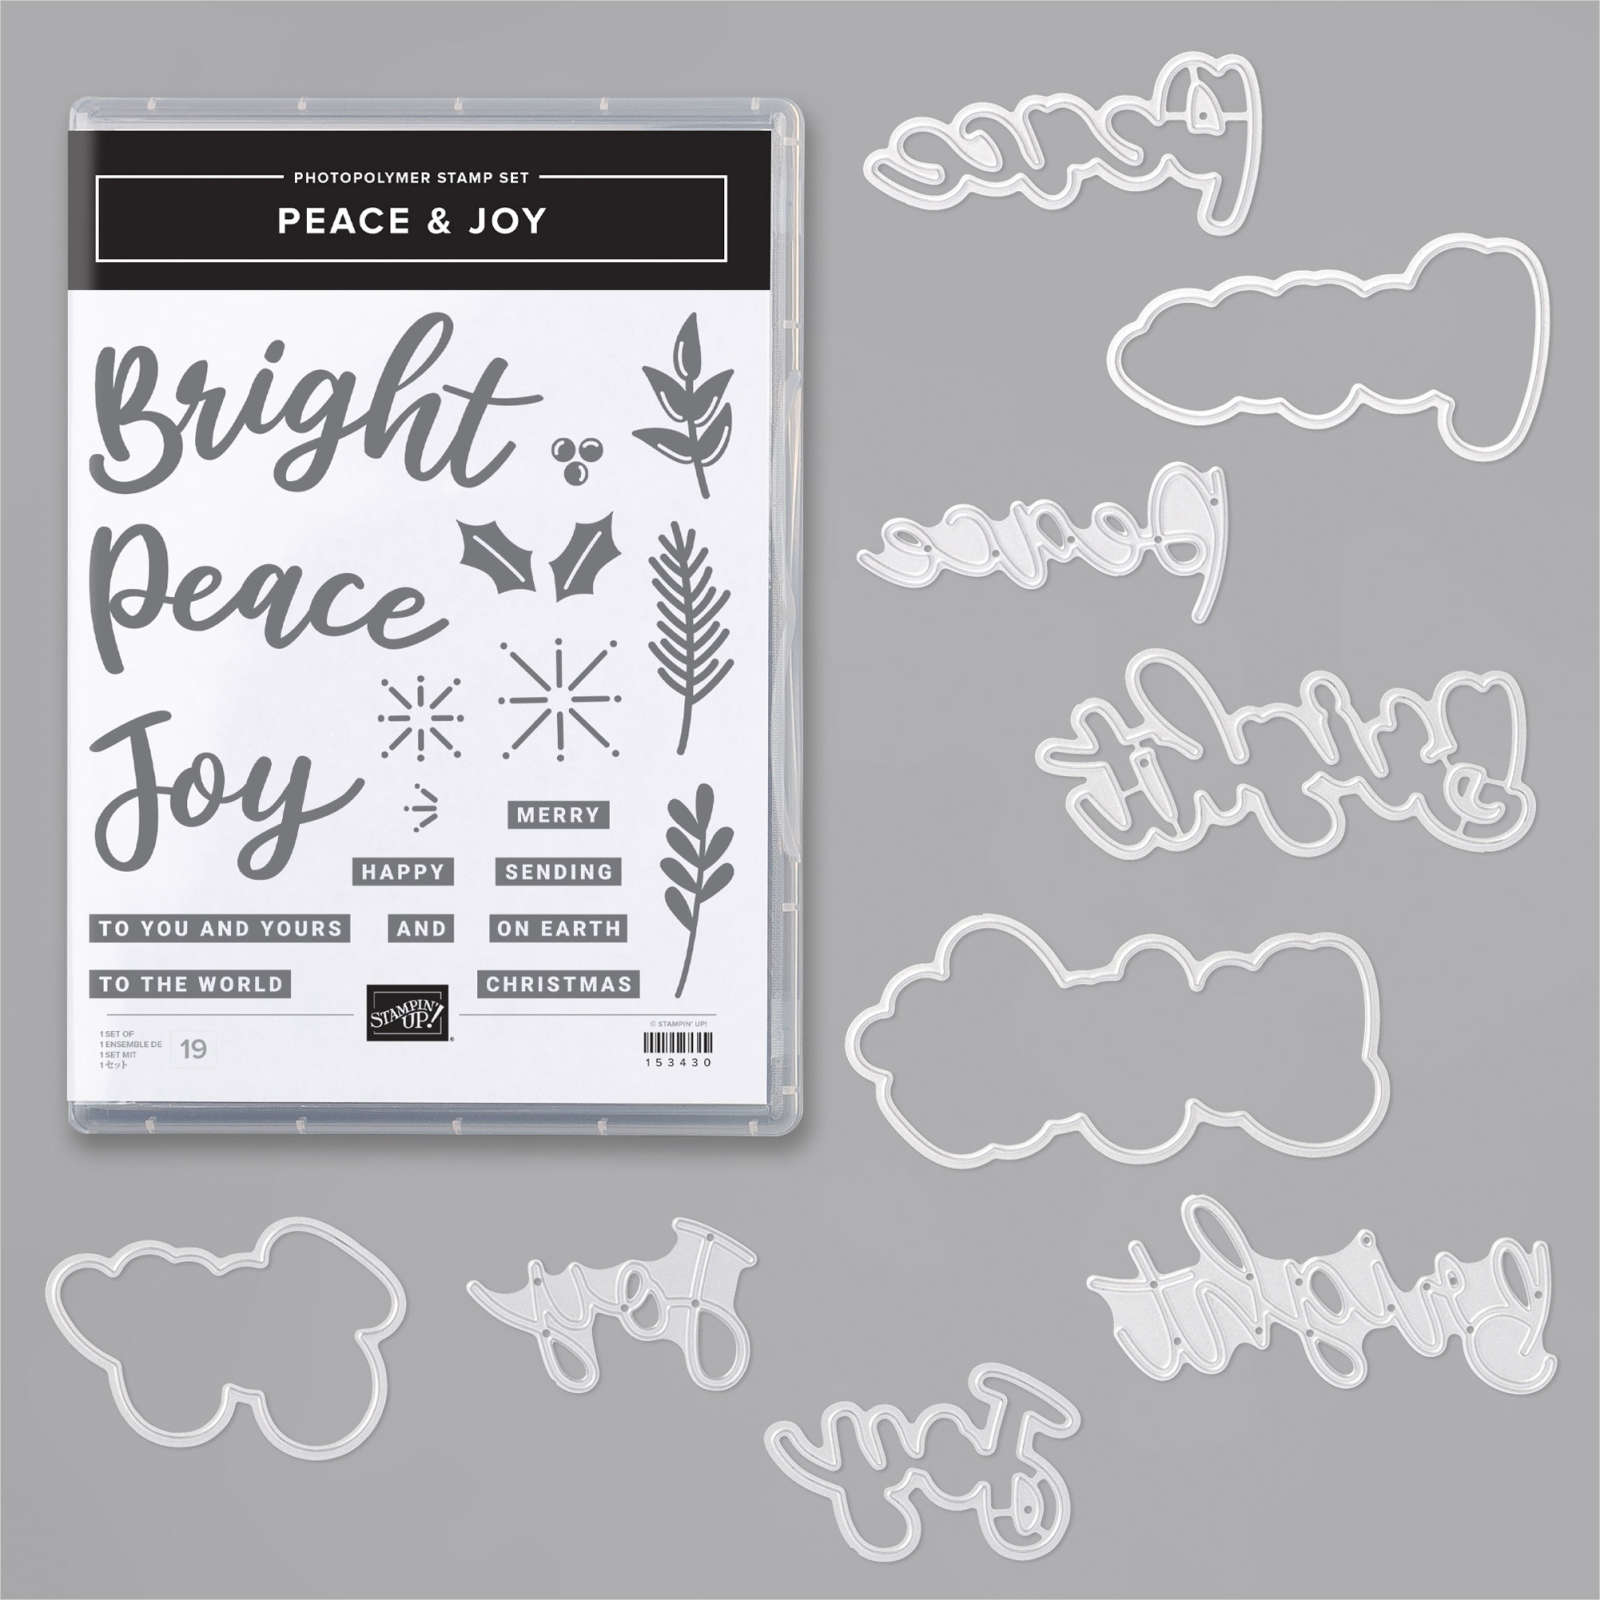
 Happy Tuesday! Can you believe we are nearly at the end of October?? This year has felt like an eternity, while also flying by...how is that possible?? As we near the end of the month I am kicking my Christmas card planning and design into high gear. This week I am featuring the awesome Peace & Joy bundle from the August-December Mini catalogue...check it out:


Here is a pretty, non-traditional holiday card that could be sent to just about anyone...


Non-traditional christmas card

I had some great fun with Frost White Shimmer Paint and Seaside Spray and Misty Moonlight reinkers to create  the shimmery background on this card. I know it is hard to see in the photo, but it has a beautiful sheen that I absolutely love...

Non-traditional Christmas card

I used the sparkly images from the Peace and Joy stamp set on the background, inking them with both Seaside Spray and Misty Moonlight ink. The sentiment is stamped using the ombre technique, and then die-cut using the Joy Dies. I love that those dies create so many different layered sentiment looks! 

Non-traditional Christmas card

I added some Misty Moonlight/White/Silver metallic twine and a little Glitter Star Ornament behind the sentiment, as well as some Elegant Faceted Gems to add extra sparkle and shine. 

Non-traditional Christmas card

On the inside of my Misty Moonlight card base,  I added a Whisper White panel on which I stamped another sentiment from the Peace & Joy stamp set in Misty Moonlight ink, as well as some more sparkle images in Seaside Spray. Although I made this as a Christmas card, it could easily be sent to anyone, whether they celebrate Christmas or not, by simply changing the inside sentiment...gotta love versatility!

Here is the video in which I demonstrate this card and two others using this awesome bundle. Included in the video description on my YouTube channel are all of the measurements:


Thanks so much for stopping by today...I hope you have a spectacular week!

non-traditional christmas card
Product List
Related Posts Plugin for WordPress, Blogger...