Happy New Year!! Wishing you and yours health, happiness and many blessings in 2021! Our family rang in the new year in our Pj's, counting the minutes till we could put 2020 behind us. Even though it was a very difficult year, we still have much for which to be thankful.
For day four of my Countdown to Sale-a-bration, I thought I would kick off the new year with something I love...playing with gorgeous Designer Series Paper! The Paper Blooms DSP pack is SO pretty...and what makes it even better is that it is FREE with a $60 order during Sale-a-bration beginning January 5th, 2021!
When I have beautiful paper, I love designing projects that show it off. Check out this cute little note card folder:
This folder is SO easy to create from a single sheet of 12" x 12" Designer Paper and was inspired by Patty Bennet's adorable Christmas version from a few years ago. Inside, there is room for 4 note cards and envelopes...
Of course, I had to decorate my envelopes as well ;) Can you believe the only stamping on this entire project is the sentiments? I used the Many Messages Bundle which is going to be my new best friend. With one stamp, I stamped NINETEEN different sentiments. Then, using the coordinating Messages Die, I die cut each one into a uniquely-shaped label with just a single pass through my Stampin' Cut & Emboss Machine. How awesome is that?? Talk about a timesaver!
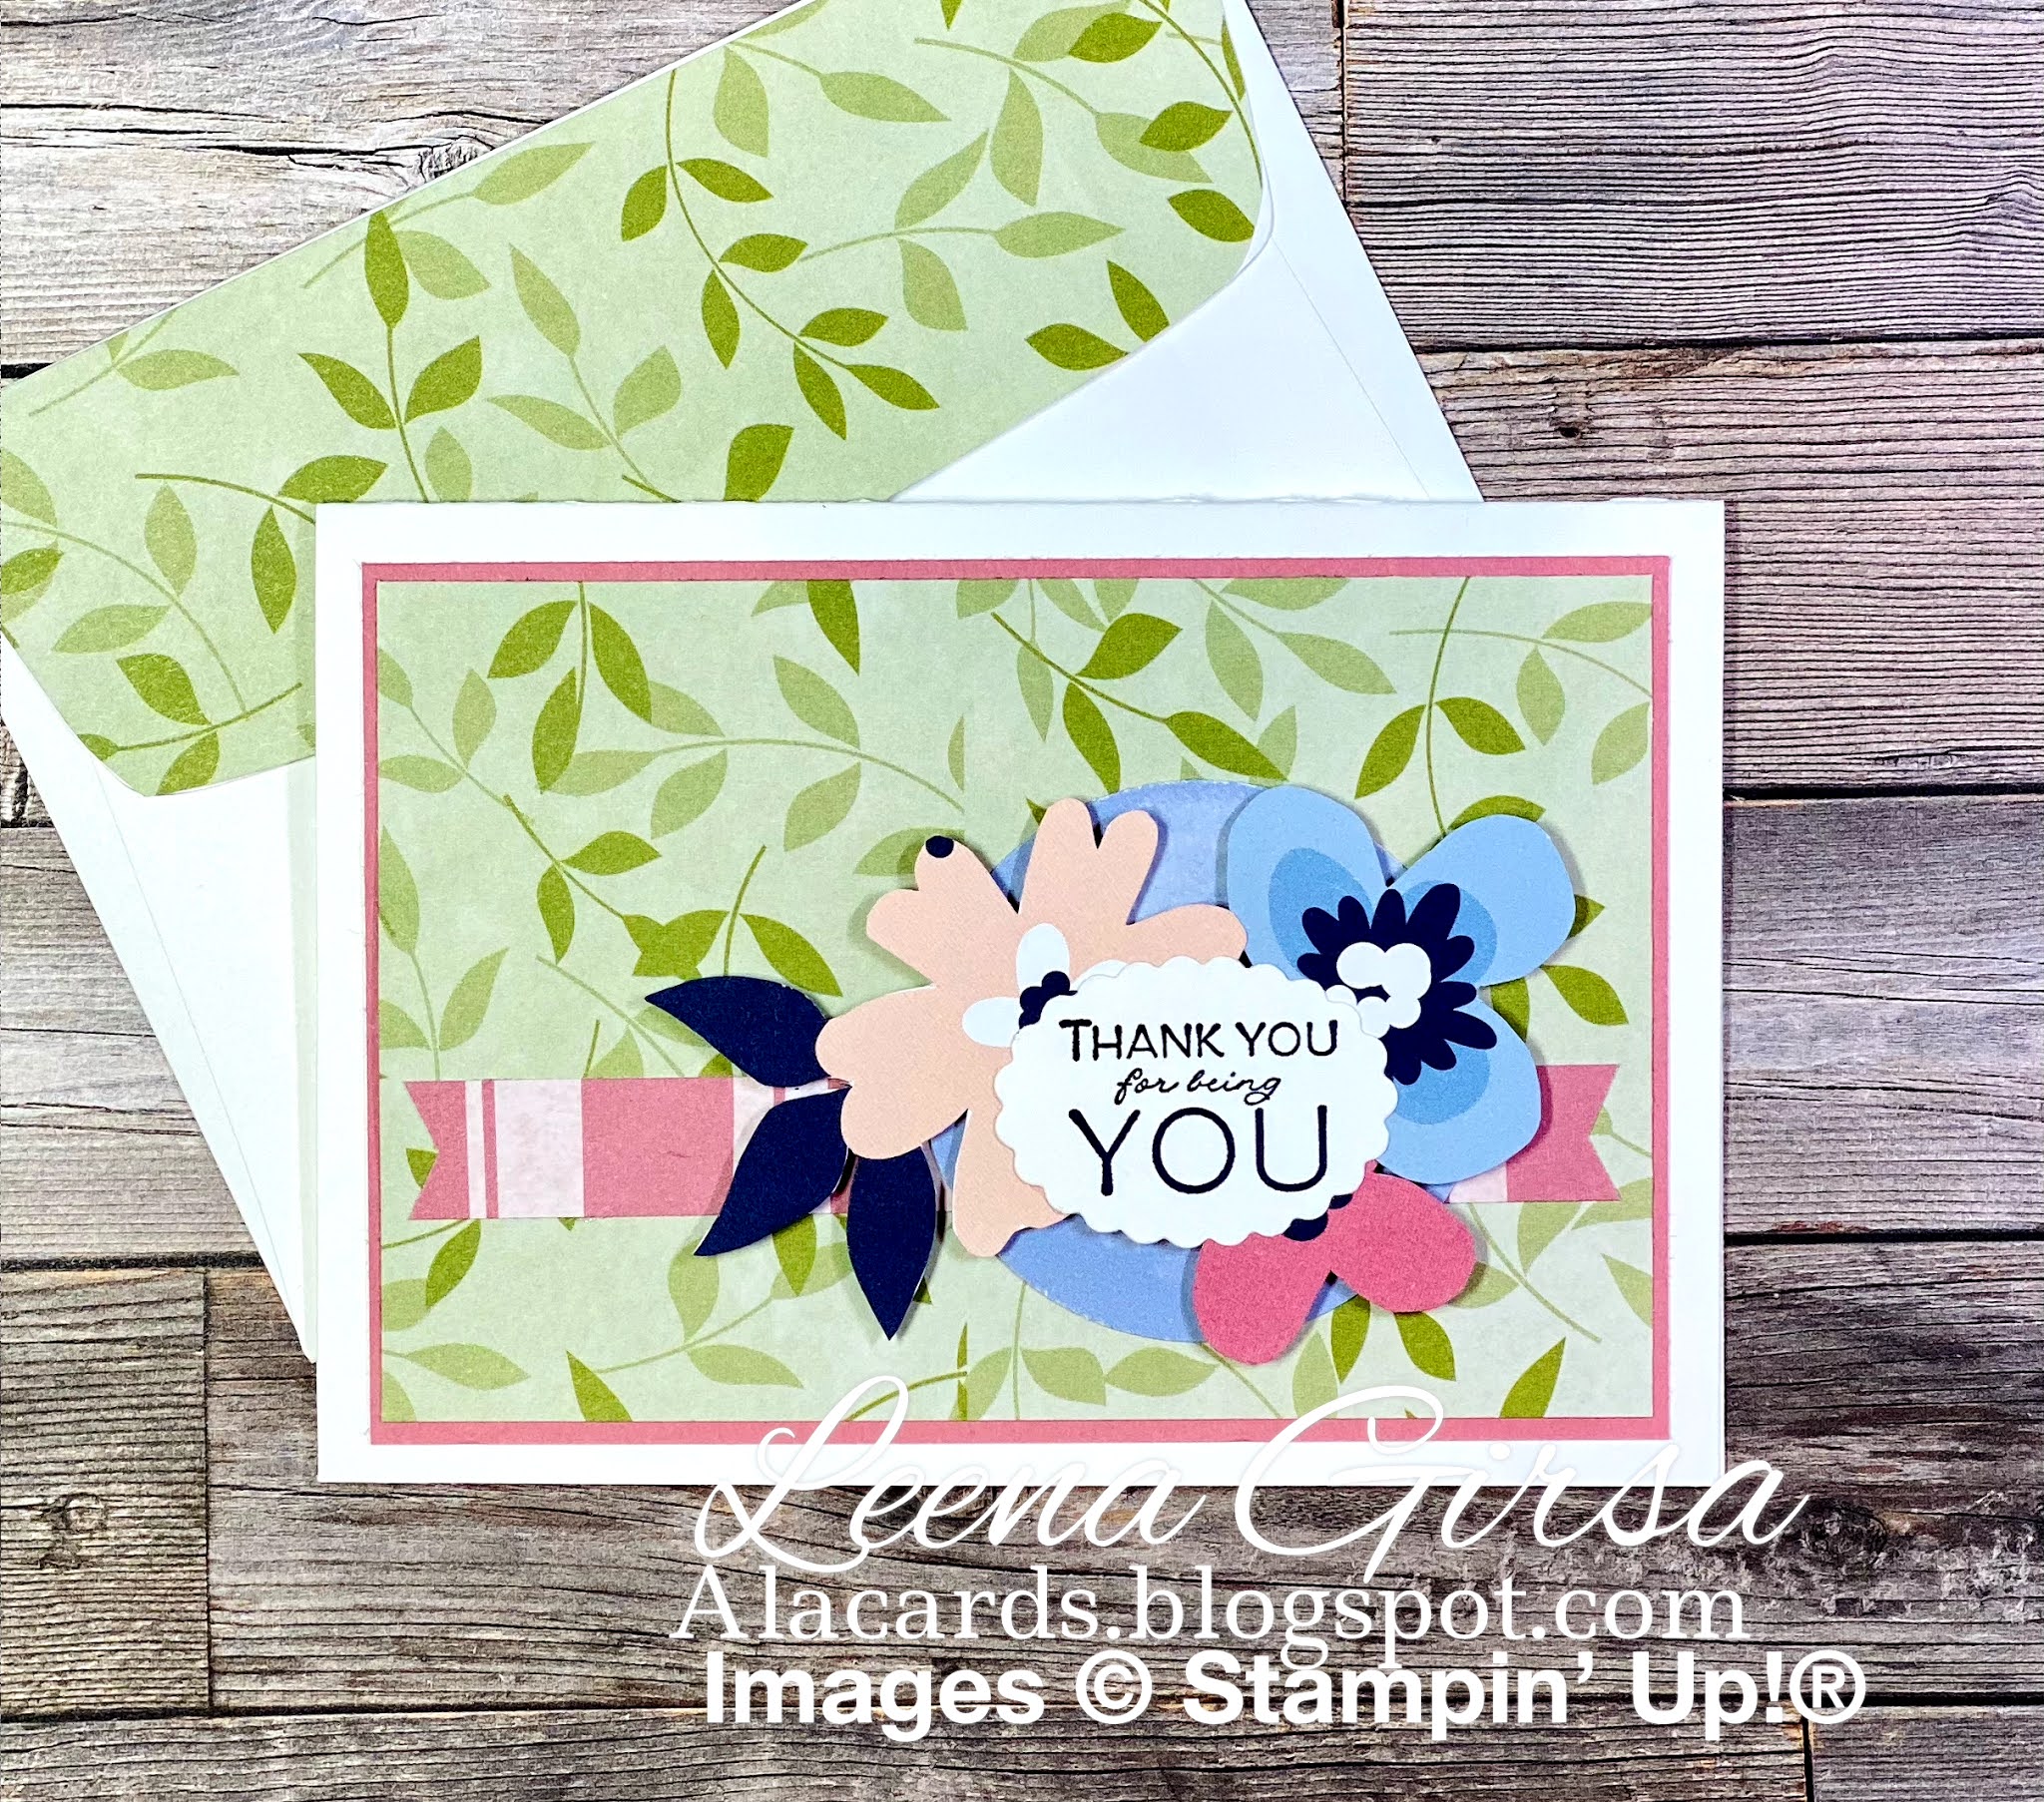
In order to allow all four cards to fit in the folder I had to keep my designs relatively simple and limit the embellishments. It is amazing what one can do with just paper to create pretty cards!
With paper this pretty, ribbon and embellishments just aren't necessary. I did do some fussy cutting of some of the flower images to create my focal points....but they are SUPER easy to cut...even for those who are allergic to fussy cutting ;)
As much as I love the floral images, I had to do one masculine card for the men in our lives. Those little stars are also included in the Many Messages stamp and are cut using the Messages die. Such a bonus! This was the only card on which I allowed myself to use some twine...because boys like bows too!
I demonstrated this project in this video...
Measurements:
Folder:
12" x 12" Designer Series Paper - score at 2" x 5-3/4", 6-1/4" and 10".
Rotate 90 degrees and then score at 2-1/2" and 8-1/4"
24" Ribbon to tie folder closed
Note Cards:
Design 1:
7" x 5" Whisper White card stock, scored at 3-1/2" (or purchase pre-cut White note cards & envelopes - Item #159232 )
3-1/4" x 4-3/4" Paper Blooms Designer Paper
2" punched circle (punched from the large polka dot pattern in the Paper Blooms pack)
Design 2:
7" x 5" Whisper White card stock, scored at 3-1/2" (or purchase pre-cut White note cards & envelopes - Item #159232)
3" x 4-1/2" Paper Blooms Designer Paper
3-1/8" x 4-5/8" Rococo Rose card stock
1/2" x 5" Paper Blooms Designer Paper
2" punched circle (punched from the large polka dot pattern in the Paper Blooms pack)
Fussy cut flowers from the Paper Blooms Designer Paper
Design 3:
7" x 5" Whisper White card stock, scored at 3-1/2" (or purchase pre-cut White note cards & envelopes - Item #159232)
3-1/4"x 4-3/4" Paper Blooms Designer Paper
3-3/8" x 4-7/8" Night of Navy card stock
3/4" x 3" Paper Blooms Designer Paper
Fussy cut flowers from the Paper Blooms Designer Paper
Design 4:
7" x 5" Whisper White card stock, scored at 3-1/2" (or purchase pre-cut White note cards & envelopes - Item #159232 )
3-1/4"x 4-3/4" Paper Blooms Designer Paper
3-3/8" x 4-7/8" Night of Navy card stock
2" punched circle (punched from the large polka dot pattern in the Paper Blooms pack)
12" Baker's Twine (one length in each of Whisper White and Night of Navy)
Thanks so much for starting 2021 with me...I hope the first day of the year is a great one for you. Be sure to stop by again tomorrow for day five of my Countdown to Sale-a-bration series. In the meantime have a spectacular day!
Happy...um...Wednesday? I know, I'm a day late posting this week. I don't know about you, but lately it just feels like there are never enough hours in the day to get everything done. This past weekend was our Thanksgiving here in Canada, but I spent it in my studio prepping for my upcoming virtual retreat. I did manage to cook turkey dinner for my family, but beyond that, I didn't really come up for air. Sometimes having two jobs is HARD! Now that the retreat prep is (mostly) done, I can refocus on projects for this week's live video which is all about HALLOWEEN!
I'm featuring the Hallows Night Magic bundle this week and will showcase some fun cards and treat holders all week long. I'm not normally one to send Halloween cards, but given that things will look very different this year, I am planning to send several more than usual. Check this out...
I have often said I am not one who usually buys Halloween-specific products from our catalogues, but this year's suite is soooo PRETTY I couldn't resist. I am not a fan of scary or gory Halloween products, but these pretty bats and beautiful papers are something I can get VERY excited about!
I used several patterns from the Magic in This Night DSP pack on this card. There are just soooo many pretty patterns to choose from in this set, I couldn't use just one. Bonus: this pack is part of this month's DSP sale...get it at 15% off until the end of October!
To create a sort of spider web effect, I layered some Metallic Mesh ribbon over a strip of black DSP to go behind my sentiment label...I love the effect of this! The sentiment label itself is stamped in Memento Tuxedo Black ink and then coloured using Stampin' Blends in Light Cajun Craze and Light Pretty Peacock. Soooo pretty! The bats are stamped in black ink on Pretty Peacock card stock and then die-cut using the Halloween Magic dies.
On the inside of the Basic Black card base, I added a Whisper White panel on which I stamped another sentiment from the Hallows Night Magic stamp set as well as a partial image from the sentiment label I used on the front of the card. I added a little spider from the Hallows night Magic as a little accent next to the sentiment.
I also designed a fun coordinating Pocket-Bac holder to give along with it...because we ALL need more hand sanitizer in our lives these days, right? The larger label die in the Halloween Magic Dies is the perfect backdrop for a full moon and more pretty bats. And how about that vellum spider? Don't you love the pretty iridescent pearls for his body? Bling like that makes even creepy spiders look pretty!
The Magic in This Night product suite strikes the perfect balance between traditional Halloween imagery and beautifully intricate patterns with a fresh colour palette of Cajun Crazy, Pretty Peacock, Rich Razzleberry and Basic Black. It has so much to offer, even for those of us who aren't huge Halloween fans. You can see more of this suite, including both of these projects, in my video below. All of the measurements for both projects are included in the video description on my YouTube channel:
Thanks so much for stopping by today. I hope you have a fabulous week!
Happy Tuesday! I hope your week is off to a good start. Today is a simply STUNNING day, here in Southern Ontario. Bright sunshine, coolish temps...such a welcome break from the oppressive heat and humidity we've had this summer!
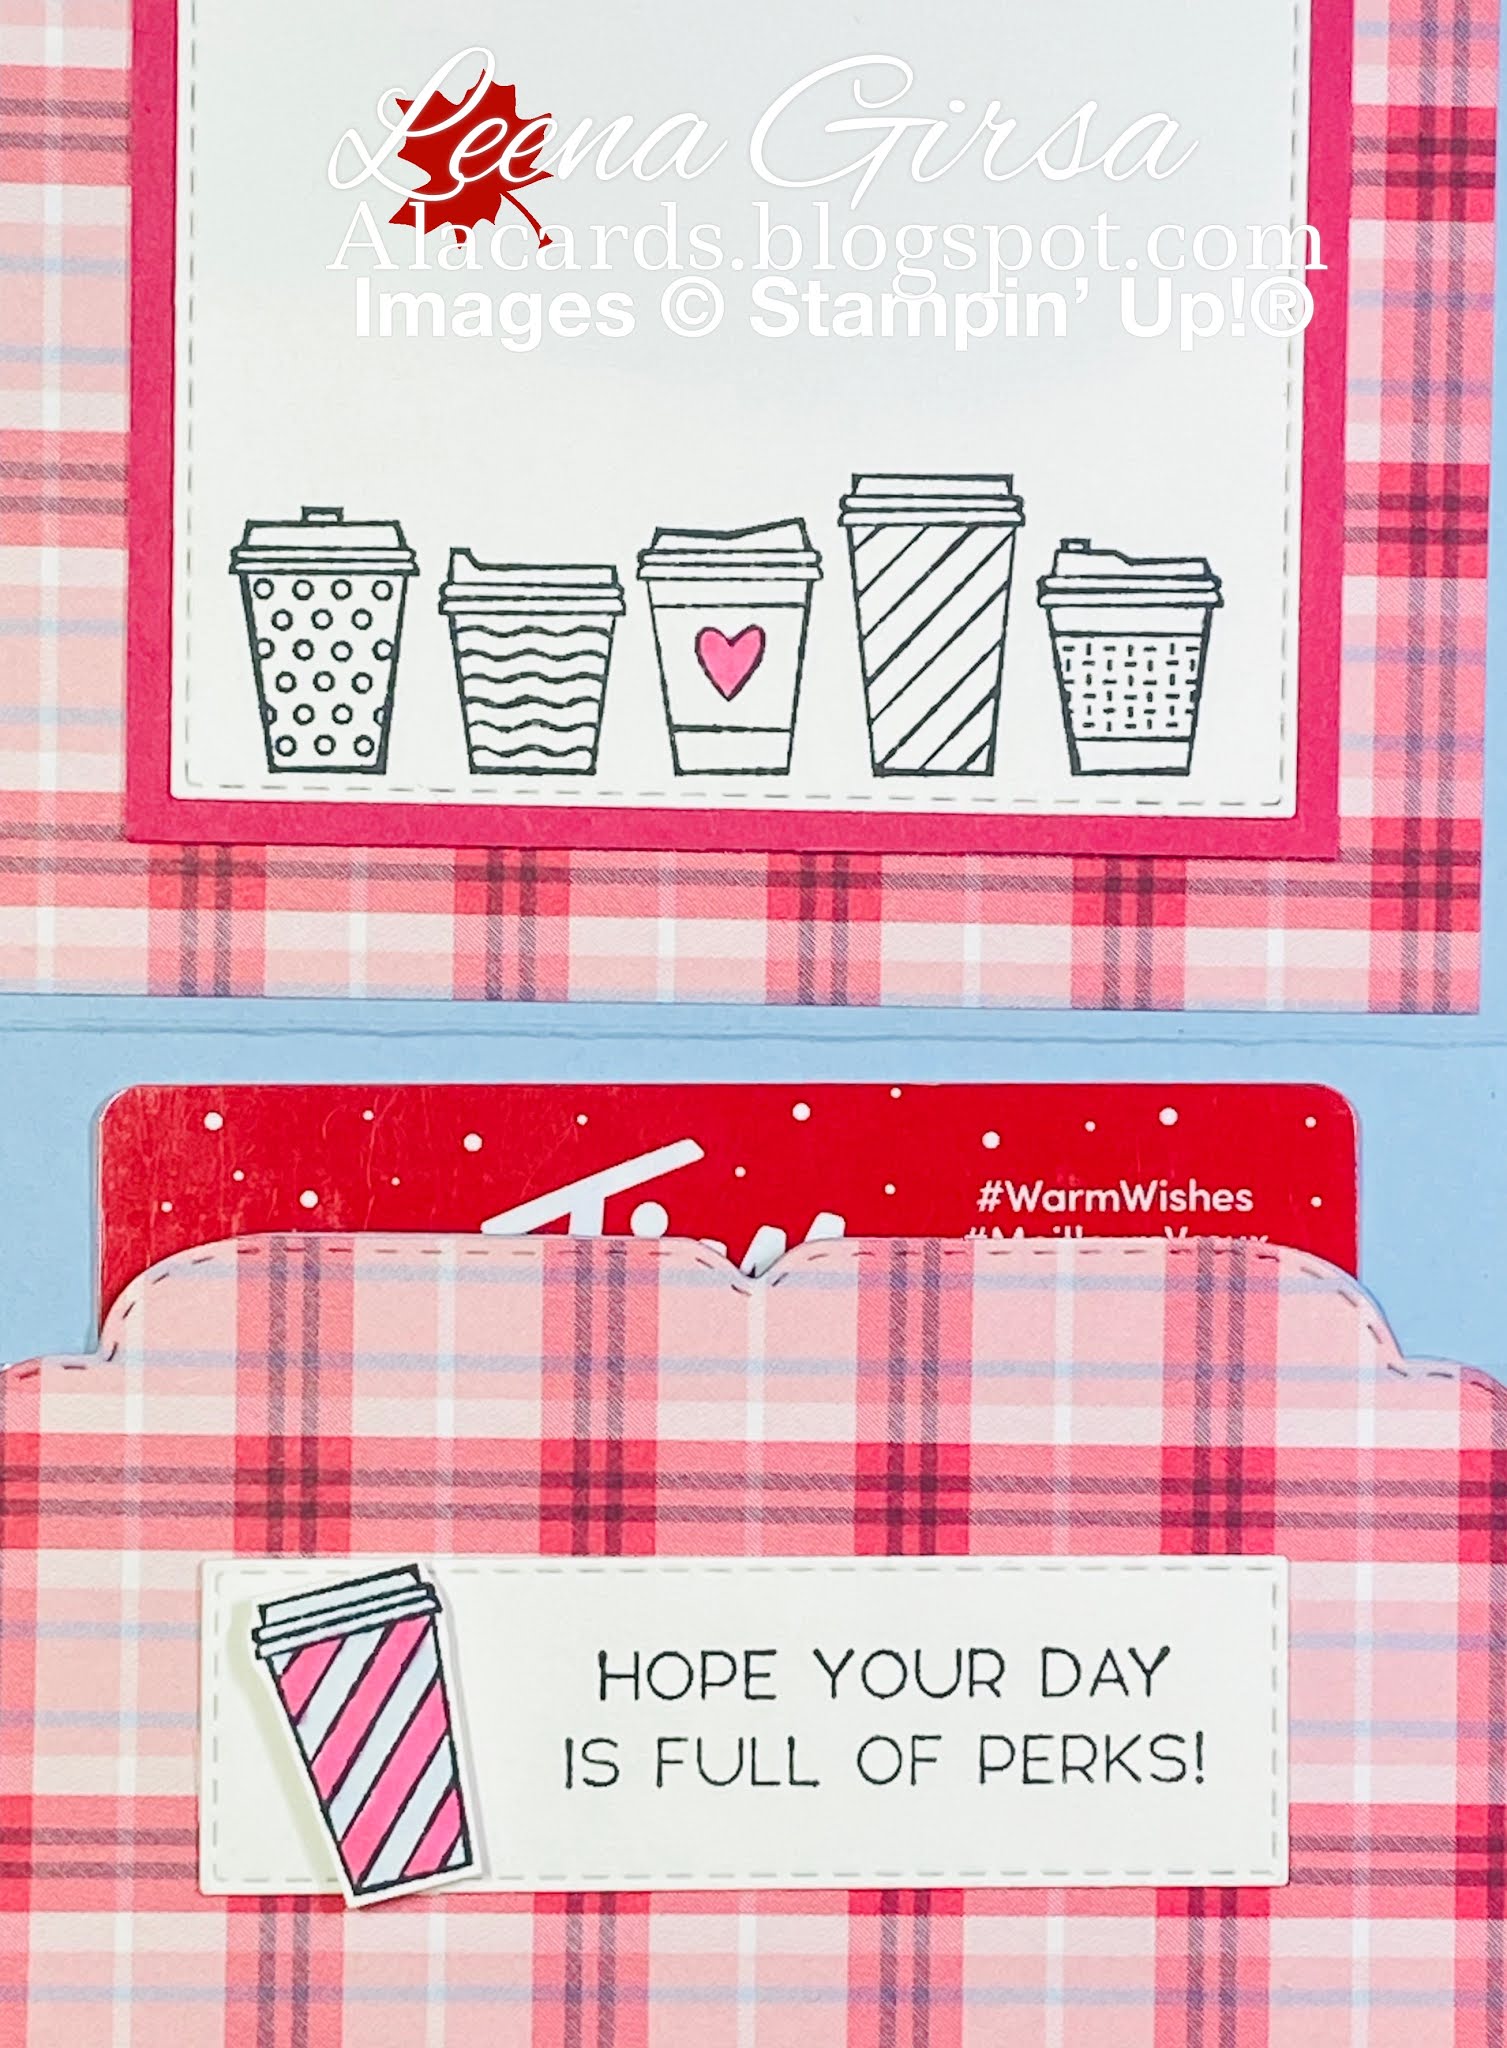
Today I am picking up where I left off on Saturday with the Press On stamp set from the August - December Mini Catalogue and a fun gift card holder idea for the coffee lover in your life. Check it out...
In designing this project, I started with a basic Joy-Fold Card and turned it to a portrait orientation. Instead of cutting my 4-1/14" x 11" card base down, I added an extra score line at the 8-1/2" mark to create a pocket to hold a gift card. So simple! Once I had the foundation for my gift card holder, I had some fun with the Plaid Tidings DSP...how I LOVE that paper pack! There truly is a plaid for every occasion in there! Drawing from the colours in the plaid pattern I chose, I used a palette of Seaside Spray, Melon Mambo and Whisper White. I stamped the cup, coloured it with Seaside Spray Blends and then fussy-cut it out. I paper-pieced a plaid wrapper and added some Misty Moonlight baker's twine and a sweet little heart from the Playful Pets Trinkets.
To add a little interest to my gift card pocket, I used the new Celebration Labels dies to create a decorative edge, adhering the DSP before die-cutting, so I got a nice, clean finish. I added a Stitched Rectangle label with a sentiment and a fussy cut and coloured coffee cup.
On the inside panel, I stamped some more coffee cups and coloured the heart with my Light Melon Mambo Blends.
I'll be demonstrating this project, along with two others using the Press On stamp set in today's Tuesday Live @ Five video over on my Facebook page. If you aren't on Facebook or miss the live broadcast, you can catch the replay over on my YouTube Channel shortly afterwards.
Thanks so much for stopping by today. Have a fantastic week!
Today I have a fun project that I designed for an upcoming fun folds card class. Check it out...
It's a pyramid card! This is the first side.
This is side two.
...and this is side three. Isn't that fun?? Here it is unfolded so that you can see all three sides at the same time...
To create the pyramid base I followed this fabulous tutorial. To create this outdoor scene I used the new Always an Adventure stamp set and coordinating Outdoor Adventure Framelits. Both are available together in a bundle at a 10% discount in the new catty. They are SO much fun!! I actually had originally conceived this as a Father's Day card, but then realized that the class I was designing for was AFTER Father's Day...doh! It still totally works as a birthday card for an outdoors-lover. Here is the low-down on how I did each side.
For the front panel I began with a Soft Sky triangle cut to fit the panel of the pyramid. I also had similar triangles in Basic Gray and Emerald Envy. I die-cut the mountains from the Basic Gray triangle and the trees from the Emerald Envy one and adhered them to the Soft Sky base. Would you believe this framelit set even includes a die to cut the snow for the mountain tops? It took me a little while to figure that one out, so you're welcome...I just saved you the trouble ;)
The little bear is stamped in Basic Black ink and die cut. The sentiment banner is stamped using the Thoughtful Banners stamp set (this is one set that is going to see TONS of use in my studio!) using Emerald Envy ink. I added a bit of Linen Thread to highlight the sentiment.
For the second panel I again begain with a Soft Sky triangle and an Emeral Envy triangle. I trimmed the Emerald Envy one to create a bit of a hill. I adhered it to the Soft Sky triangle. The tent and trees are stamped in Soft Suede and Emeral Envy ink respectively, and are die-cut using the Outdoor Adventure Framelits. The little clouds are also die-cut using the same framelits from Whisper White card stock.
The third panel once again began with a Soft Sky triangle and an Emerald Envy triangle. I die-cut the trees once from the Emerald Envy triangle and then again from a piece of scrap. I adhered the one cut from scrap behind the triangle-based one, offsetting them slightly, and then adhered both to the Soft Sky triangle. The sign post is stamped in Early Espresso ink and die cut using the Outdoor Adventure framelits. The clouds are done in the same manner as for the previous panel.
On the inside, I adhered two Whisper White triangles. On one I stamped the lake image from the Always and Adventure set using Pacific Point ink. I added the sentiment from the Bear Hugs set stamped in Basic Black ink. On the other panel I added a couple more stamped and die-cut trees. The pyramid card base is constructed from Kraft card stock and measures 4-1/4" x 5-3/4" when folded flat. Perfect to fit in our medium envelopes!
I had such fun creating each scene on this project. While working on it I had tons more ideas for other projects. Stay tuned!
I can't wait to teach my class guests how to create this fun card!!