Showing posts with label Bright Christmas stamp set. Show all posts

Wednesday, November 23, 2011

Deja Vu...

You may experience  a little Deja Vu when you see the card  I have for you tonight.  It is a variation on a card I did a couple of weeks ago for a Stamp-A-Stack a customer was hosting.  I used the same layout and switched up the colour scheme and stamp set for my Christmas Club this month.  See what you think...

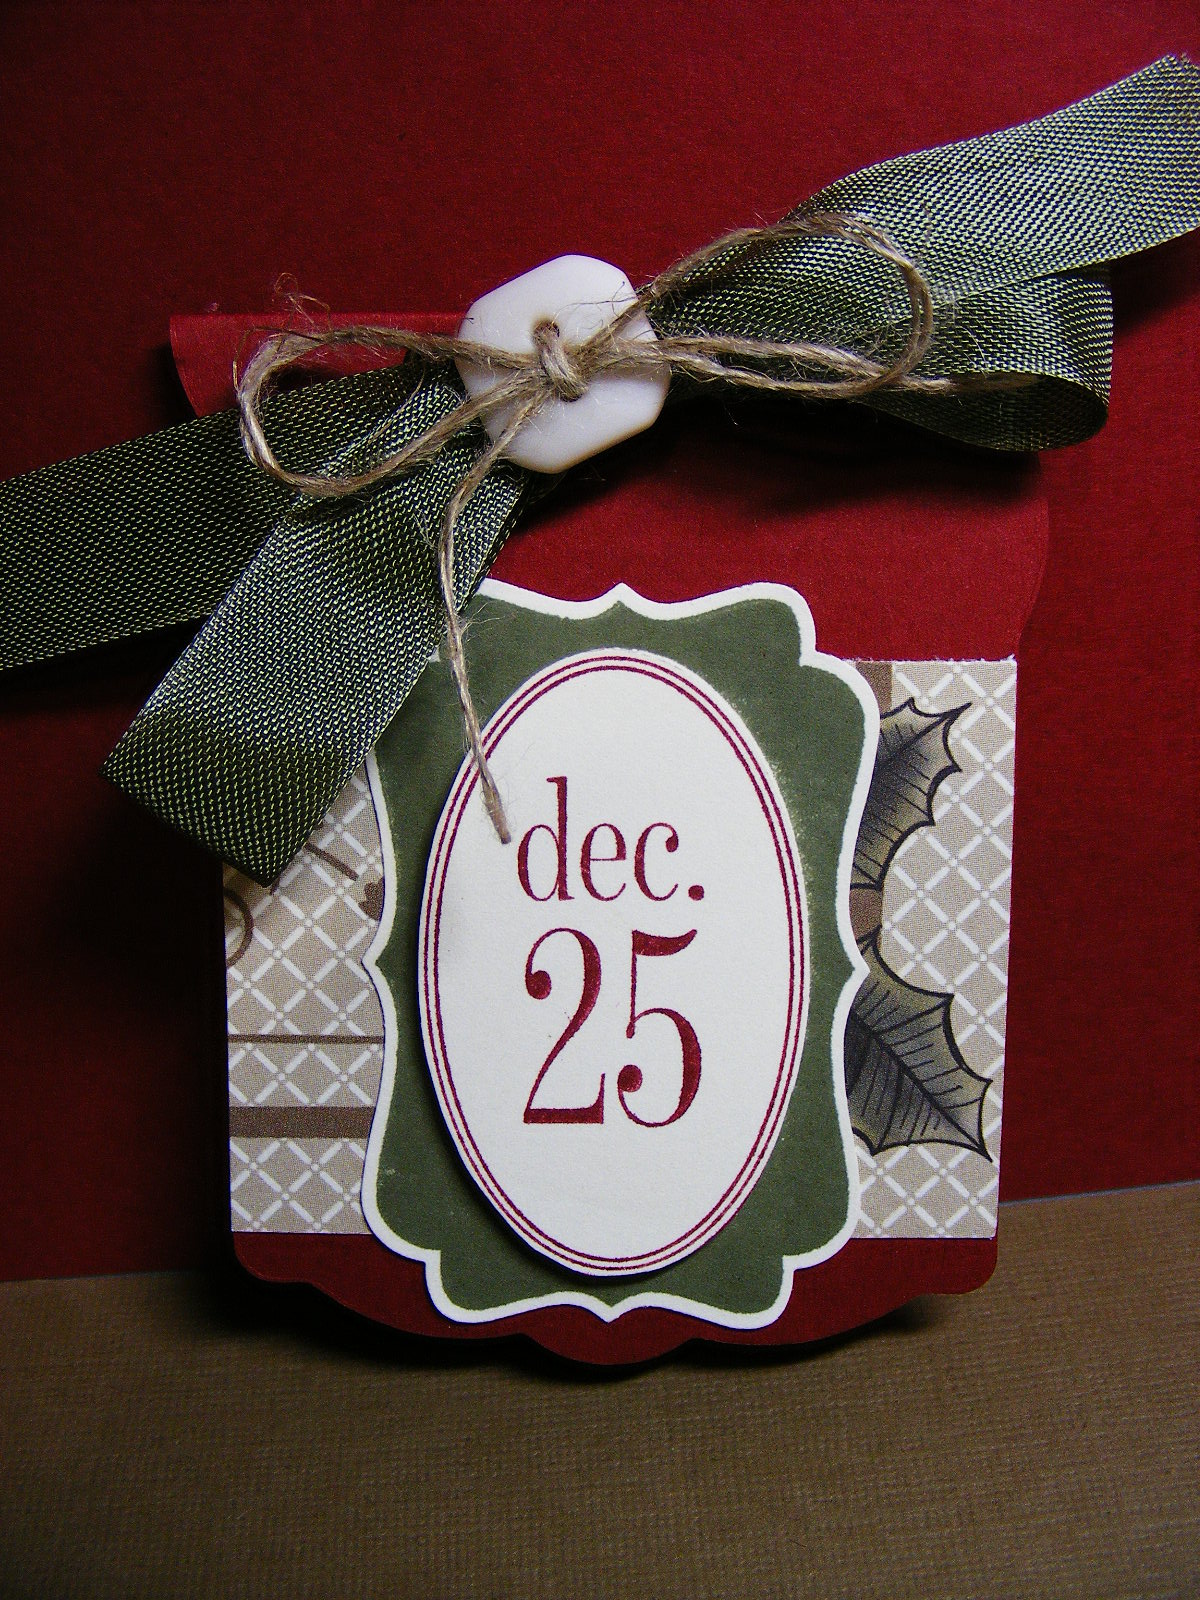
Elegant Holiday card featuring Bright Hope stamp set and Mocha Morning DSP
Isn't it amazing how you can take one card design and transform it by simply changing up the colours and stamp set?  The original version of this can be seen HERE.  Neither card uses traditional Christmas colours...this one  uses basic gray, basic black, whisper white and cherry cobbler.  The flocked Mocha Morning DSP is just so yummy; rich and elegant...love it!! 
See how easy it is to take an existing design and make it new?  If you are one who finds it  difficult to be creative and come up with original designs on your own, try taking something you've seen and switching it up to make it your own.  It is a great way too spark your creativity and find your own stamping style.  Before long you'll be designing up a storm and wondering who this incredibly creative person is!  Give it a try the next time you sit down to stamp!

Monday, October 18, 2010

Tin o' Tags - vintage edition

Today, as promised, I have photos of the Vintage Tin o' Tags I promised yesterday.  Again, this will be offered as one of the options as part of my Dec. 4th class.
Vintage-style tin covered with Deck the Halls DSP.

Again, I covered the sides of the tin with DSP and the edges of the lid with 1/8" taffeta ribbon.  The faux closure on the front is a piece from the Table Setting die with a couple of Very Vanilla buttons glued on...a cute little detail.

Close up of focal image.  Christmas Postcard stamped on water colour paper and then coloured using a blender pen and ink pads.  The bells are coloured using Gold Lamme smooch accent ink.

Tin o' Vintage tags!

Tag #1 cut using the Two Tags die. 

Tag #2 - another version of the above tag.

Tag #3 also from the Two tags die

Inside of Tag #3

Tag #4 using the Table Setting die

Inside of Tag #4

Tag #5 using the Scalloped Circle and Snowflake #2 dies

Tag #6 using the Top note die
I can't believe that there was a time I never considered doing anything in a vintage style...it just comes so naturally now!  I really enjoy layering and distressing to create that soft, worn look I have grown to love.  I have to say that it is thanks to this Holiday Mini and all the gorgeous vintage Christmas items in there!  If you haven't ordered your handmade holiday supplies yet you are in luck!  Starting tomorrow Stampin' Up! is offering some fantastic items from both the mini and the main catalogue as bundles that are discounted 20%!!  I will have more information to post on these fantastic deals tomorrow, so be sure to check in to learn the details.

Friday, October 15, 2010

Winter Wonderland

Man, this has been one LONG week!  Why is it that 4-day weeks feel like 6?  I am soooo glad it is the weekend!  I am ready for a nice long nap and some stamping fun!  Today's card is one I did last night along with yesterday's post.  I was just experimenting with the White Frost shimmer paint to see how it would look stamped on dark cardstock.  I was thrilled to discover it looks pretty darn good!
Single layer card stamped using Serene Snowflakes set and White Frost shimmer paint.
This card is a BIG departure for me.  My designs usually have lots and lots of layers with various textures and embellishments.  This card only has one layer!  I stamped it using the shimmer paint and boy, does it look great!  I am definitely going to make use of this technique more often.  After allowing the paint to dry I just added a strip of Whisper White satin ribbon and then layered some Marina Mist 1/8" taffeta over top.  I adhered the snowflakes (they are coated with Dazzling Diamonds glitter, but don't show so well in the photo) using dimensionals.  The little bow on the middle snowflake was adhered using a glue dot.  The sentiment is from the Bright Christmas set.  I stamped it in Night of Navy and then trimmed the cardstock following the shape of the text.  I notched the ends to give a banner effect.  I sponged the edges lightly in Marina Mist ink and then mounted it using a double layer of dimensionals so that it would pop up above the snowflakes.  I was actually pretty pleased with the way this came together really quickly and easily.

I forgot to take pictures of the inside...sorry!  I'll do better next time!!  Have a great weekend, everyone!

Thursday, October 14, 2010

Merry and Bright...

I appear to be on a Night of Navy kick this week.  Today's post (and tomorrow's too!) features that colour as a key component.  Today I used my colour coach to create a combo suitable for a frosty, wintry-type card...
Wintry Christmas card featuring the Serene Snowflakes stamp set.

Focal image with sentiment from the Bright Christmas set from the Holiday Mini.

Inside of card sentiment is from the Occasional Quotes hostess level 3 set.
I am really liking today's card (unlike yesterdays tinsel nightmare!).  I started by stamping the various snowflakes all over a piece of Whisper White cardstock  in both Marina Mist and Night of Navy ink.  I then sponged Frost White shimmer paint all over to give it a frosty shimmer (DUH!).  I tore the edge and then sponged Marina Mist and Night of Navy around the edges.  I adhered this piece to a piece of Marina Mist which I had also torn and sponged lightly with Night of Navy.  I wrapped a piece of Whisper White satin ribbon around the cardfront and then layered a piece of Marina Mist 1/8" ribbon over top and tied a little bow.  The sentiment was stamped in Night of Navy and then punched out using the 2 3/8" scalloped circle punch.  I notched the scallops and added a couple more snowflakes in Marina Mist.  I also sponged it with shimmer paint so that it would match the background.  I mounted the scalloped piece to a 2 1/2" circle of Night of Navy and added a large square Ice brad.  The inside is pretty easy to figure out from the photo...I have to run and tuck my son into bed!  See you tomorrow with more wintry navy-ness!
Related Posts Plugin for WordPress, Blogger...