Showing posts with label Tags Till Christmas stamp set. Show all posts

Tuesday, November 9, 2010

Workshop Make 'n' Takes

November is a busy month in so many ways...report cards at school, lots of rehearsals in preparation for lots of Christmas concerts (I am a music teacher...have I mentioned that before?) and tons of holiday card and project classes and lots of workshops!  I have another workshop this week on Thursday and I spent this evening prepping for it.  We are going to do 2 make 'n' take projects:
The package of tags on the left contains 15 simple tags.  The project on the right is a gift card holder.

Gift card holder made using the table setting die and the Dasher A La Carte stamp.

Back of the gift card holder.

Tags using the Gifted and Tags Til Christmas sets.
Both of these projects come together quickly and easily...just perfect for a workshop make 'n' take!  The little bag of tags uses the Noel stamp from the Gifted set.  I stamped it in Real  red on Whisper White cardstock and punched it out with my 1 3/4" circle punch.  I layered it  over a 2" circle punched from Candy Cane DSP.  The other two tags, not visible in the photo (sorry...I had sealed the bag before I remembered to take a picture!) use the snowman and the pine bough stamps from the Tags  til Christmas set.  They are stamped in Baja Breeze and Wild Wasabi respectively and are also punched out and layered on coordinating patterns of Candy Cane DSP.
The second project is a little gift card holder I made using the table setting die and my Big Shot.  I folded the die cut and wrapped some brushed silver card stock around the fold to hold the pocket together.  I stamped the Dasher image in versamark and embossed it using silver embossing powder.  I then punched it out using a 2" circle punch and layered it on a large scalloped circle punched from brushed silver.  Prior to adhering the image I wrapped a piece of Marina Mist satin ribbon around the pocket and secured it with SNAIL adhesive.  I then adhered the Dasher image using dimensionals.  I added a single little rhinestone jewel to the antlers for some sparkle.  To add a little more sparkle and  to facilitate hanging it on the tree I created a loop with the wired silver tinsel and adhered it to the top of the tag using another piece from the table setting die and a shimmer brad.  The back of the gift card holder has a little tag to address to the recipient.  This is another example of a project that took much longer to explain than it did to make!  I'm hoping my guests at  my workshop will like these fun projects!

Wednesday, November 3, 2010

Quick and easy gift card holder

This week has been nuts!  I've got so much going on its hard to know where to start, so today's post will be a quickie.  I made this easy gift card holder the other night.  I literally took me 10 minutes to make.
Top Note die gift card holder

The top layer swings open using the brad as a hinge

I got a little carried away with my decorative label punch (but I like the effect!)
To start, I ran two pieces of Always Artichoke cardstock, 2 pieces of the Deck the Halls DSP and a piece of Big Shot multipurpose adhesive sheet through my Big Shot ALL AT THE SAME TIME using my Top Note die.  I adhered one of the DSP die cuts to one of the cardstock die cuts using the adhesive die cut.  I cut the second DSP die cut in half and adhere the outer edges to the last cardstock die cut using sticky strip.  I then punch a 1" strip of always artichoke cardstock using my scalloped edge punch and then used my 1/16" hole punch to punch each scallop I adhered that along the top edge of the half top note DSP.  I laid the two top note pieces on top of eachother, making sure they lined up and punched a small hole at the top using my Crop-a-dile.  I put an antique brad through the hole.  I cut a piece of cherry cobbler seam binding ribbom and a piece of Chantilly Lace trim, layered them on top of eachother and tied a bow.  I adhered the bow just below the brad using Tombow.  I stamped the focal image from the Tags Till Christmas set in Cherry Cobbler on very vanilla cardstock and punched it out using my decorative label punch.  I also stamped the same image in always artichoke and then hand cut out the centre oval.  I adhered that to the cherry cobbler piece using dimensionals.  Then I punched several more decorative labels in always artichoke, cherry cobbler and very vanilla and layered them behind the original image.  I adhered the whole thing to the front of the project.  For the inside sentiment I stamped the image from the Bells and Boughs set in cherry cobbler on very vanilla, punched it out and layered it on another cherry cobbler punch.  I adhered it with dimensionals as well.

That's it...start to finish in under 10 minutes...I think it actually took me longer to type this post than it took me to make this project!

Tomorrow night I am teaching a stamp-a-stack class in Waterloo and will not be home to post.  I will be back by the weekend with some new ideas...I just received an order today!!  Can't wait to play...

Friday, October 29, 2010

Contemporary gift card holder

As I mentioned in an earlier post, last weekend was spent working on projects for my upcoming holiday classes.  One of the classes is all about gift-giving and finding unique ways to make your gifts extra-special.  I designed this gift-card holder as one of the options for that class.  It has a contemporary look...I also did a vintage one I'll post tomorrow.
Gift card holder using Jolly Holiday DSP

Inside view #1

Inside view #2 (I had to use a Tim Horton's card...I AM Canadian, after all!)
This is one of the few projects I did last weekend that I was actually happy with and that will make my class line-up.  I started with a 4 1/4" x 11" piece of Cherry Cobbler cardstock.  I scored it at 3", 4", 5", & 8".  I folded along the score lines, creating a "mountain" with the two 1" sections.  I added a 4 x 3/4" piece of DSP to each 1" section and then glued the sections together with sticky strip.  Be sure to put the sticky strip on the OUTSIDE edge, otherwise your giftcard won't go into the slot (don't ask me how I know that!).  I then punched a slot with my Word Window punch that was wide enough to accommodate the gift card.  The rest of the project is up to you.  You can decorate it as much or as little as you'd like.  For the front of mine, I used more Jolly Holiday DSP which I matted on Old Olive cardstock.  I punched out an ornament from a different pattern in the Jolly Holiday pack, embellished it with a gilttery snowflake (cut with the Northern Frost die), added some linen thread and a little "Merry" tag from the Tiny Tags set.  The ribbon I used is the 1/8" taffeta in Old Olive.  The first inner page was again more of the Jolly Holiday DSP and a little tag from the Tags Till Christmas set.  The inside Christmas tree image is from the Contempo Christmas set;  I coloured it with markers and added a shimmer brad in Real Red for the star.  I left one page blank to write a heartfelt greeting on. 
What I like about this project is it's versatility...this layout could be used for any occasion and be as elaborate or as simple as one wants.  Tomorrow I'll post a vintage version of this idea.  In the meantime, have a great weekend!

Thursday, October 28, 2010

Treat Box makeover

Last month Stampin' Up! ran a Clearance Rack Blitz where many discontinued items were offered for online purchase at deeply discounted prices.  Being the good little shopper I am, I picked up all sorts of goodies; among them the Treat Boxes that were in last year's Occasions Mini.  These cute little boxes are sturdy but the colour scheme (Chocolate Chip and Creamy Caramel) just weren't cutting it for Christmas.  So, I decided to make it over into a sweet little Christmas box. 
Treat Box Christmas Make-Over

Close up of focal image with 3D ornament.
 When I began this project I had thought it would be a good one to offer as part of my Gift Giving class in December...then I realized just how involved it would be and thought better of it!  I will certainly use this little box in my own gift giving this year, but I think it would have to be a class all on it's own if I were to try to teach it to anybody else!
In case you want to try it yourself, here is a list of supplies I used:
Cardstock:  Old Olive, Real Red, Whisper White
Patterned Paper:  Jolly Holiday, PlayDate
Stamps:  Lovely as A Tree (for the pine bough from which the ornaments are hanging), Tags Till Christmas, Contempo Christmas
Ink:  Real Red, Old Olive
Fibers:  Double-stitched White Grosgrain (retired), 1/8" taffeta in Real Red and Old Olive, gold elastic cord (also retired)
Tools:  Big Shot, Top Note die, ornament punch, decorative label punch, word window punch (to punch the slot at the top)

This project uses LOTS of adhesive.  To adhere the layers of patterned paper to the cardstock I used the new Big Shot multipurpose adhesive sheets.  I am LOVING these things!  It makes adhering paper so easy and it DOES NOT come up.  I also used lots of sticky strip to adhere the various panels to the box.

If you want to try this yourself, do as much as you can prior to assembling the box...it is easier to work on a  flat surface!
Good luck!

Monday, October 18, 2010

Tin o' Tags - vintage edition

Today, as promised, I have photos of the Vintage Tin o' Tags I promised yesterday.  Again, this will be offered as one of the options as part of my Dec. 4th class.
Vintage-style tin covered with Deck the Halls DSP.

Again, I covered the sides of the tin with DSP and the edges of the lid with 1/8" taffeta ribbon.  The faux closure on the front is a piece from the Table Setting die with a couple of Very Vanilla buttons glued on...a cute little detail.

Close up of focal image.  Christmas Postcard stamped on water colour paper and then coloured using a blender pen and ink pads.  The bells are coloured using Gold Lamme smooch accent ink.

Tin o' Vintage tags!

Tag #1 cut using the Two Tags die. 

Tag #2 - another version of the above tag.

Tag #3 also from the Two tags die

Inside of Tag #3

Tag #4 using the Table Setting die

Inside of Tag #4

Tag #5 using the Scalloped Circle and Snowflake #2 dies

Tag #6 using the Top note die
I can't believe that there was a time I never considered doing anything in a vintage style...it just comes so naturally now!  I really enjoy layering and distressing to create that soft, worn look I have grown to love.  I have to say that it is thanks to this Holiday Mini and all the gorgeous vintage Christmas items in there!  If you haven't ordered your handmade holiday supplies yet you are in luck!  Starting tomorrow Stampin' Up! is offering some fantastic items from both the mini and the main catalogue as bundles that are discounted 20%!!  I will have more information to post on these fantastic deals tomorrow, so be sure to check in to learn the details.

Sunday, October 17, 2010

Tin 'o Tags

Why is it that the weekends always go by SO much faster than the work week?  I just was settling in to get some stamping done this afternoon and here it is already 9:30!  How does that happen??
Today was all about the tags...gift tags that is. I am running a gift packaging class on the first Saturday in December and I decided it was about time I got going on planning the projects for it!  Part of the class will be dedicated to creating beautiful gift tags and so today I came up with a vintage and a contemporary collection all packaged in a reusable tin.  Class participants will be able to choose which style they would like to make.  Today I am posting the contemporary version...tomorrow will be the vintage one!
This sturdy tin is covered in Jolly Holiday DSP.  When the tags are gone the tin makes a lovely gift-box.

Close up of the focal image from the Contempo Christmas set

Even the sides of the tin are covered!  The edges of the lid are also covered in 1/8" taffeta ribbon...a perfect fit!

A Tin 'O' Tags!


Tag #1 - using the Two Tags die and my Big Shot

Inside of Tag #1

Tag #2 - also from the Two Tags die

Tag #3 - Uses the Top Note Die
Tag #4 - Using the Table Setting die

Inside of Tag #4 (not sure what's up with the smear on the right?!?)

Tag #5 - Using the Two Tags die

Tag #6 - using the Top Note Die
 My original plan had been to keep these tags fairly simple, but I've decided I just CAN'T do simple!  I start with something simple and just keep adding and playing and before I know it, I've spent an hour on a "simple" gift tag!  Ah well...I like 'em and I hope my customers will too!  If you are reading this thinking "I'd like to make these tags and have a lovely tin to hold them all", drop me a line and sign up for my class!  It is running on Saturday, December 4th at 9:30 am.  I'd love to have you join us!

Now for the worst part of the weekend...heading to bed and setting the alarm for 6:00 am!  Have a good night everyone...talk to you tomorrow when I show you my vintage version of the Tin 'o' Tags!

Thursday, September 9, 2010

A Playdate Christmas

I am always impressed by the quality and versatility of Stampin' Up! products.  They really are second to none.  Last week I was working with the Playdate DSP (see my back to school post) and realized that while the child-friendly patterns are great and really cute, not everyone has a use for that style of paper.  Imagine how thrilled I was to realize that the reverse side of all the kid-type prints are beautiful, subtle, single-colour patterns!  This paper is just perfect for so many uses!  Today's card is a case-in-point.

Christmas card using Playdate DSP!
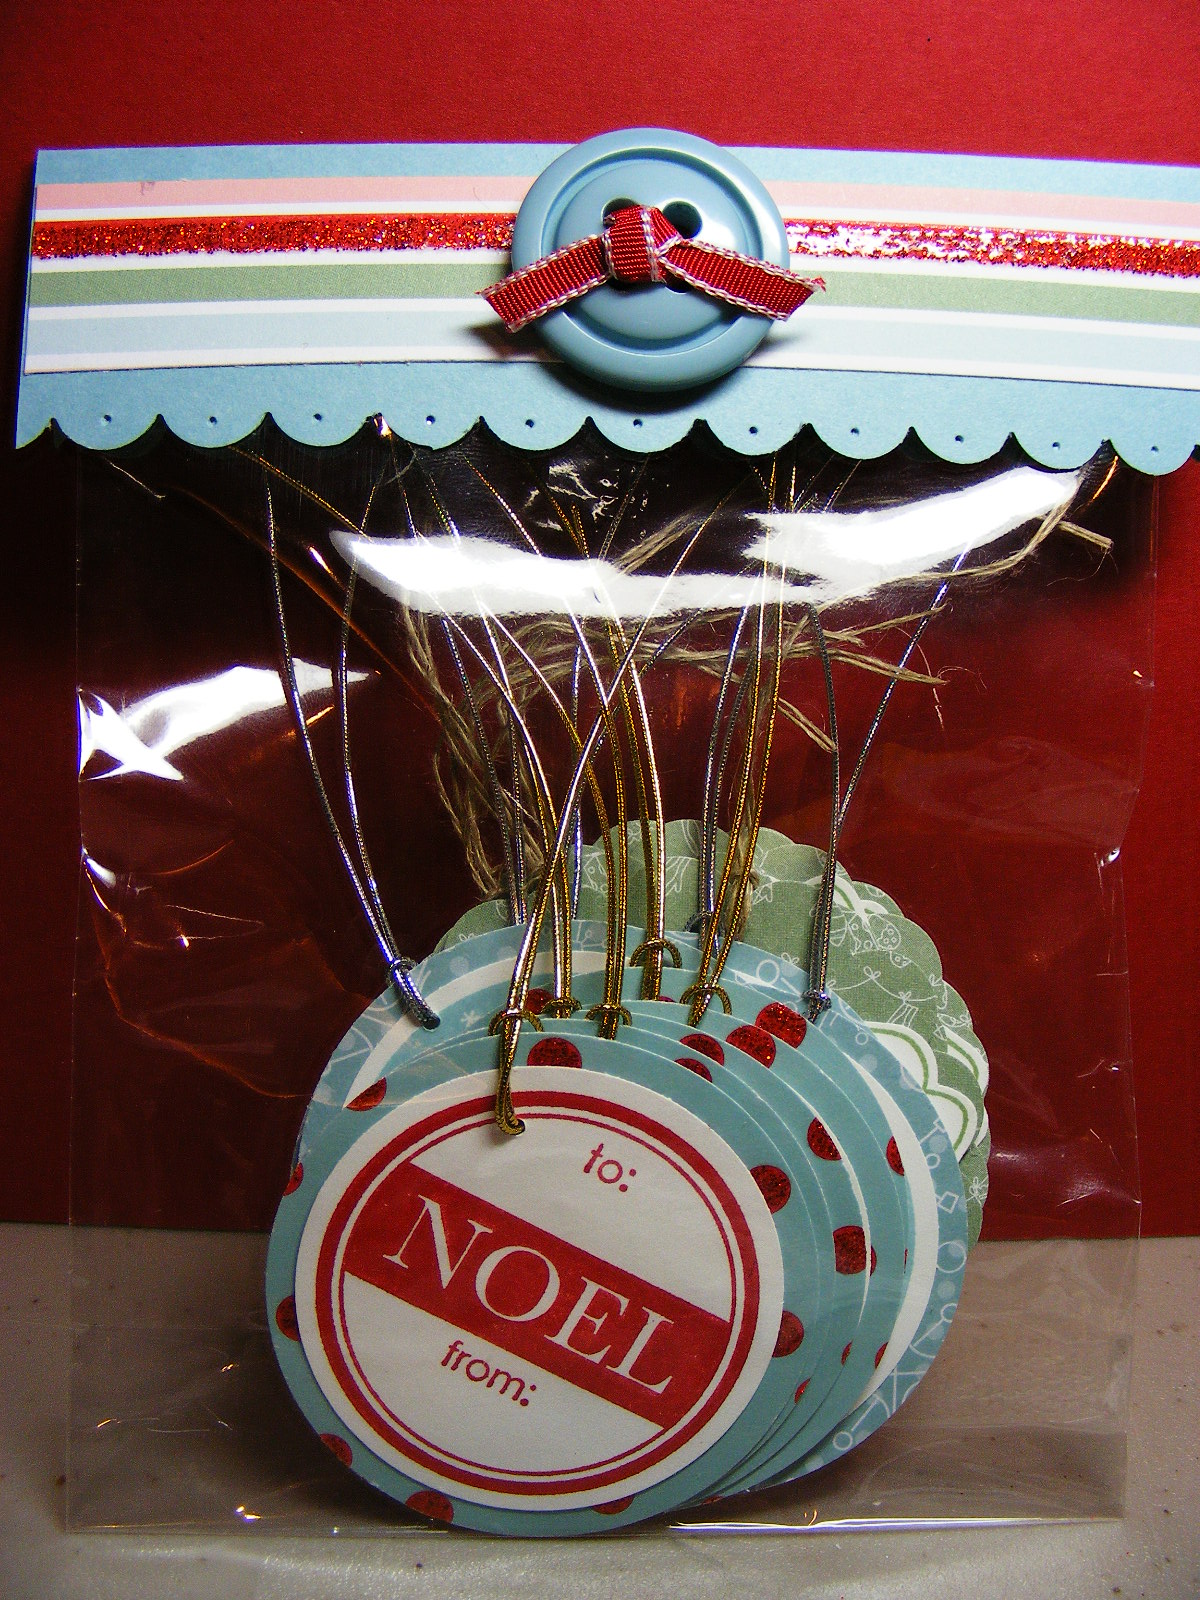
Close-up of the ornament focal image
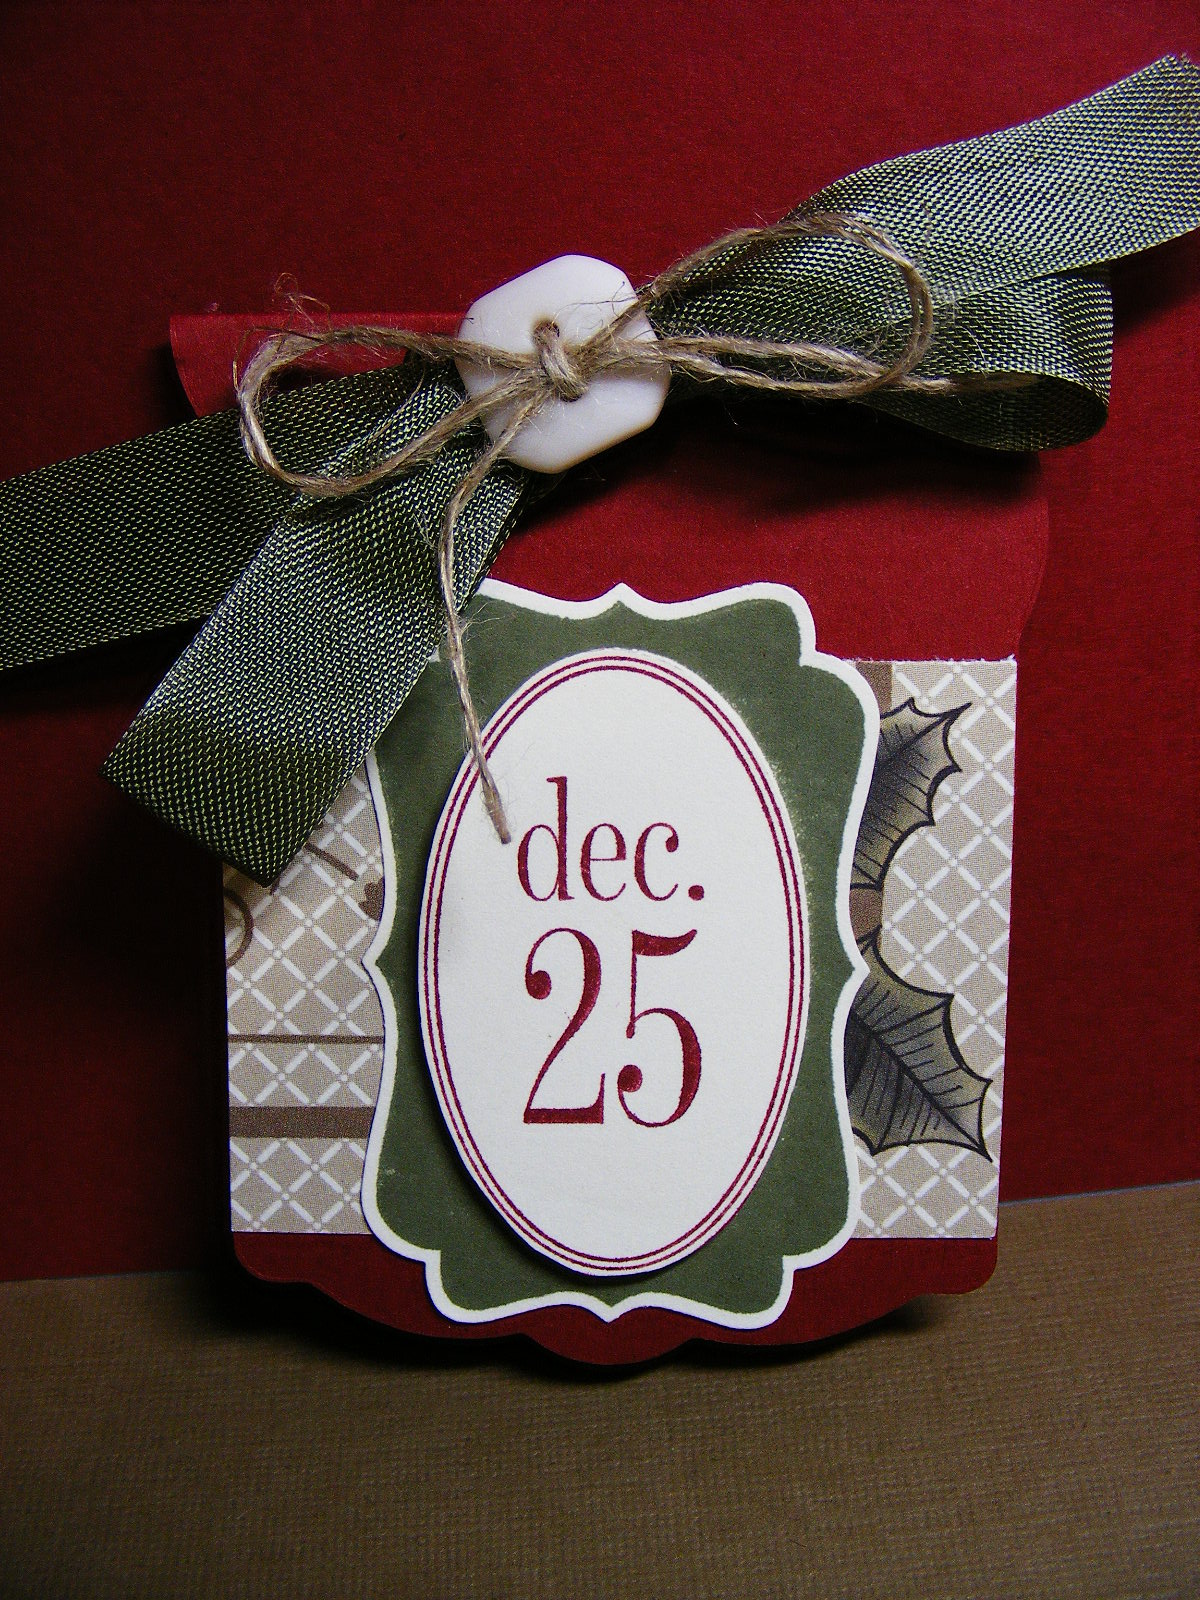
Embossed sentiment
All of the patterned paper on this card is from the Playdate pack!  The Real Red polka dots and the Old Olive lattice pattern are perfect for Christmas.  How great is it that this paper is so versatile!  There is also a great pattern for Valentine's Day...but that will be for a MUCH later post!  Here is what I did to make this card:

I started with a 5 1/4" x 4" piece of Whisper White cardstock which I ran through my Big Shot using the Perfect Polka Dots embossing folder.  These folders are so affordable and a terrific way to add instant texture to any project.  I then layered a piece of the Real Red polka dot patterned paper and a piece of the Old Olive lattice patterned paper on top of the embossed white piece.  I didn't worry too much about making the two patterned pieces the same width but did make sure they were exactly 4" long so that they would align with the white piece.  I then took a 1" strip of solid Old Olive cardstock and punched it using my Scalloped Edge punch.  I added the little pierced detail in each scallop using my piercing tool and mat pack.  I glued all of this down using SNAIL adhesive.  I  wrapped a 12" piece of Whisper White satin ribbon around covering the non-scalloped edge of the old olive cardstock and knotted it, notching the ends of the ribbon.
 I then stamped the sentiment from the Perfect Punches set using Versamark ink, sprinkled it with silver embossing powder and heat embossed it.  I punched the sentiment out using my 1 3/4" Scallop Circle punch.  I layered that over a 2" circle in Real Red and adhered it using a glue stick. Then I layered that on a 2 3/8" scalloped circle in Old Olive using dimensionals.  Again, I added the piercing in the centre of each scallop all the way around the circle to tie it into the scalloped strip on the cardfront.  I glued the whole thing to the cardfront using SNAIL adhesive. 
Finally, I stamped the ornament image from the Tags Till Christmas set in Real Red ink on Whisper White cardstock and punched it out using my Ornament Punch.  I added some bling with the Basic Rhinestone jewels.  I tied a 6" length of Real Red 1/8" taffeta ribbon into a tiny bow and adhered it to the top of the ornament using a glue dot.  I punched out two branches using my Two-step XL Bird Punch and adhered them to the upper left corner of the cardfront.  I adhered the embellished ornament below the branches using dimensionals.  I adhered the entire thing to an Old Olive card base.

This card was MUCH faster to make than it was to write about!
Related Posts Plugin for WordPress, Blogger...