Showing posts with label card. Show all posts

Tuesday, May 26, 2020

In Good Taste

Happy Tuesday! I hope you had a good weekend...and to my US readers...a happy Memorial Day. Around here the weather went from cold and chilly spring to hot and steamy summer like someone flipped a switch. We have heat warnings up and the A/C on in the house! Gotta say, I'm not complaining...it has been far too cold and miserable for far too long for anyone to object to a little heat and sunshine.
Now before I get to this week's project, I want to remind you that my 2020/21 Annual Catalogue Designer Series Paper Share is now open for ordering.


Choose a share of just a few DSP packs or ALL of them at a fraction of the cost of full packs. Deadline to order in the first round is June 2nd. I will have shares ready to go by the 12th. Click the image above to learn more and/or place your order.

This week I am continuing with my showcase of new products from the upcoming 2020/21 Annual Catalogue with the utterly yummy In Good Taste Suite. Now, I think Stampin' Up! designed these products specifically for me...they are SO my style! With fabulous textural Designer Paper, fun wood embellishments, a stamp set with awesome images images and sentiments and my new favourite embossing folder, this suite will have pride of place in my studio for a long time to come. Check out this card I made...


I started with a piece of the gorgeous In Good Taste Designer Paper for my background panel. I stamped several images from the Tasteful Touches stamp set in Smokey Slate ink to add texture and frame my focal point. Don't forget that DSP is paper and it is totally OK to stamp on it!


I used my new, go-to, Tasteful Labels dies to die-cut the Whisper White label and then stamped a sentiment in Smoky Slate and one of the awesome texture stamps in Blushing Bride.  To create my flowers, I first stamped them in Basic Gray ink on Whisper White card stock and then sponged in Blushing Bride and Rococo Rose ink to colour them...using a dauber is a super-quick way to add colour to stamped images. After sponging the flowers, I fussy-cut them out using my paper snips. I die-cut one of the ferns from the Forever Flourishing set from Champagne Foil to add some additional interest. To create the silver leaves, I simply pressed two of the In Good Taste Elements into a Versamark pad, dipped in silver embossing powder and heated. Voila...instant metallic accent! This is super-easy to do and allows you to create metallic embellishments to perfectly coordinate with your project. The final touches on this design were some rhinestones and a spatter of Frost White Shimmer paint...so sparkly!


On the inside of my Rococo Rose card I added a Whisper White panel on which I stamped more images and a sentiment from the Tasteful Touches stamp set in Smoky Slate ink.

You can expect to see LOTS more of the products in this suite used on projects from me in the coming weeks and months. This is one of those suites that does double duty, standing on it's own and coordinating well with other products. I'll be showcasing all of the products in the suite, demonstrating this card and two others in today's Live @ Five video over on my Facebook business page. I hope you'll join me! If you can't make the live broadcast, be sure to catch the replay on my YouTube channel shortly afterwards.

Thanks for stopping by...have a great week!


Product List

Monday, November 25, 2019

Perfectly Plaid

Happy Monday! Did you miss me last week? I've been down and out with a nasty sinus cold and am just now getting back to normal. So much has happened since my last post! The day before I got sick, I attended Stampin' Up!'s OnStage event in Toronto...in fact, I didn't just attend, I spoke at it! I did a business presentation in front of 600+ people and lived to tell the tale! Right before I went on stage I literally thought I was going to faint...and then suddenly I was on the stage and the teacher in me took over. I got started and it was like I do this everyday...well, I kind of do...but not for 600 people! My class of 25 is more my style. ;) Here's a pic someone snapped of me during my presentation...


I really had such a great time and so enjoyed sharing my business tips with other demonstrators.

The night before I was able to attend CentreStage, as special evening for demonstrators who hold the title Silver Elite or higher. It was so much fun to attend with some wonderful friends from my team...


Of course, the best part of any Stampin' Up! event is the people I get to share it with. Several members of my Stamping Symphony team were able to make the trip to Toronto for the day on Saturday. I loved having so many of them there! (Check out the newest members of the Stamping Symphony...coming soon to a Sale-a-bration brochure near you!)


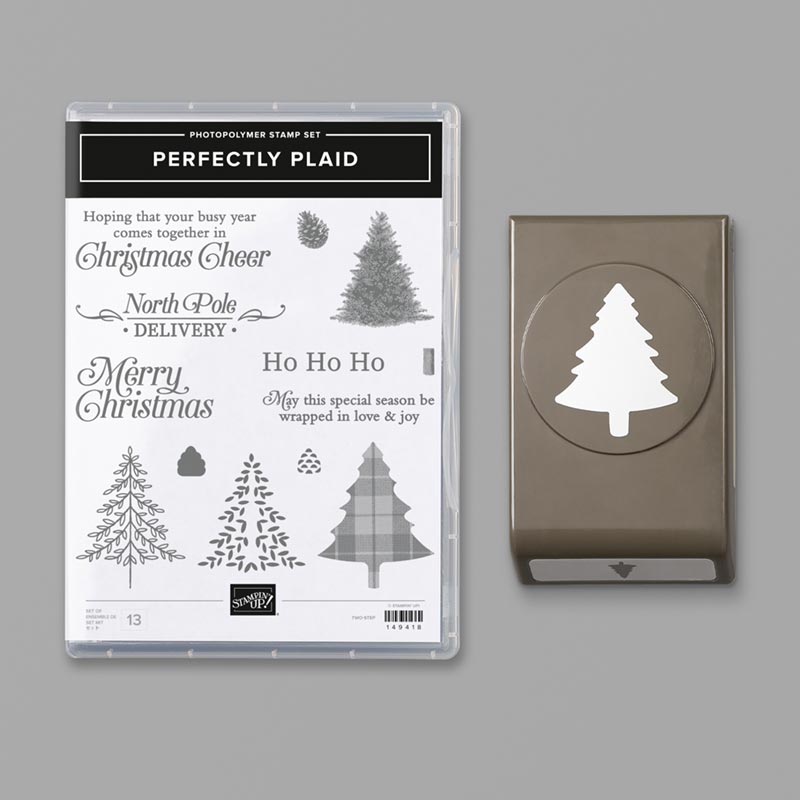
Now, how about a project? This week I am all about the Perfectly Plaid bundle from the Holiday Catalogue...


This has been one of my most-used bundles this season. I have A TON of projects to share with you this week, so be sure to follow me on Instagram and/or like my Facebook page so you don't miss a single one! Here is today's project...


I used the Gold Glitz Delicata metallic ink to stamp my trees and sentiment. That ink is FANTASTIC! So much so that it is already sold out :( I hope you were able to snag some before it went away. It is a great alternative to heat embossing for those who don't have the tools to do so, or who, like me, are in a hurry sometimes ;) Here's a closer look...


The DSP I used is from the Wrapped in Plaid Specialty DSP pack. I am SO addicted to that stuff! I'm not kidding when I say I have gone through at least 8 packs this season! I drew my color palette from the DSP, using Cherry Cobbler, Shaded Spruce and Night of Navy card stock for my trees.  The gems are from the Holiday Rhinestones...I love that they all coordinate perfectly!

The Whisper White background panel is embossed using the Subtle embossing folder, thought it doesn't show up especially well in the photos. I used the Hammered Metal embossing folder for the gold foil circle behind the trees...so pretty!


I kept the inside really simple, just adding a Whisper White panel with a stamped sentiment from the Perfectly Plaid stamp set.

I'll be demonstrating this card and two others in this week's Live @ Five video over on Facebook. I hope you'll join me, but if you miss the live broadcast you can always catch the replay on my YouTube channel or the Video Tutorials tab at the top of this page later in the week.

Thanks so much for stopping by today...have a spectacular week!


Product List

Wednesday, July 5, 2017

Embossing Paste Fun

Well, we are back from our little mini holiday and now can settle into our summer routine. It was so nice this morning to sit with my coffee on the deck and just enjoy the beautiful weather. I need to remember these moments in January when my alarm goes off at 5:00 am!

Today I have a fun project I designed for my upcoming Tools For Girls: Embossing Paste class...


To create my background I made my own mask using the diamond from the Eclectic Layers thinlits. I tinted my embossing paste with Soft Sky reinker and then applied it to the Whisper White panel. Once the paste was completely dry I brushed each gem with clear Wink of Stella so they truly sparkle.

The DSP I used is from the Naturally Eclectic DSP stack. I layered it on a Lemon Lime Twist card stock scalloped circle, die-cut using the Layering Circles Framelits. The silver foil gem is also die-cut using the Eclectic Layers thinlits. The sentiment, from the Beautiful You stamp set, is stamped in Night of Navy ink. I added the watercolour image behind the sentiment using Lemon Lime Twist ink and one of the stamps from the Oh, So Eclectic stamp set. The label is punched using the new Pretty Label punch.

Behind the label I added a bit of Night of Navy Crinkled Seam Binding ribbon. I also used some Lemon Lime Twist Ombre ribbon and a few iridescent sequins to add a little more sparkle.

On the inside, I used my mask as a stencil and sponged a diamond using Soft Sky ink. I then stamped another sentiment from the Beautiful You set in Night of Navy ink.

If you haven't yet tried the new Embossing Paste, you don't know what you're missing! It is such fun to play with patterns and colours and just get messy. There is still room in my class next week if you'd like to join us. Click HERE to RSVP.

Don't forget that BONUS DAYS are happening all month long!


Product List
Big Shot
[143263]
$136.00

Related Posts Plugin for WordPress, Blogger...