Showing posts with label Gift Tags. Show all posts

Wednesday, December 21, 2016

Scrumptious Christmas packaging

Are you ready for Christmas yet? If you're anything like me, you're still scrambling to prepare gifts for teachers, neighbours and co-workers. I have a quick and easy solution  for you. Check out these fun gift boxes...

I wanted to give the ladies in my Project Life club a little chocolatey Christmas treat, so I pulled out my package of White Gift Boxes and went to work. I added a strip of Candy Cane Lane DSP around the sides of the box, adhering it with Fast Fuse. Placing my chocolates inside, I slid the  acetate sleeve over the box and then used some Real Red 3/4" stitched edge ribbon to tie it shut.

I made the tags using Read Red card stock and the Cheerful Tags Framelits. I added another little square of Candy Cane Lane DSP to the inside of the tag. The label is stamped in Versamark using the Here's to Cheers stamp set and heat embossed in gold. I added a little touch of bling with a little gold glimmer swirl, which I also die-cut using the Cheerful Tags framelits. I tied the tag to the box using some Candy Cane Lane baker's twine. Super quick and super easy...just what the doctor ordered for holiday craziness!

Have a fabulous week!

Product List
Heat Tool
[129053]
$40.00
Big Shot
[143263]
$136.00

Wednesday, December 23, 2015

Gift Wrapping Anyone?

If you're anything like me, you're doing just a wee bit of gift-wrapping these days. I thought I would share some ideas I used to add a little extra something to some of my gifts this year...

Firstly, I made these sweet little Baker's Boxes to hold chocolate treats in no time, thanks to two kits: All Boxed Up (from the Annual Catty) and the Oh What Fun Tag Kit (from the Holiday Catty). These two kits are a match made in crafting heaven! The boxes come already cut and scored in the All Boxed Up kit, which also includes that sweet Mint Macaron pom-pom trim. The Oh What Fun Tag Kit includes all of the pre-cut tags and tons of embellishments. Did I mention this fabulous kit (along with the Real Red Pom-pom Trim) is on sale right now in the Year-End Sale?  Yep...grab it while you can and save it for next year when you're pressed for time! It took me mere minutes to whip up several of these cute little treat holders.  It definitely pays to have a couple of kits on-hand!

Next, I made this cute little pillow box to hold some small gifts. I used some (retired) Under the Tree Specialty DSP (that I pick up during last year's year-end sale) to create my pillow box. The best part about this paper is that it is card stock weight AND it's printed on both sides, so even the inside of my box looks pretty! I used the Square Pillow Box Framelits to cut the box, which goes together in a snap. I used some Garden Green 1/8" striped ribbon to embellish the box. I added a little punched tree and a banner I had leftover from the Oh What Fun Tags kit to make my little tag...so sweet!

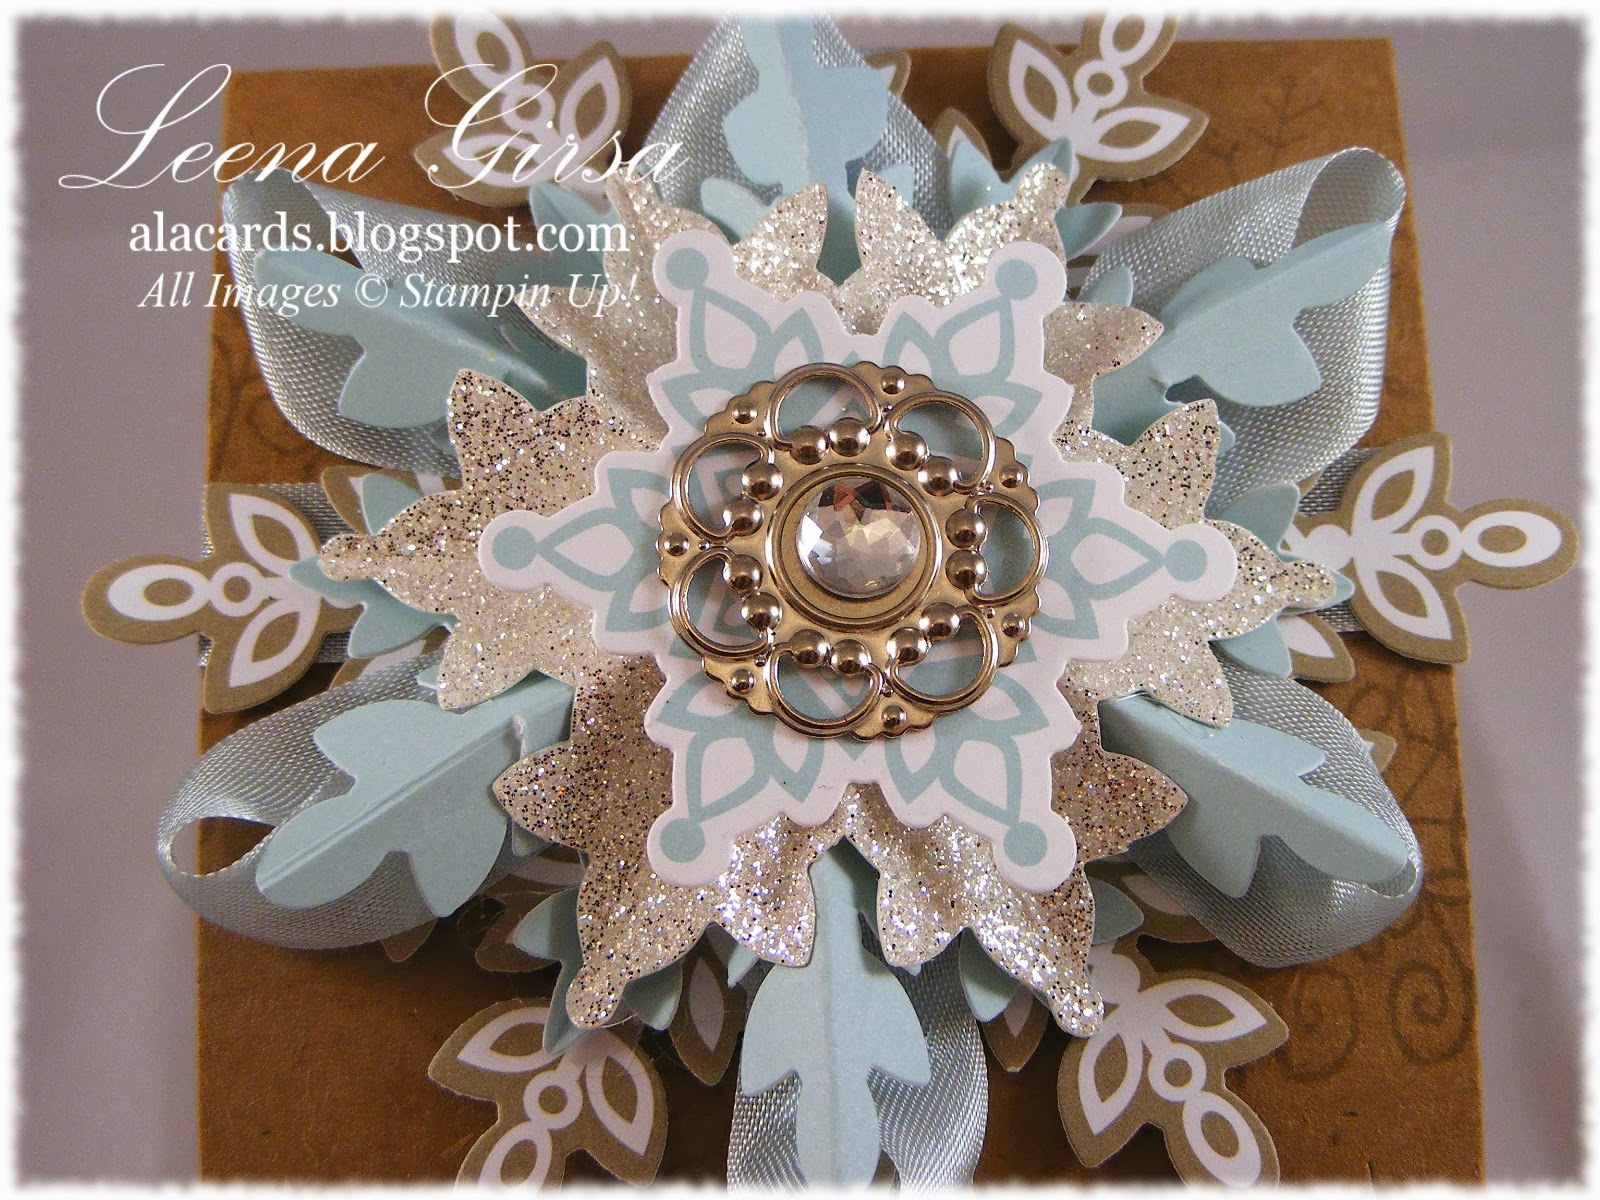
Finally, I whipped up some simple snowflake tags to go with this pretty cable-knit-patterned wrapping paper I found. I used the Festive Flurry (retired) stamp set and coordinating framelits to die-cut the tag and then added a wooden Snowflake Element and a Metal-rimmed Pearl. The ribbon is Smoky Slate 5/8" Natural Chevron Ribbon from the Annual Catty. It was the perfect complement for the gift wrap and tag.

I so love making my friends and family feel extra-special by beautifully wrapping their gifts. They so appreciate it and I love doing it! Happy wrapping!!

Here are all of the products I used to create these projects:

Built for Free Using: My Stampin Blog

Friday, October 24, 2014

CASE'd Wreath

Today I have a card I CASE'd at the request of a client.  She found Wendy Johnson's design on Pinterest and asked if she and her guests for an upcoming Stamp-a-Stack could make exactly that card.  Always one to oblige my wonderful clients, I whipped up an exact copy of Wendy's card:

Simple Christmas card featuring the Wonderous Wreath stamp set and coordinating framelits.
Never one to leave well-enough alone, I decided to make a matching gift tag...


This tag was actually one of the offerings for the private card and tag buffet I held last weekend.  It sure was a hit!  The Wonderful Wreath Bundle pretty much sells itself...it is that awesome!  It is so easy to get layered, multi-coloured images and die-cut them perfectly with this bundle.  In case you'd like to CASE my CASE, my colour scheme was Real Red, Whisper White, Pear Pizzazz and Old Olive.  I used the Top Note Bigz die to cut the label shape. 

On the inside I stamped the sentiment that is included in the Wonderous Wreath set in Old Olive and added a little poinsettia in Real Red.


While this card is a wee bit simpler than my usual style, it will be perfect for my relatively-new-to-stamping guests.  I hope this weekend affords you quality time to spend with those you love...enjoy!

Thursday, December 5, 2013

Festive Flurry Ornament Kit

I am seriously loving the Festive Flurry Ornament Kit!  The finished ornaments are so darned pretty and really easy to make.  I used the kit as one of my Make-n-Takes at my Customer Appreciation Open House last weekend and everyone really enjoyed it.  Here is what the finished ornament looks like:

Holiday ornament made with the Festive Flurry Ornament Kit (135813)
Now, I have no intention of using these as tree ornaments because my tree is a traditional red and green one; but I do intend to use them as beautiful gift toppers for just about everyone.  I'm going to add a little tag with the recipient's name on it which can be removed afterwards if they want to use it on their own tree.  Here are a few more shots showing the dimension to the ornament:


I couldn't just stop at doing the ornament as shown in the how-to video, so I took it up a step...


...and made a pretty little gift box!  I added extra ribbon and a leftover Designer Build-a-Brad from last spring's Occasions catalogue.


I stamped the box using the Endless Wishes photopolymer set (which is sadly no longer available) and Crumb Cake ink.  I added the ribbon in such a way that the box could be opened and closed without having to remove the ribbon, so the box can be reused over and over again!


I think I'm going to use these boxes to package my famous Empire Biscuits that I make every Christmas and give them as gifts to my colleagues at school.  I think they'll like them.  Now to find the time to bake!!

Monday, November 11, 2013

A Day to Remember


Today we remember and honour those who sacrifced so much, that we may enjoy the freedom and peace that we so often take for granted.  Lest we forget...


Wednesday, November 14, 2012

Faux Mother-of-Pearl for Christmas

This month my techniques group learned the faux Mother-of-Pearl (FMP) technique.  It really is a super simple technique that offers lots of wow-factor.  Today I want to show you the first in a series of projects that all feature FMP.  This particular one is the one my techniques group made this month:

Gift tag featuring the Faux Mother-of-Pearl technique and the Bells and Boughs stamp set with sentiment from Teeny Tiny Wishes.
Sadly this photo is over-exposed a little and you can't really get the full effect of the FMP technique.  Here's a quick how-to in case you're unfamiliar with the technique:  Using a piece of plastic wrap crumpled into a loose ball, dab Frost White Shimmer Paint randomly on a piece of glossy cardstock.  Allow the shimmer paint to dry completely (overnight is best) and then sponge Crumb Cake ink all over the glossy card stock.  The shimmer paint will resist the ink giving that FMP look.  Wipe off any excess ink with a tissue and then stamp your image using Staz-on ink.  Colour the image as desired using ink pads and blender pens.  Super simple and really effective! Stop by tomorrow when I'll have another project featuring this technique.
Now, speaking of gift tags, have you registered for my Tags...You're It! event coming up this weekend?  The Friday evening session is full but there are still a few spots left for the Saturday morning time slot.  Be sure to call or email to hold your place by Thursday if you'd like to attend.  Details are on the Upcoming Events tab at the top of this page.  See you soon!


Tuesday, November 13, 2012

Blingy Minis

Today I have a fun ensemble for you that I designed for two different purposes!  The card was for a class I did last week and the tag was for my upcoming Tags...You're It! event.  Check it out:

Blinged out Holiday Ensemble featuring the Merry Minis punch pack and sentiment from Petite Pairs

Card

Gift tag

I don't quite know just what it is about the argyle TIEF in vanilla that seems so Christmasy to me?!  Maybe it reminds me of a cozy cable-knit sweater.  All I know is that I really love this combination for the holidays...add some bling and a little DSP from the Festival of Prints stack and this card is one of my fav's this season! 

Related Posts Plugin for WordPress, Blogger...