Showing posts with label Just Saying stamp set. Show all posts

Monday, September 15, 2014

Long time, no see!

Did you think I'd abandoned you?  It has been almost a week since my last post...and what a craaaazy week it has been!  Not much time for stamping...or blogging!  Hopefully this week will be a little calmer!
On Saturday we attended my nephew's third birthday party.  He is a big fan of Toopy and Binoo, so I decided to try creating a punch art Toopy for his birthday card.  Here is what I came up with:

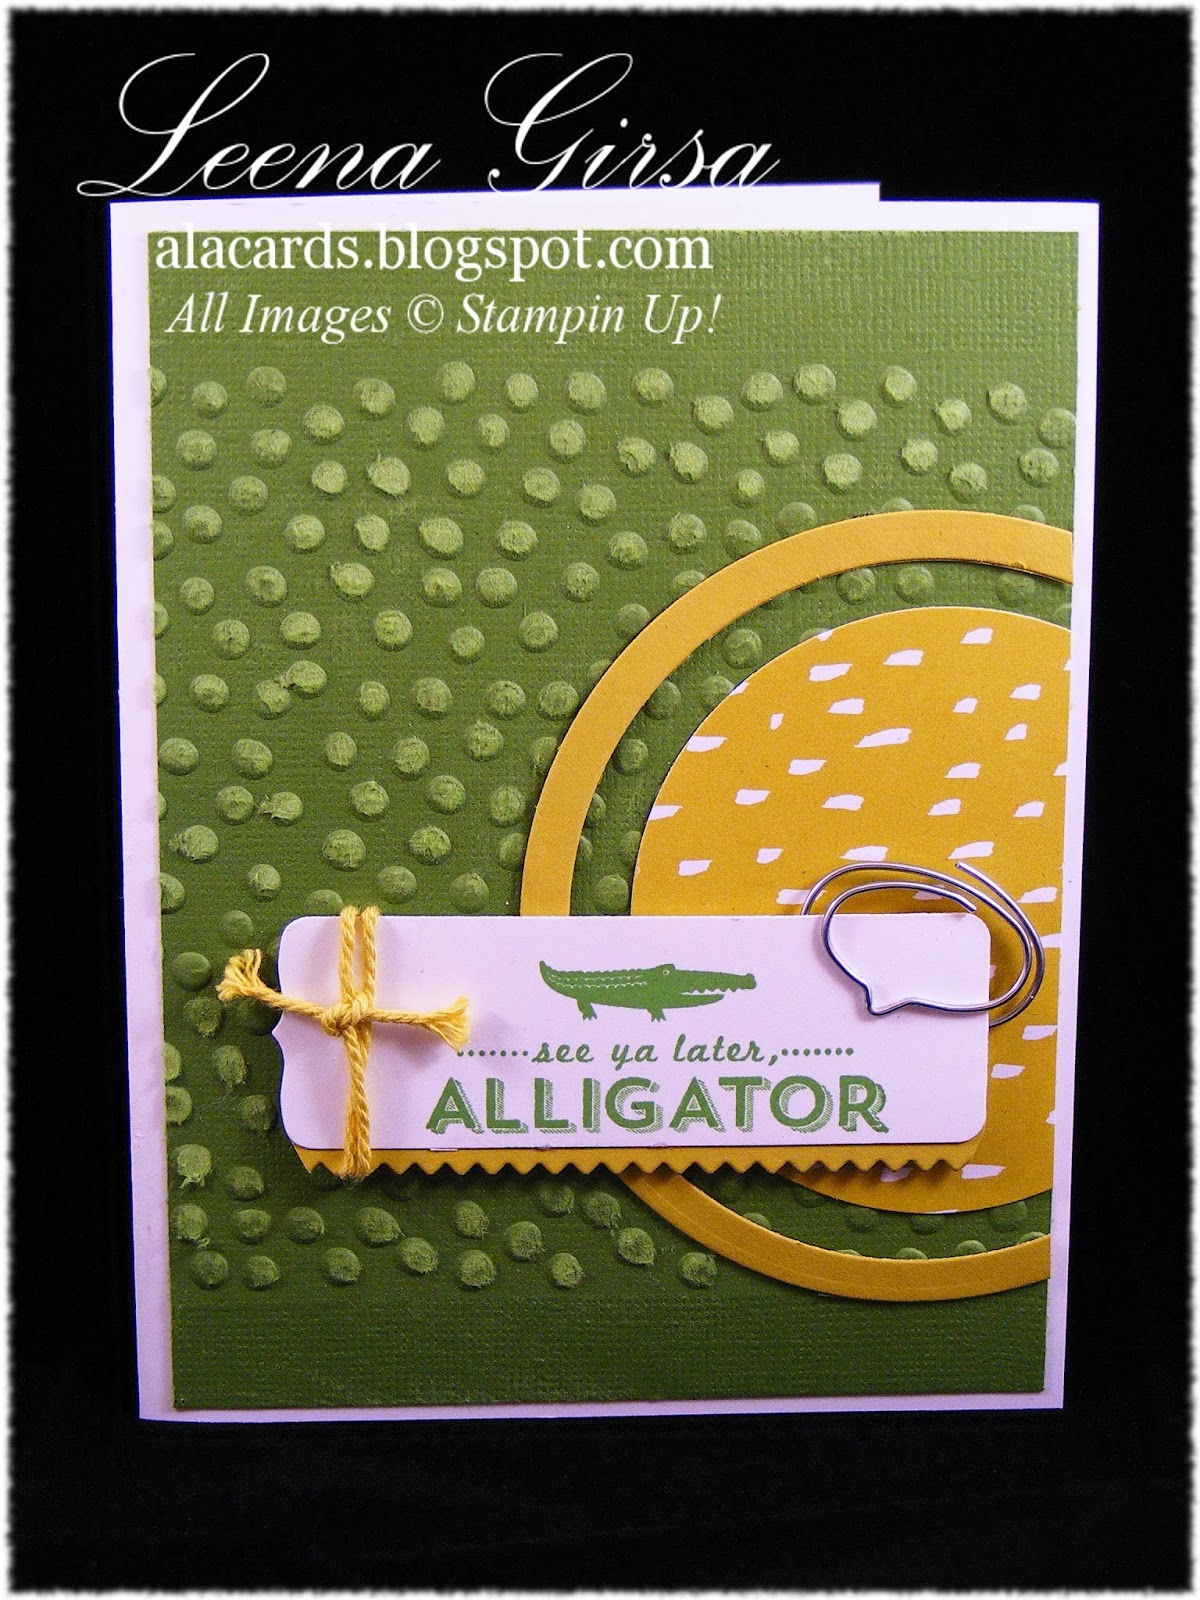
Punch Art Toopy birthday card with sentiments from Yippee Skippee, Just Sayin' and Remembering Your Birthday.
I wasn't too sure I had him right, but both my son (still a Toopy fan at 7!) and my nephew recognized Toopy, I figured I must have done alright.  For those of you wanting to try to recreate him, here is a list of the punches I used...all are from Stampin' Up!:
 The key with any punch art is to sponged all of the pieces.  I sponged all of the Sahara Sand pieces in Sahara Sand ink, as I did the 1" circles for the eyes.  The Blushing Bride pieces for the insides of the ears are sponged in Blushing Bride ink.  The pink on the snout and tongue is Melon Mambo ink.  I added the little dots with the Project Life Journalling pen.  The black nose is sponged lightly in Whisper White craft ink.

The rest of the card is pretty straightforward.  I die cut a bunch of word bubbles using the Word Bubbles framelits, using sentiments from several different sets to create a little rhyme for the front of the card:  "Yippee Skippe, Woohoo, A Birthday wish that's just for you."  I thought it sounded like something Toopy might say!

The birthday boy quite liked it...well as much as a three-year-old cares about the card when it is attached to a present...lol!

Tuesday, April 8, 2014

Whew! What a weekend!

Well, I survived my crazy weekend!  It was my son's 7th birthday and we held his party on Saturday.  It was, of course, a Minion theme, so I had to come up with a Minion birthday card to match.  I found a cute one on Pinterest designed by Paula Dobson, so I pretty much CASE'd it because I didn't have much time to get overly creative.  Paula didn't provide details about how to make her version, so it took some trial and error to figure it out.  Here is what I came up with:

Punch Art Minion birthday card featuring the Just Sayin' stamp set.
Cute, huh?  The only thing I wasn't thrilled about was the hair...not very Minion-esque.  Too much hair...as my son pointed out!  If I did this one again I would definitely do the hair differently.  In case you ever find yourself in need of a Minion card, here is a list of the the punches I used:

  • Body:  3rd smallest die from the Window Frames Collection Framelits cut from Daffodil Delight card stock with the left and right "bumps" trimmed off.  Sponge edges with Crushed Curry ink.
  • Overalls:  same die cut as above cut from Midnight Muse Core'dinations card stock.  Trim off the bumps as above and also cut in half.  Then insert each side into the hexagon punch about 1/8" and punch the "bib" of the overalls.
    • Straps:  slot punch (retired) If you don't have this punch you could hand-cut small strips
    • Pocket:  Banner punch reinserted at the points and punched to get the angled bottom
    • Patch on pocket: I hand-cut a 1/8" square and added the smallest circle from the Owl Builder punch in Midnight Muse to the centre.
    • Sand all pieces of overalls with sanding block and then sponge with Midnight Muse ink
  • Legs:  pennant punch (non-scalloped triangle) - punch two and overlap.
  • Feet:  heart from the Owl Builder punch with one of the bumps trimmed off
  • Hands:  Four-petal flower from the Itty Bitty shapes punch pack, trim one petal off
  • Arms:  Punch a 3/4" circle from Daffodil Delight, then punch around the resulting hole with the 1-1/4" circle to get a ring.  Cut in half and use one half for each arm.  Sponge with Crushed Curry ink.
  • Strap for goggles:  Word Window, trimmed
  • Goggles:  3/4" circle in Silver Foil, largest circle from Owl Builder in white, medium circle from Owl Builder in Chocolate Chip, smallest circle from Owl Builder in black
  • Hair (in case you like this minion's faux-hawk):  ornament from the Merry Minis punch pack, fringed with paper snips.
Here's a better look:


Here are a couple more shots from the big bash on Saturday:

The littlest minion:  my 18-month-old nephew modeling the party hats I made from toy construction hats, fun foam, black pipe cleaners (for the hair!) and card stock. 
My big 7-year-old birthday boy minion, blowing out his candles.
It was a great day...Max said it was his best birthday ever, which is all I needed to hear!  I'm just really glad I have a year to recover before we do it all again!

Tuesday, January 28, 2014

It's time for Sale-a-bration...and a give-away!

Wahoo!  Sale-a-bration has finally arrived!  I am so excited for this year's event!  The brochure is fabulous, chock-full of wonderful new products and some special bundles to make earning those freebies even easier.
Today I have a cute card I designed using several Sale-a-bration products:

Farewell card featuring the See Ya Later Sale-a-bration stamp set.
I love this stamp set!  The images in it were the first thing to catch my eye when I first viewed the Sale-a-bration brochure.  I love this little alligator...


...so much so that I used him again on the inside of the card!

Inside view with sentiment from the Just Saying stamp set.
In addition to the See Ya Later stamp set I also used the Decorative Dots TIEF, Sweet Sorbet DSP, and some twine from the Sweet Sorbet Accessory pack, all of which are from the Sale-a-bration brochure.  I love how the Core'dinations card stock looks embossed and sanded...it reminds me a little of the gator's scaly skin.  I used the zig-zag strip below the focal image to echo the gator's teeth and the pattern on the DSP also reminds me a bit of reptile skin.
Lots of fun on this card...are you in love with the Sale-a-bration offerings yet?  Leave me a comment telling me which item from the Sale-a-bration Brochure is your absolute favourite and you might just win it!  How's that for a great way to kick off a great promotion?!?  I'll be choosing one winner from all comments left on today's post, so be sure to leave me a note!

Now, as if Sale-a-bration weren't enough excitement for a Tuesday morning, here are this week's Weekly Deals:


Wisteria Wonder Classic Stampin' Pad
Item # 126985

Regular Price: $5.95 US/$7.25 CAN
Discounted Price: $4.46 US/$7.13 CAN


Daffodil Delight 1/2" Seam Binding Ribbon
Item # 125583

Regular Price: $6.95 US/$9.50 CAN
Discounted Price: $5.21 US/$7.13 CAN


Labels Collection Framelits Die
Item # 125598

Regular Price: $26.95 US/$32.95 CAN
Discounted Price: $20.21 US/$24.71 CAN


Flower Garden Textured Impressions Embossing Folder Item # 123113
Regular Price: $7.95 US/$9.95 CAN
Discounted Price: $5.96 US/$7.46 CAN


Pool Party Classic Pad Item #126982
Regular Price: $5.95 US/$7.25 CAN
Discounted Price: $4.46 US/$5.44 CAN


Pear Pizzazz 3/4" Chevron Ribbon
Item # 132567

Regular Price: $8.95 US/$12.50 CAN
Discounted Price: $6.71 US/$9.38 CAN


Winter Wonders Kit Item # 132567
Regular Price: $9.95 US/$10.95 CAN
Discounted Price: $5.97 US/$6.57 CAN
Get 'em while you can!

Monday, January 20, 2014

Love Ya Monster Shaker Bubbles

I know that title doesn't make a bit of sense, but it certainly does summarize today's project.  This is my second attempt at the Bubble Background technique for this week's challenge at The Technique Twist...and I love it!

Monster Love featuring the Monster Maniacs and Just Saying stamp sets and using the Bubble Background technique.
Now it doesn't show up well in the photo, but those bubbles have a bit of shimmer to them!  I added some Frost White shimmer paint to my mixture which gives this technique a cool effect.  I decided to used my bubble background with the adorable Monster Maniacs stamp set, which has been languishing on my stamp shelf uninked since before the Christmas craziness.  I love those little monsters and they are great fun to colour.  I decided to do a shaker card that I can tuck into my son's backpack one day to remind him how much I love him.  He is very proud of my creations and gets very excited when I make a card "just for him".


Here is a quick how-to:

  • I created my background using the technique I described in Saturday's post, but added some Frost White shimmer paint to the mixture.
  • I stamped the monster on Naturals White card stock using Staz On ink and coloured the image using my markers and a blender pen.
  • I die cut the circles for my frame using the Circles Collection framelits and assembled them using the Shaker Frames, some Window Sheets (also die cut using the Circles Collection framelits) and some clear micro beads from my stash.
  • I added some Bermuda Bay Candy Dots to the frame.
  • I added the zigzag borders in Bermuda Bay that I cut using the Finishing touches Edgelits.
  • I used some Washi tape left over from Halloween.
  • The Tangerine Tango background layer is embossed using the new Decorative Dots TIEF from the Saleabration brochure.
  • The sentiment is from the Just Saying stamp set and is stamped in Basic Black ink and die cut using the Word Bubbles framelits.
  • The tiny glittery heart is punched using the Owl Builder punch.
Inside view with sentiment from Hello, Lovely.
For the inside I stamped the little monster again using black Staz On ink.  On a scrap of Whisper White card stock I stamped the sentiment from the Hello, Lovely stamp set using Tangerine Tango ink.  I fussy cut it and then adhered it with dimensionals.
I think this one will make my boy smile when he finds it among his school books next week...and THAT will make ME smile!

Friday, January 10, 2014

Yippee Skippee...

...it's Friday!!  Why is it the first week back after a vacation seems sooooo long??  With the crazy weather we've had here it seems like last weekend was a month ago!  I am SO happy to see the end of this week.
Today's project perfectly reflects my mood today.  It is another birthday card I designed for my All About Birthdays Buffet coming up in a couple of weeks.  Check it out...

Birthday card for a child featuring the Storybook Friends, Yippee Skippee and Just Saying stamp sets.
I love this image of a little dog running with his ears flapping in the wind!  So cute!  Paired with the Yippee-Skippee and Woo-hoo sentiments he is even more adorable.  The dog is from the Storybook Friends stamp set.  I stamped him using black Staz On and then coloured his spots with a Crumb Cake marker.  The word bubble woo-hoo is from the new Just Saying stamp set from the Occasions catalogue and was die cut using the coordinating Word Bubbles framelits.  The DSP I used is from the Fresh Prints DSP stack, which is also in the new Occasions catalogue.  I added a bit of white Baker's Twine and some sparkle with an arrow cut from Silver Glimmer paper using the small arrow from the Label Card Thinlits die set.

Inside view with sentiment from the Bring on the Cake stamp set.
For this inside of the card, I punched several little banners using the new Banner punch from the Sale-a-bration brochure and glued them across the top.  The sentiment is from the Bring on the Cake set and is stamped in Real Red.  This card could easily be changed to a congratulations card by simply switching out the birthday sentiment inside.  Gotta love versatile!

If you are interested in attending my All About Birthdays Card Buffet but haven't registered yet I have good news and bad news for you.  The bad news is that the Friday evening session is now full.  The good news is that I have added a second session on Saturday morning, January 25th from 9:30-12:30.  The same projects will be available at both sessions, so hopefully everyone who wants to attend will be able.  I'd hate to have to turn anyone away from a stamping event!  Be sure to register soon so you aren't disappointed!

Have a great weekend everyone!!

Wednesday, January 8, 2014

Happy Birthday Mom!

Today is my Mom's 71st birthday!  I made her a special card in honour of her big day, but I will wait to post that one till a bit later.  I do have another birthday card to show you that I created  for my All About Birthdays Buffet later this month. It also happens to work for this week's "Clean Slate" challenge over at The Paper Players...  and for the birthdays challenge over at Stampin' Royalty


Birthday card featuring the NEW Just Saying stamp set and coordinating Word Bubbles Framelits...get them bundled for 15% off!
Let me say again, this is NOT my Mom's birthday card...though I'm sure she would see the humor in it!  She is the only 71 year-old lady I know who owns her own chain saw and spends all summer and fall cutting her own firewood!!  No joke...she has the ear muffs and safety goggles and the works!  She's something else!!


This is a really simple card that uses the inlaid embossing  and chalkboard techniques.   In case you want to recreate it, here is a quick how to:

  • I  die cut the various word bubbles out of different colours of card stock.  Here is the list of colours I used:  Real Red, Daffodil Delight, Gumball Green, Tangerine Tango, Bermuda Bay and Rich Razzleberry.  
  • I glued the die cuts to a 4" x 4" piece of Whisper White card stock, allowing some to extend over the edge.  I then trimmed the overhanging pieces and ran the whole thing through the Big Shot with the Square Lattice TIEF.  I glued the embossed piece to a Basic Black card base. 
  • The sentiment is heat embossed in white on Basic Black card stock and then die cut with the Word Bubbles framelits.  I adhered it to the card using dimensionals.
  • For a little bling I added some chevrons punched from Silver Glimmer paper using the Chevron Border punch.  
  • For the inside I stamped the cake and sentiment in black Staz On ink and then coloured it using markers.
Inside view with image and sentiment from the Best of Birthdays set.
I really love this card...it is fun and easy and perfect for just about anyone who is feeling less like celebrating the number of candles on their cake!
Related Posts Plugin for WordPress, Blogger...