Wednesday, July 31, 2013

It's the last day of July!!

How is it possible that today is the last day of July?!?  Where did the month go?  There is lots to tell you about but first, a little Christmas!  Check out this card I designed for this week's Friday Mash-up Christmas challenge using the sketch from this week's Retro Sketches challenge...

Here is the sketch:


Holiday card for RS74 and FM120 featuring the Festive Flurry stamp set and Framelits (available tomorrow in the Holiday Catalogue) with sentiment from More Merry Messages.
I am dying for my Holiday Catalogue order to arrive!!  I held off ordering all but a few incentive redemptions until after Convention, knowing I would likely get some freebies.  My order is arriving tomorrow, but that didn't stop me from using a couple of new items on this card.  The Festive Flurry stamp set and coordinating Framelits are available in a bundle for 15% off...I know you'll want to add them to your wishlist!  I paired them with some silver Glimmer Paper and This and That Epic Day DSP for a little Christmas in July. 
Now for a few reminders: 
  • Today is the LAST DAY  to take advantage of the Buy-three-get-one-free DSP offer.  Don't miss this chance to stock up on your favourite packs of DSP!
  • Today is also the LAST DAY to purchase Single Stamps.  After today these oh-so-popular stamp images will be gone for good.
I will be placing an order this evening, so be sure to call or email with your order by 7:00 pm or visit my online store to have your order ship directly to you.  Be sure to stop by tomorrow...there will, no doubt be lots of exciting news to share with you and I'll have a new challenge from The Technique Twist!!

Tuesday, July 30, 2013

A Little Christmas in July!

Today I have a project for you that was inspired by a couple of online challenges.  This week's colour challenge at Dynamic Duos is to use Pear Pizzazz and Garden Green on a project.  This is a huge challenge for me, as those are two colours that I rarely pull out.  I decided to create a Christmas project for The Friday Mash-up using the sketch from The Paper Players.   First, here is the sketch:


...and here is my card:

Simple Christmas card for DD63, FM120 and PP156 featuring the Evergreen stamp set with sentiment from More Merry Messages.
This card has some old, some new and some current product on it!  The Evergreen stamp set , as well as More Merry Messages are carryover sets from last year's Holiday Catalogue.  They not in any current catty but are still available to order.  If you missed them last year, it's not too late!  The DSP in the background is from last year's colour family DSP Stacks.  I still have a TON of that stuff kicking around and the stripes were just festive enough for this project.  The bronze button is another leftover from last year's Holiday catty...sadly they are no longer available...but keep your eye on the online Clearance Rack...you never know what might show up there ;)  The burlap ribbon is a new embellishment available August 1st in the new Holiday Catalogue.  I am fast falling in love this that stuff...it adds such wonderful texture to any design!  The little star atop the tree was punched with the Merry Minis punch pack, which is yet another Carryover item from last year.  Still available to order, this pack of three punches includes a Christmas tree and ornament, in addtion to the star. Call or email to order these and any other Carryover items.

Monday, July 29, 2013

Another Inspiring Swap

Happy Monday!  I hope you had a great weekend!!  Today I want to show you a project inpired by another swap I received at convention.  Gotta love swapping!  Check it out...

Birthday card designed by Jayne Stenstrom featuring the Blue Ribbon stamp set
Here is my Gift-card-holder version of Jayne's beautiful card:

Gift card holder featuring the Chalk Talk stamp set
Inside view with stamped image from the Best of Birthdays stamp set
I just loved Jayne's design and so I kept many of the same elements from her original card.  Since I don't own the Blue Ribbon stamp set Jayne used, I opted to use images from  the Chalk Talk set instead.  Because I wanted to create a gift card holder, I changed the way the card opened by scoring at 2" and 3-1/2", instead of  at 5-1/2".  This allowed me to adhere the edges of the 3-1/2" panel to create a pocket for my gift card.  The top flap opens up to reveal the pocket and the birthday wishes inside.  Here is a list of the products I used:

Although this looks like a long list, this project came together quickly and easily, thanks to Jayne's inspirational design and lots of coordinating products from Stampin'  Up!

Sunday, July 28, 2013

More Convention Inspiration

During one of the Main Stage presentations, Stampin' Up! executive team member Pam Morgan showed us a project that featured gold embossing on the Black-andVanilla Modern Medley DSP.  There was a collective gasp at how gorgeous it looked and I knew I had to try it as soon as I got the chance.  So....here it is!

Congratulations card featuing the Layered Labels, Mixed Bunch and Gorgeous Grunge stamp sets with DSP from the Modern Medley pack.
Close up of flower and heat embossed button

Inside view

This is one of the busier cards I've made in quite a while...I just couldn't stop adding stuff to it!  I began by stamping the spatter images from the Gorgeous Grunge set all over the DSP and then heat embossed them in gold.  The flower is also heat embossed in gold on vellum card stock.  I also layered a Coastal Cabana flower behind the vellum one that I also stamped with the spatter images and heat embossed in gold.  The sentiment is heat embossed in gold on Very Vanilla card stock.  As if there weren't enough gold on this card already, I also added a bit of gold to the Very Vintage Designer Button!  The inside features a stamped blossom in Coastal Cabana and more Gorgeous Grunge heat embossing.  To complete the look, I lined the envelope using my new Envelope Liner Framelits...available August 1st in the new Holiday Catalogue!  So excited about those!! 
Just a reminder that if you haven't taken advantage of the Buy-three-get-one-free DSP promotion, time is running out!  Don't miss your chance to stock up on your favourite DSP packs before the end of the month.  This promotion expires on July 31st...call or email to place your order today!

Saturday, July 27, 2013

Inspired by a swap

One of the best things about Convention is swapping!  I love meeting demonstrators from all over North America and beyond and swapping card ideas with them.  Today I want to show you a swap card I received from Linda Madison...

Wedding card designed by Linda Madison and received as a swap at Convention

Linda's card inspired me to create this:

Any-occasion card featuing the Gorgeous Grunge and Hello Lovely stamp sets
Isn't it amazing how one design can inspire something so different?  I kept a very similar look for this card as was used in the Convention Make-n-Take I showed you yesterday.  The DSP heart is from the This and That Epic Day pack and was die cut using the Hearts A-flutter Framelits.  I love the layering of colour and textures...I may just have to create a third card in this series...all of the elements are such fun to play with!

Friday, July 26, 2013

Back at it!

I'm FINALLY back to stamping after several very frustrating post-convention days!  I came home with so many ideas and have just had too much going on to act on any of them until yesterday.  So, the first thing I did?  Put my Make-n-Takes together, of course!  Check it out...

One of several Convention Make-n-Takes featuring the Gorgeous Grunge and Hello Lovely stamp sets.
I have been dying to get my hands on the Gorgeous Grunge and Hello Lovely stamp sets since I first saw them in the catalogue!  I waited because I knew we were getting them at Convention, but it sure wasn't easy!  I've been making very good use of both since, as you'll see over the next few weeks ;)
In addition to the stamped images, I also love the colour scheme on this card.  They aren't colours I would have ever thought to combine:  Crisp Cantaloupe, Coastal Cabana, Bermuda Bay, Summer Starfruit, Old Olice and Calypso Coral.  I really love the way they all work together...so much so I used the same combo on another project I'll show you tomorrow.  Till then, have a wonderful Friday...and a great weekend!

Tuesday, July 23, 2013

Convention Wrap-up and home again!

Well, I am back home, safe and sound.  I know I still owe you one  more day of convention fun,  so here is my take on the last day.
We started with the opening General Session with some great project ideas for modern memory keeping from Bonnie Thurber.  Not only is Bonnie super creative, but she is also a riot!  There were lots of laughs to start the day.  Of course, there  were more prize patrols...lots of happy winners!  Then it was off to break out classes for the afternoon.  I attended three very informative classes which offered many ideas to incorporate into my business.  The final general session was bitter-sweet, as we celebrated a wonderful couple of days, but also had to say good-bye to new friends.  Our  team wrapped up the week with a lovely dinner at the Olive Garden.
As I started packing, I laid out all off the free stuff I received over the two+ days of convention.  Check it out...

More than $200 in free product, not to mention that fabulous bag that I received at convenion!

This was so worth the investment to attend!  I'm so glad I went, but am so happy to be home!!  Now to get busy on all of the great ideas I got!!  Stay tuned...


Saturday, July 20, 2013

Convention Day 2

What an amazing day!!  It all started with the first General Session.  I'll let the pictures do the talking...check it out:  (apologies for the over-sized, unedited photos...I can't seem to edit them in the app I am using...I'll fix 'em when I get home)

I won the very first Prize Patrol of the day!!  The new Christmas Collectibles stamp set and coordinating punch...woohoo!
We were treated to demonstrations by our very own Shelli Gardiner.  Shelli showed, believe it or not, 25 projects!!  Many of them used brand new, not-yet-released products called Thinlets.  These dies are TO DIE FOR, and my friend and Downline, Laura Bart, won a set...she was just a little excited!


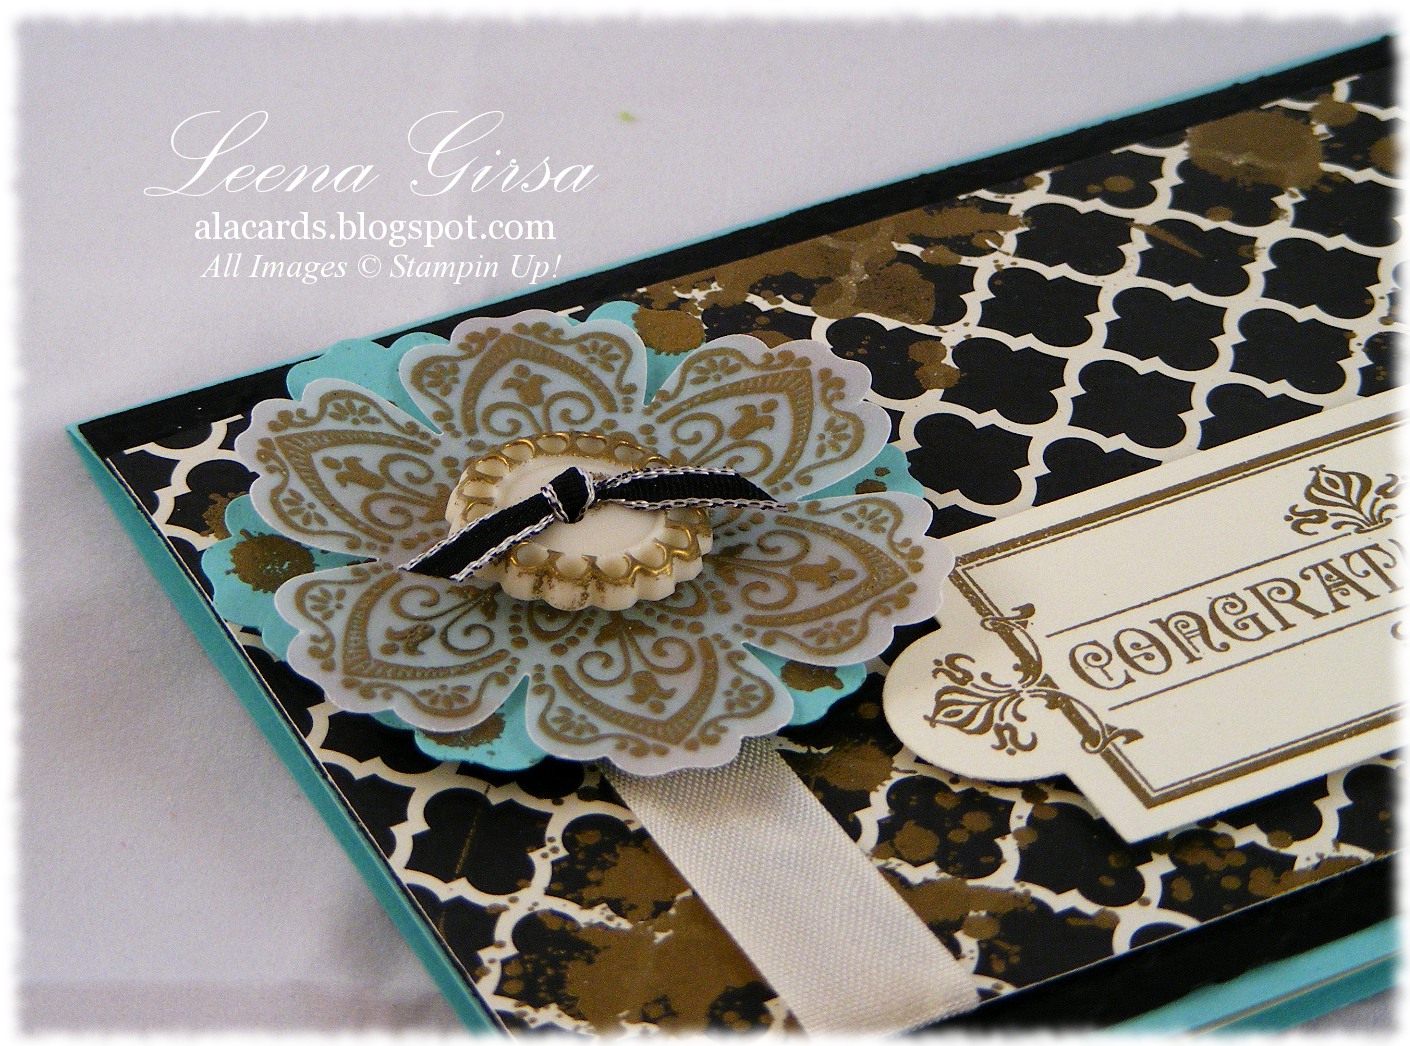
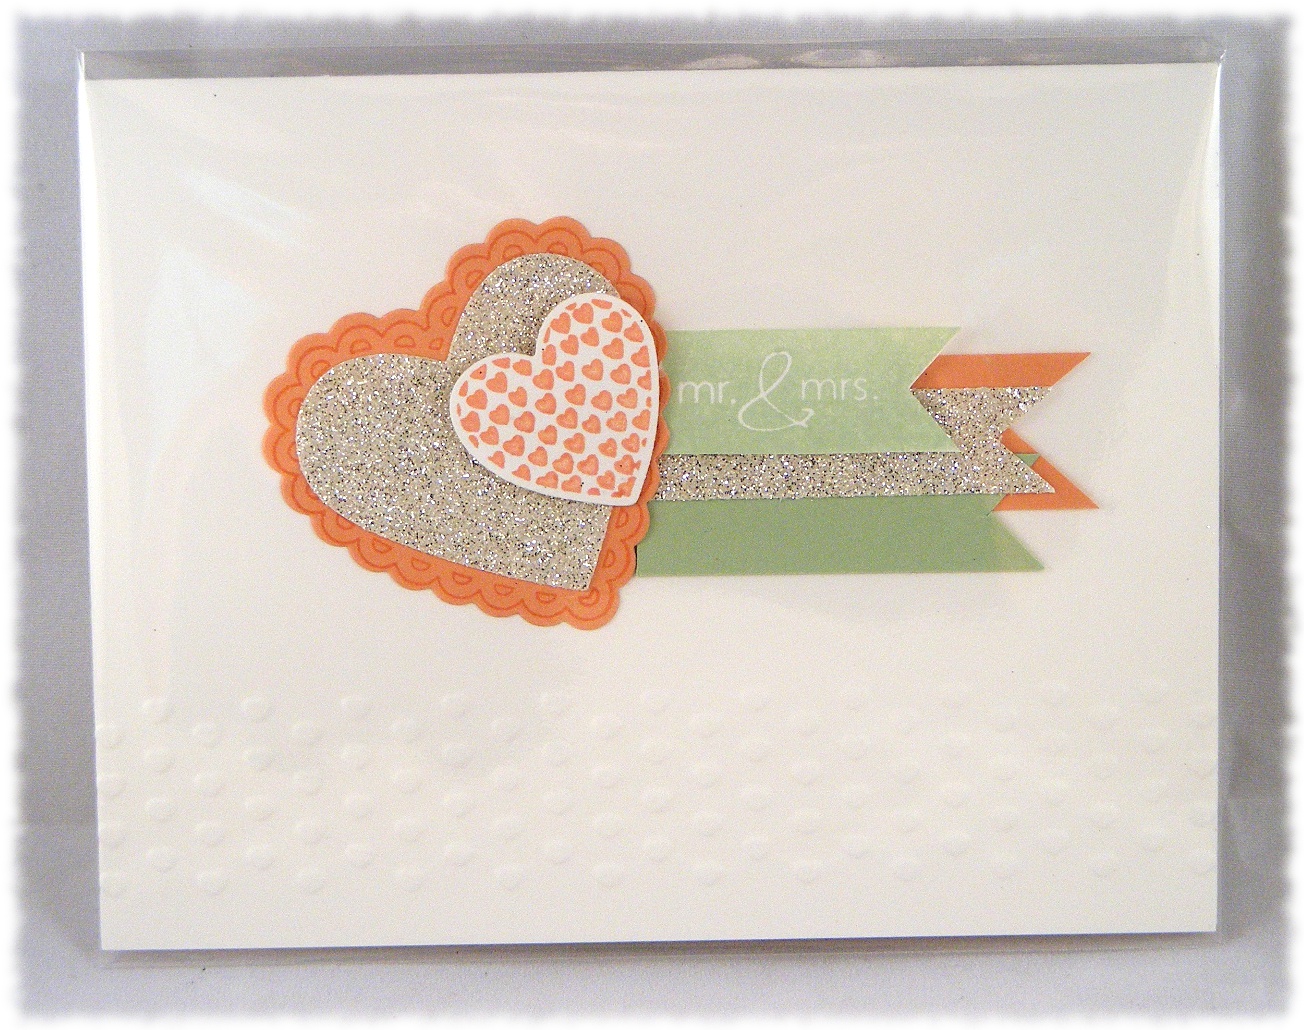
 I can't show you the actual product but here are a few photos of projects Shelli demonstrated:


The next new product was the Envelope board punch. This thing is amazing!  It makes 72 different sizes of envelops in seconds!  Here is a shot of the display board:


The final new product announcement of the day is the one I am most excited about.  It is called Undefined and it is a kit to design and carve your very own rubber stamps!!  Talk about cool!!  The ultimate in creativity...design the perfect stamp for your project, make the stamp and then use it on the project!  So can't wait to get my hands on this one!

Then it was time to recognize those who had earned the Incentive trip this year. My upline, Jamilla Ivits, centre, was one of them!  On the right is Natasha Byrne and on the left is Denise Donald.  Congratulations, ladies!!


The afternoon was spent at the Expo, a Selection of classes, training, make-n-takes and more.  I spent a bit of time in the Recognition Room, which was a space reserved for those of use who earned annual awards to get a break from the crowds and have a quiet drink, put our feet up and chat.  

While there Sherril Graff, centre, one of Stampin' Up's longest serving demonstrators came by to say hi and have a photo op.


Jamilla and I celebrating our successes...both of us had our best years ever!

Then I headed off to lunch.  Along the way I passed the Make-n-Take area.  Imagine setting all of this up for your next class...

Unbelievable!!

Recently I had a huge compliment paid to me by Karen Burniston, designer of the Pop-n-Cuts die system and the Dress Up and Deco Labels framelits (two of my fav's)!  She emailed to tell me she had seen my work on Pinterest and loved it!  I was blown away and told her as much and she was very gracious in emailing me back and forth several times.  She invited me to stop by and say hello to her while I was at Convention, so I did...

Karen in action during her demonstration.


Karen greeted me with a big hug and paused for a photo...what a kind thing to do!


The rest of the afternoon was spent in various classes and chatting with demonstrators from around the world.  Then it was time for Awards Night...

Jamilla and I all dressed up...don't see this very often!

Awards night was well done and (blessedly) short...just an hour and a half and we were off to the 25th anniversary party!  There was a fabulous 80's cover band, yummy desserts, more free stuff (new washi tape from the upcoming Holiday Catty), circus performers, party games and more.  So very much fun!!

It was an exhausting but very fun day!!  Can't wait to see what tomorrow holds!


Friday, July 19, 2013

Convention is open!

What a fun and busy day it was!!  We started our day on the very first bus to the Stampin' Up head office in Riverton, which is about half an hour south of Salt Lake City.  The tour was terrific...how I wish I could work in that beautiful facility!  Check it out...


On the bus


In the Atrium at head office


Lower level in the atrium...lovely water feature...very relaxing place to distress after a tough day at work!


Holiday display in the Legacy Room


Thanksgiving table setting, also in the Legacy Room.  These products are all from the upcoming Holiday Catalogue!

The Distribution Centre...just look at all those stamps!!

Then we were back to SLC for some more shopping and a relaxing lunch.  I had a swap that afternoon as well...photos of those later :)

Then it was time for the opening General Session.  What an atmosphere!  Here are some pics...


Panoramic shot of the entire hall.  6000 demonstrators and head office staff all partying it up...what an great experience!
Brian Pilling (one of the head office corporate types) leading a bunch of demos in a line dance!


The opening convention theme song was wonderfully performed and accompanieD by pyrotechnics!


Our convention bags were the first all-attendee give-away!  They are gorgeous!!  And filled with three stamp sets, make-n-take kits, catalogues, commemorative swag...such fun!  We also watched a demonstration by Pam Morgan who did 5 projects featuring this year's Making a Difference set:  Tag It, which we all got for free!  
Be fore she was done, Pam announced two prize patrols (didn't win either of those...but there's still lots of time!). And then Shelli announced another all-attendee giveaway...the Tags 4 You set from the new Holiday Catalogue...yippee!
The evening ended with the opening of the Gathering Place with a live band Karaoke, tons of displays a world record set for the most greeting cards sent from a single location and so much more.  I'll post more photos tomorrow...the crowds were so big it was difficult to get good pics.  See you then!


Thursday, July 18, 2013

Missing My Boy

While getting away and having fun at Convention is great, I sure do miss my son.  It is hard to be away from him for such a long time, even though I know he is having a great time and being spoiled rotten at Grammy's house!  When I packed his suitcase I put a card in it for him to find as he was settling in for his week of fun...check it out:
Miss You card featuring the I Am Me DSP and sentiment from the Really Good Greetings stamp set.

I just love this DSP!  The patterns are so versatile and I love the colour combo.  I whipped this card up in less than 10 minutes...so easy when you have great DSP like this to work with!  The sentiment comes from the Really Good Greetings set and I inked it with my Pool Party and Real Red markers.  I used one of the labels from the Chalk Talk Framelits to mat the sentiment and added some brads in Basic Gray.  The heart is die cut using the Hearts Collection Framelits and embossed with the Woodgrain TIEF.  I added a little Washi tape and a button with some twine.
My son loved finding this card in his case...though he asked where the money was!  He expects to find cash in every card he gets...can we say spoiled by Grammy?!?
Check in later today for an update from the first day of Convention...so exciting!!!

Wednesday, July 17, 2013

Pre-convention Fun!!

Today was a great day in Salt Lake City!  My Downline, Laura, arrived this morning and she immediately wanted to do some shopping so we headed back over to City Creek Place.  What a beautiful mall that is!!  Here is a photo of some of the fountains...

 
We also stopped for a photo op in front of Temple Square...

  
After a quick lunch we headed back to the hotel to freshen up and then were off to the convention centre for my first swap.  This one was a double scrapbook layout swap that was such fun!  There were so many amazingly creative layouts...I'll post photos when I get home and can properly photograph them.

Then we were off to yet another swap and mingle event where we made four cute projects, feasted on an incredible candy buffet and met demonstrators from as far away as Australia!!

Now we are settling in for the night after a busy but fun-filled day.  The REAL fun begins tomorrow, as we will be on the first bus at 8:00 am to Riverton to tour the Stampin' Up home office.  We are both VERY excited to visit there!  Convention officially opens tomorrow at 5:00, so I'll have lots to share tomorrow night about the opening events.  Stay tuned....

An Angry Space Birds Birthday

When my son turned 6 in April he invited 14 of his nearest and dearest friends to his party.  While that's all well and good, 14 kids at his party mean 14 invitations to other parties!!  The latest happened last weekend and was an Angry Birds theme so I came up with this fun card...


Angry Space Birds Birthday Card outside...
...and inside!
I have to admit this was really fun card to make!  It was surprisingly easy too, given that my son owns LOADS of inspiration pieces!  I made it as a 5"x5" easel card so that the bird would stand up and look like he was flying right at you.  Max loved it...wants me to make him one too!  Here is the list of dies and punches I used (don't forget to sponge ALL pieces using ink of the same colour to give your bird dimension):

Body:  2nd-largest circle from Circles Collection Framelits in Real Red
Tummy: 4th smallest circle from Circles Collection Framelits in Sahara Sand
Hair:  Bird Builder punch x 2 in Real Red
Mask:  XL oval punch, trimmed in Basic Black
Eyes:  Little Labels punch pack, trimmed in Whisper White
Beak:  1-1/4" square punch, cut on the diagonal, corners rounded in Crushed Curry

The rest of the card is pretty easy to figure out.  The stars are from the Merry Minis punch pack.  The sentiment was printed out using the Feast of Flesh font in MS Word and then die cut using the Deco Labels Framelits.  Tip:  Once you have the hair glued onto the body, glue a second Real Red circle to the back side so that it looks finished from the back when the easel card is open.

Be sure to check in later today for an update from my first full day in SLC!

Tuesday, July 16, 2013

Another Sketch Inspiration Sample

Today is the day!!  I leave for Salt Lake City at 7:30 am!  I am so excited!!!  My swaps are done, I'm all packed and I even have room in my suitcase for all the fabulous freebies we'll be getting at Convention!  So pumped!
Today I want to show you another sample I did for this month's Sketch Inspiration.  In case you've forgotten, here is the sketch:

July's Sketch Inspiration

And here is another spin on it...

Multi-occasion card featuring the Perfect Blend stamp set with sentiment from Yippee Skippee.
Now, I'll admit this is a bit of a stretch, but all of the elements of the sketch are there:  three layered items in the middle and a horizontal element.  I did add the label for the sentiment, but it is still true to the sketch.  I used some of my favourite Soho Subway DSP for the heart and then stamped and fussy cut the two coffee cups.  The sentiment is die cut using the new Deco Labels Framelits...love those!!  I used some Linen Thread for the horizontal element and a couple of little button brads from the Vintage Trinkets.  The background is embossed using the Woodgrain TIEF.   You just never know where a sketch will lead you...give this one a try...it's a fun one!
I'll check in tomorrow from SLC with some pre-convention buzz and also have a fun kid-friendly project for you.  See you then!

Monday, July 15, 2013

Time for another Twisted Challenge!

Happy Monday!!  It is the 15th, which means it's time for a new challenge over at The Technique Twist!  This week's technique is water stamping.  Yup...just like it sounds...use water instead of ink on your stamp!  Check out my take on it then I'll give you some how-to's:

Thank you card featuring the Fabulous Florets stamp set and using the Water Stamping Technique for the background.  Sentiment is from the Best of Greetings set.


Inside view featuring the Hello, Doily background stamp.
Ok, so while this technique may sound very simple, there are some tips that will make it much more successful for you.  Firstly, start with a light-coloured, heavier-weight card stock.  Here I used Naturals White because it is heavier than Whisper White, which means less warping when it gets wet.  Secondly, sponge liberally with dark colours...the water will dilute the ink under the stamped image revealing the lighter-coloured card stock underneath.  For this project I used Island Indigo and Always Artichoke and sponged with a lot of pressure so that I had dark, rich colour to stamp on.  Thirdly, choose large background stamps that have fine lines and are fairly detailed.  Thicker lines and solid stamps do not work well for this technique (think shapeless blob, rather than stamped image...ask me how I know!).  Fourthyly, to "ink" your stamp, use a spritzer.  There are many tutorials out there that suggest using a soaked paper towel as your "stamp pad", but I had little success with that method.  I found that if I spritzed my stamp and then blotted it once on my grid paper it stamped beautifully and I got a clear image.  After you place your stamp on the sponged surface, let it sit there for a few seconds to allow the water to transfer...you'll get a better image that way.  Finally, don't be alarmed if your stamped image doesn't show up well at first.  It will emerge as the water dries...you can speed up the process with your heat tool.
So, now that you know how, let me tell you how I did this particular card.  As I mentioned above, I started with a 4-1/4" x 5-1/2" piece of Naturals White card stock and sponged it with Island Indigo and Always Artichoke ink...I love how those two colours blend!  Then I spritzed my Hello, Doily stamp, blotted it on my grid paper and stamped it.  Now here's where my twist comes in...immediately after removing the stamp I stamped it again on a second piece of 4" x 5-1/4" piece of Naturals White card stock for the inside of the card...(kind of a tie-dye meets watercolour variation using the sponged card stock as my "ink pad"!)  Once it had dried COMPLETELY I heat embossed the stem from the Fabulous Florets stamp set in pewter.  I then die cut the large label from the Apothecary Accents Framelits, making sure to get part of the doily in the background.  On a separate scrap of Naturals White card stock I heat embossed the blossom in Pool Party and then sponged Island Indigo over top to fill in the background.  I fussy cut the blossom and adhered it with a dimensional.  I created a mat for the label using the tutorial you can view here and then adhered it to a 4" x 5-1/4" piece of Island Indigo card stock that had been embossed with the Beautifully Baroque TIEF and adorned with a piece of Smoky Slate Chevron ribbon.   I adhered the card front to a base in Smoky Slate and finished it off with the sentiment from the Best of Greetings set, which I heat embossed in pewter and punched with my Modern Label punch.  Add a few pearls and you're done!
Now early tomorrow morning I leave for Salt Lake City!  I am SOOOOO excited!  I have pre-posted a few projects for you but I will also be posting a daily wrap-up from convention each day.  Be sure to check back in toward the end of the day for my take on that day's events.  It promises to be a ton of fun!  I am going to be blogging from my iPad, which will be a brand new experience, so don't mind if my posts are lacking some of their usual polish.  I'll be typing on the touchscreen keyboard...yikes!!  I'll do my best to get my point across ;)

Friday, July 12, 2013

Ombre Starburst

Yesterday I showed you one of the cards we did at my techniques class this month...today I have another take on the Starburst Technique.  Inspired by a design on Pinterest, this one is very much out of my comfort zone...

Thank you card featuring the Starburst technique and the Ombre technique with sentiment from One in a Million.
Very CAS and graphic, no?  Not my usual style, but it was fun to try something different.  To get the ombre effect I used the following colours, from lightest to darkest:  Soft Sky, Pool Party, Coastal Cabana, Bermuda Bay and Island Indigo.  To create  the starburst I cut my strips 1-3/4" wide and 5-1/2" long and then cut each strip diagonally from corner to corner.  I left tiny white borders showing between each strip, partly because I liked the look of it and partly to make  the five strips fit properly (sometimes necessity really IS the mother of invention!).  I used Island Indigo Chevron Ribbon and Bermuda Bay Candy Dots to embellish this otherwise very plain design.  The sentiment is stamped in Basic Gray and comes from the One in a Million stamp set.  The gals at my class liked this card and I have to say so do I.  Sometimes stepping out of your usual style is fun and inspires different, but fabulous things!  Give it a try...I dare you!!

Thursday, July 11, 2013

Starburst Sunshine

Can you believe it's Thursday already??  One week from today Convention starts...woohoo!!  Can't wait!!  Before I leave I have lots to do...swaps to finish, laundry and packing and getting my son ready for his week at grandma's and still a couple more classes to finish up.  My techniques class is tonight and we are learning how to do a starburst background.  This is one of the cards  we'll be making:

Any-Occasion card featuring the Sunshine Single Stamp and This and That Epic Day DSP
Did you realize this stamp is available until the end of this month?  With all of the new catalogue hoopla, it is easy to forget about these awesome and affordable single stamp images.  It is the perfect focal image for a card using this starburst background technique, so I pulled  it out to use at my class tonight.  I heat embossed the image in black and then coloured it using my Daffodil Delight, Calypso Coral and Pool Party markers.  The DSP I used is from the This and That Epic Day pack...one of many that are on promotion this month in the B3GO offer.  See the right sidebar for details then call, click or email to place your order.  There is no better time to stock up on your favourite Designer Series Paper than right now!

Wednesday, July 10, 2013

Timeless Birthday

Today I want to show you a card I designed for my monthly Tri-City Stampers team meeting last night.  Several of my team members had never tried using our Stampin' Around wheels before, so I wanted to come up with a design that incorporated the use of a wheel.  Here is what we did:

Birthday card featuring the Timeless Talk stamp set and Music Notes Stampin' Around wheel.

Inside view with sentiment from A Dozen Thoughts
If you are like my team members and have never used one of our wheels before, let me caution you that there is a bit of a learning curve to get a perfect image.  It isn't difficult once you get that hang of it and with a little practice, you'll be wheeling like a pro!  For this card we used the Music Notes wheel twice; once on the small panel on the front of the card (to break them in gently) and a second time on the inside panel.  We used the Smoky Slate ink pad to ink the wheel...no need for ink cartridges when using the wheel on a card, though if you want to do a larger scrapbook page, you'll want the continuous inking a cartridge provides.  The other thing to be sure of is that you have a straight edge to guide your wheel...it is virtually impossible to get the image perfectly straight without one.  I'm proud to say that every one of my team members managed to successfully wheel the music image on both the front and inside of the card. :D
The rest of the card is straightforward.  The DSP is from the I Am Me DSP pack. I stamped the victrola and the sentiment in Basic Gray and the speech bubble in Smoky Slate.  The sentiment on the inside, from the A Dozen Thoughts set, is also stamped in Basic Gray.  I used the Ovals Collection Framelits to cut out the Victrola image, which gave my team a chance to try out the new Magnetic Platform.  They loved it as much as I do!!  It is so easy and quick to use the Framelits...no more fussing with post-it notes!  Far and away my favourite new product!
On another note, one week from today I will be in Salt Lake City for Convention!!  I am getting so excited!  Be sure to check in here daily, as I will post the highlights for you.  I will also be tweeting live during convention, so be sure to follow me on Twitter (@lgirsa) so you don't miss out on a single bit of the convention excitement!

Related Posts Plugin for WordPress, Blogger...