Showing posts with label artistically inked stamp set. Show all posts

Wednesday, December 15, 2021

Artistic Thanks

 Happy Wednesday! Are you surprised to see me twice in one week? Today is the 15th of the month, which means it is time for our monthly Stamping Symphony Blog Hop. This month we are all about saying "Thanks"...after all, it's only polite to send thank you cards after receiving Christmas gifts, right?

Since I am featuring the Expressions in Ink Suite this week, I thought it would be fun to make a pretty almost-Christmasy thank you card. Check this out...
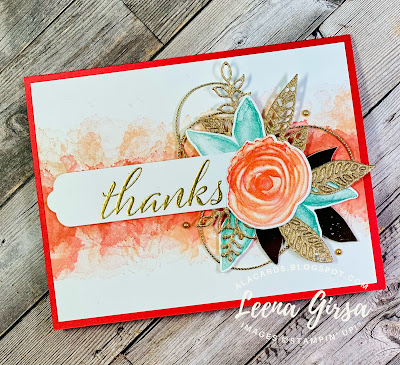
expressions in ink thank you

I absolutely LOVE the splotchy background stamp in the Artistically Inked stamp set...it is so much fun to layer colour and get amazing depth and shading. That is how I created my background on this card. I started with just a plain piece of Basic White card stock and then layered Petal Pink, Flirty Flamingo, and Calypso Coral. The effect is uh-MA-zing and so stinkin' easy!
To create my focal image, I stamped the flower once in Pale Papaya and then in Poppy Parade. I didn't spend any time trying to line up the two stamped images, as I wanted a bit of a blurred effect. Then I blended the two shades with my Wink of Stella. Not only is it a pretty watercolour effect, but it is sooooo sparkly! The leaves are stamped in Just Jade. I cut one of the detailed branch and a part of the detailed flower from the Artistic Die set from Brushed Gold Specialty Paper, cut them down and then arranged them behind my flower. I also added some gold foil leaves from the Expressions in Ink Ephemera Pack for a bit of contrast in texture. A little gold cord and some gold metallic pearls, as well as a gold-embossed sentiment make this card rich and luxurious. A perfect way to express your thanks to someone special.
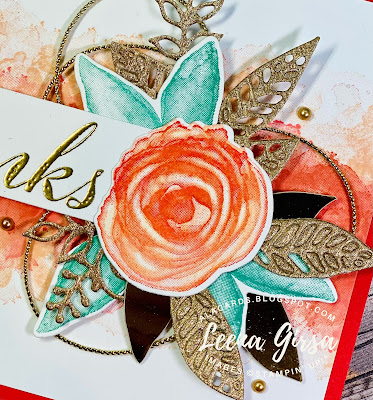
expressions in ink thank you

On the inside of my Poppy Parade card base I added a Basic White panel on which I stamped the splotch image again in the same shades I used on the front. I left out a sentiment to allow space to write a heartfelt message. 
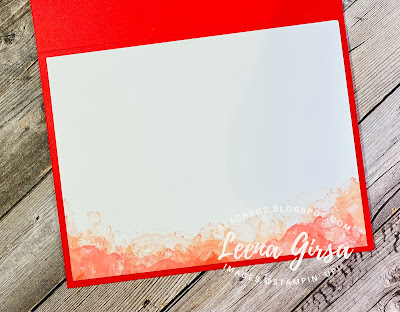
expressions in ink thank you

I demonstrated this card in this week's Facebook Live @ Five over on my Facebook business page. You can catch the replay on my YouTube channel here:


Before you go, be sure to check out the next blogs in our hop...there are some super-talented stampers in our group!

Leena - A La Cards (You are here!)

Thanks for stopping by today. Have a wonderful week!
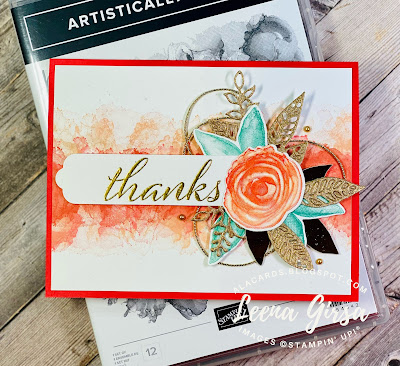

expressions in ink thank you


Product List

Tuesday, December 14, 2021

Easy Expressions in Ink Fun Fold

 Happy Tuesday...can you believe we are less than two weeks away from Christmas?? I have to admit I am especially looking forward to the holiday break...we finish this Friday and I have an entire week to enjoy the lead up to Christmas this year. That is something we rarely get and I intend to make the most of it!

Since Christmas is so close, I have decided to shift gears for a couple of weeks back to some fantastic products from the Annual Catalogue that I didn't get a chance to showcase before the Holiday Mini launched. One of the drawbacks of having so many new products launch all at once is that there just isn't time to give them all the love they deserve. So, this week and next, I'll be shining the spotlight on the Annual Catalogue before I start my countdown to Sale-a-bration and the new Mini after Christmas. 

This week I am all about the Expressions in Ink Suite, This is, hands down, my favourite suite in the Annual Catalogue and I am only now really having a good play with it; o much so that I am offering a Virtual Zoom class featuring this suite in January. You can learn more about it under the Upcoming Events tab in the right sidebar.

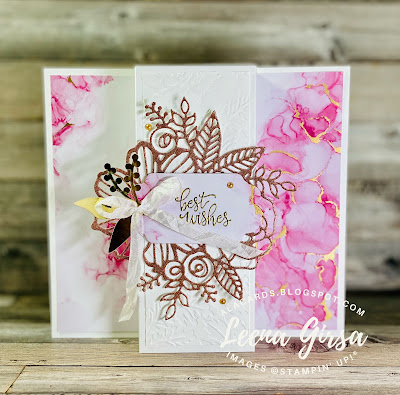
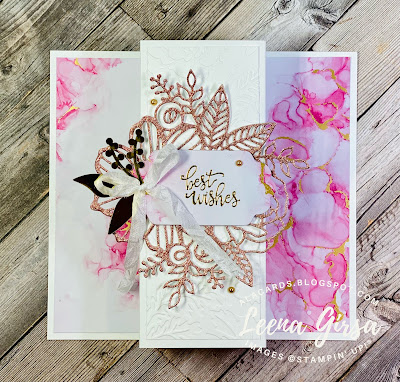
Check out this gorgeous (but super-easy) fun fold...

fun fold wedding card

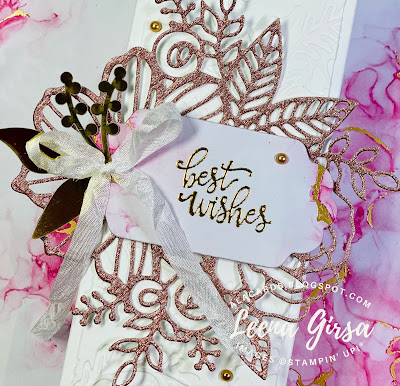
Doesn't that just make your eyes happy?? I don't know what I love more...the beautiful Designer Paper or the FABULOUSLY detailed die-cut!

fun fold wedding card

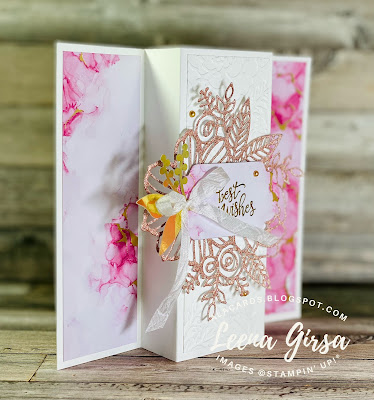
Or maybe it is the fact that this fun fold is a serious WOW but comes together in about 15 minutes?? Yep...I think that's the part I love most ;)

fun fold wedding card

I started with a simple 5-1/2" x 8-1/2" card base and added four score lines...at 2", 3-1/8", 5-3/8" and 6-1/2". That's it...its really THAT easy!
The two side panels are layered with Expressions in Ink DSP that measures 1-3/4" x 5-1/4" and the centre panel is layered with a 2" x 5-1/4" piece of Basic White card stock that I embossed using the Pretty Flowers embossing folder (another easily-missed Annual Catalogue item!). I die-cut the gorgeous focal image from Rose Gold Metallic Specialty paper...that stuff is THE BOMB and another hidden gem in the Annual. The sentiment is heat embossed in gold on a label die-cut from Expressions in Ink Designer paper using the Seasonal Labels dies. I added a gold foil accent from the Expressions in Ink Ephemera pack and some gold metallic pearls. A little bit of crinkled white seam binding completes the bridal vibe of this WOW card. 

I demonstrated this card and two others in the video below...check it out:


Thanks so much for stopping in today. Be sure to come back tomorrow...it's blog hoppin' time!

fun fold wedding card


Product List
Related Posts Plugin for WordPress, Blogger...