Happy Tuesday! Can you believe it is nearly the end of September?? The weather here has felt more like August the past week or so, but they tell us this is the end of the warmth for a good long time here in Southern Ontario. I'm not sure I'm ready for a long cold winter...it seems like we just had one a couple of months ago ;)
October is typically when I start my holiday crafting and this past weekend I spend some serious quality time with my favourite holiday suite from the August-December Mini, Poinsettia Place. I am SO in love with everything about this suite, so much so that I am launching a brand-new online class that features it!
To complete the projects in this class, you will need the following supplies:
Ready to order? Click the image above to place your order using the Host Code. The deadline to order is October 13th. Kits will be mailed out Oct. 19th. 2020.
Now, on to this week's project share...check out this beauty:
There is so much I love about this card, it's hard to know where to start! I used a colour scheme of Poppy Parade, Garden Green and gold, with a hint of Mango Melody. The background panel consists of Poppy Parade card stock, stamped with the poinsettia image in Real Red ink. I then embossed the stamped card stock using the Subtle embossing folder to add just a hint of texture.
The focal image is stamped in Memento Tuxedo Black ink and then coloured using the Poppy Parade Stampin' Blends combo pack. I used the Dark Mango Melody for the centre of the poinsettia and the berries. The stamped images were die-cut using the coordinating Poinsettia Dies. The DSP panel is from the Poinsettia Place DSP pack and is layered on a brushed gold foil layer that I die-cut using the Ornate Borders dies. The sentiment is heat embossed in gold and die-cut using the Ornate Layers dies. I added some ribbon from the All The Trimmings Combo pack and some Gold Faceted Gems for a little bling. While it doesn't show in the photo, I also added a touch of Wink of Stella to the petals of the Poinsettia.
On the inside I added a Whisper White card stock layer on which I stamped another sentiment from the Poinsettia Petals set and another poinsettia, which I coloured in the same manner as the one on the front. I love adding little touches to the inside of my cards to reflect what is on the front.
Here is the video in which I demonstrate this card and two others using this gorgeous suite. Measurements for all three projects are included in the video description on my YouTube channel:
Thanks so much for stopping by today...have a super week!
Happy Tuesday...and happy first day of fall! We are headed into the BEST season of the year...warm sunny days, cool crisp nights, pumpkin spice EVERYTHING and oh, those gorgeous fall colours!
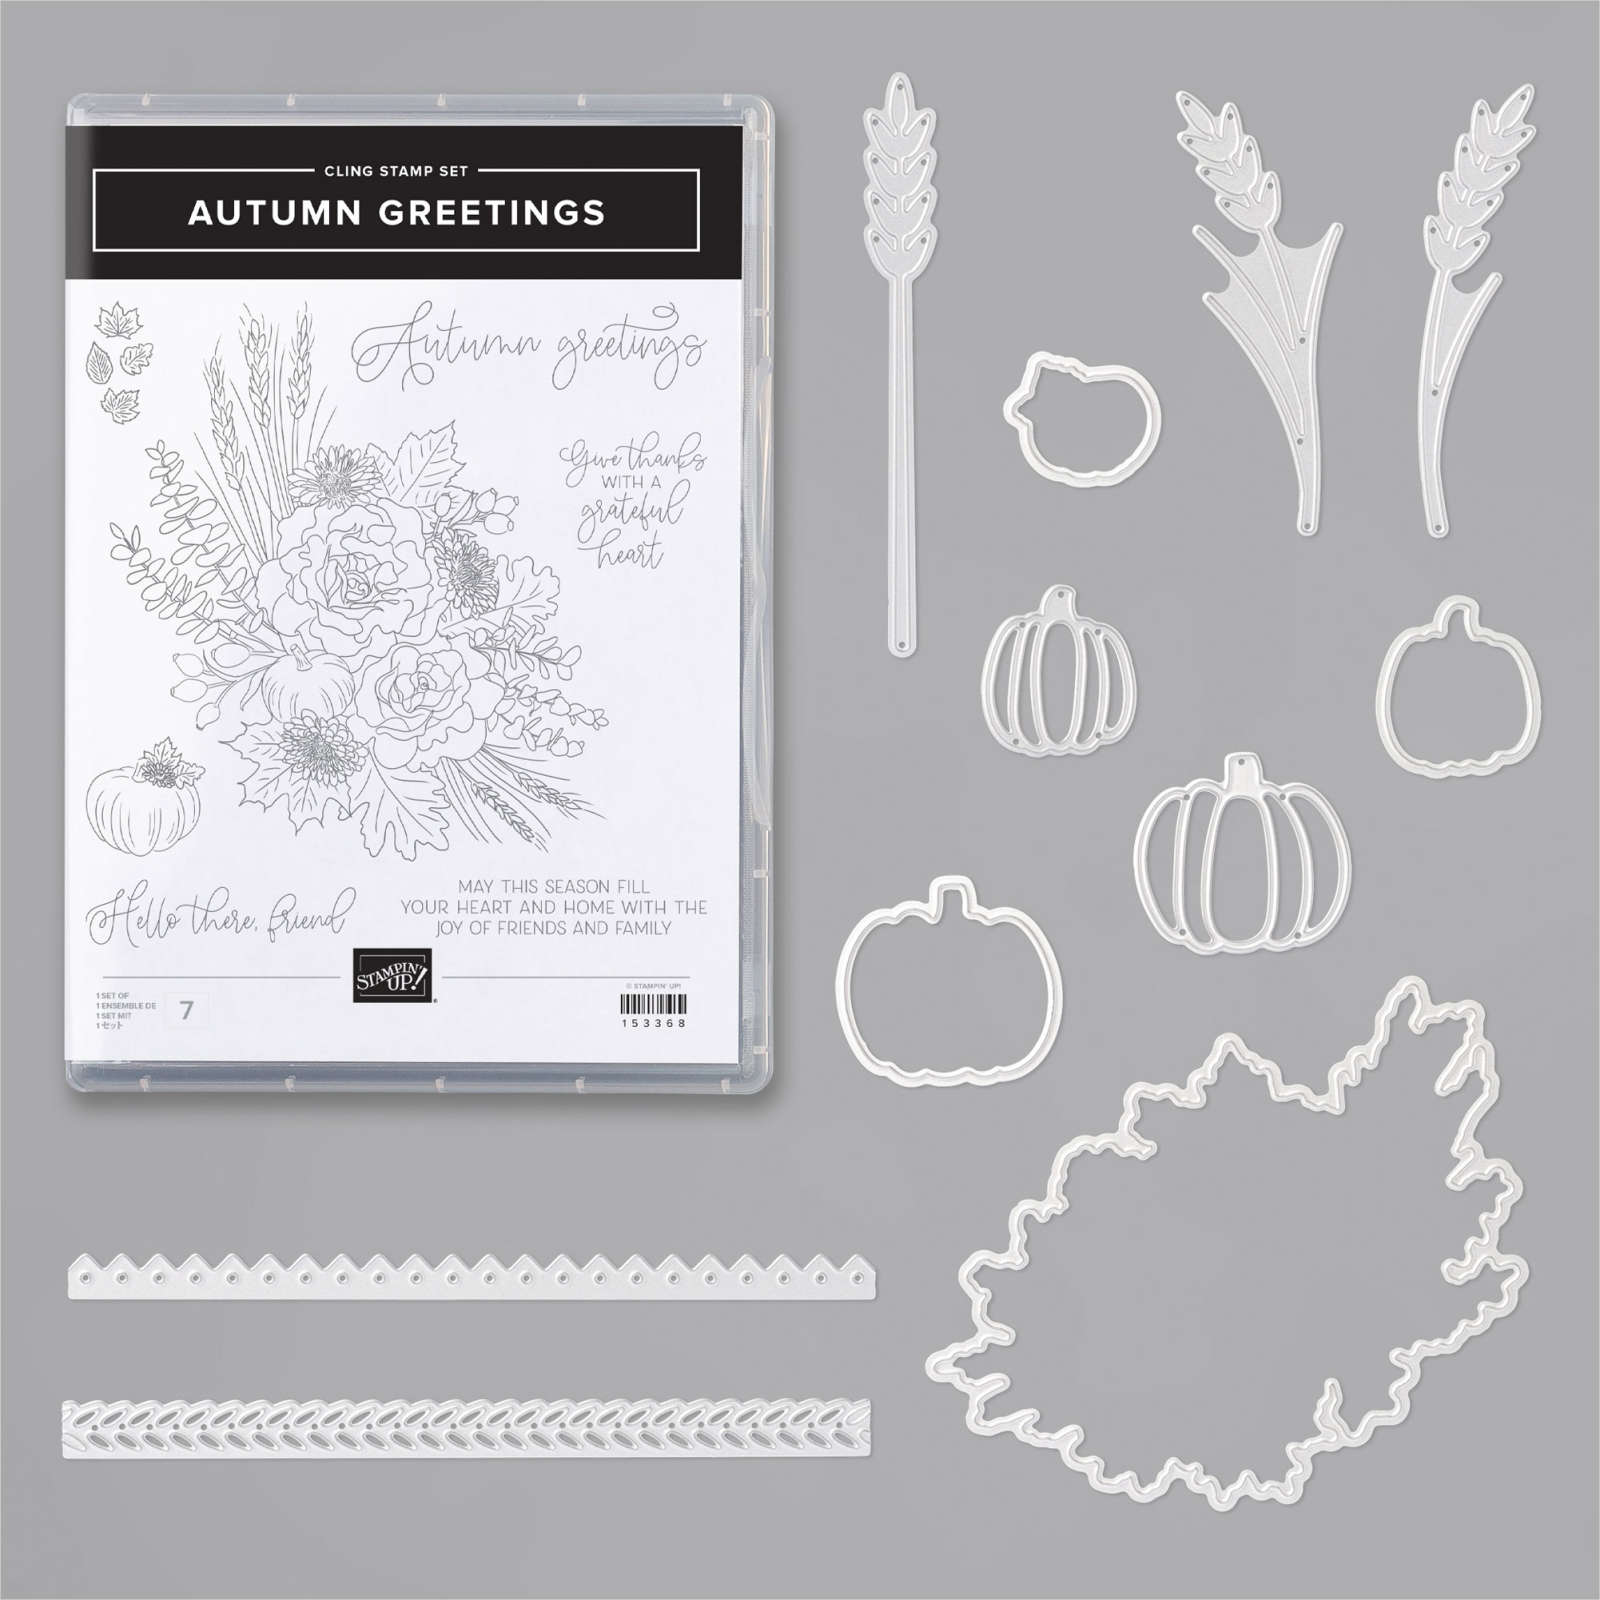
I have been having some fun playing with fall colours and images lately and have fallen IN LOVE with the Autumn Greetings Bundle...
Check out this card I made for today's Live @ Five video...
I used Gilded Autumn DSP for my background...that speckled pattern is my favourite...it is so versatile! I stamped the beautiful floral image in Early Espresso ink and die-cut the edges using the Autumn Essentials dies. The plaid DSP is from the Plaid Tidings pack and is die-cut using the Stitched So Sweetly dies. I addeed several additional die-cut elements, including the wheat from the Autumn Essentials dies and some leaves from the Gathered Leaves dies. The Early Espresso card base is stamped in ink of the same shade using the leaf image from the Autumn Greetings set. My colour palette came from the the DSP: Cajun Craze, Bumblebee and Pretty Peacock.
The sentiment is from the Autumn Greetings set and is stamped in Early Espresso ink I added some Braided Linen trim and a few In Good Taste Wooden Elements. I love the variations in texture on this card!
On the inside of the card I added a Whisper White panel on which I stamped another sentiment from the Autumn Greetings set and some leaves in Early Espresso ink.
I absolutely LOVE this bundle! The images are not only fun to colour, but they also work beautifully as simple line art. Here is the video in which I demonstrate this card and two others using this bundle. Measurements for all three projects are included in the video description on my YouTube channel:
Now, before I go, I have to tell you about a 24 hr flash sale happening tomorrow, September 23rd. During the sale, selected stamp sets will be offered at 15% off. To see the full list of sets that will be on sale, click the image below. Then place your order on my website using Host Code: MK6X3WDR
All orders of $50 or more, placed using the Host Code will receive a free package of Holiday Rhinestone Jewels as a thank you from me!
Happy Tuesday! Can you believe we are already halfway through September?? Fall will soon be here and then...Christmas! Have you started thinking about your Christmas cards this year? This month our Stamping Symphony Blog hop is all about inspiring you to get started on your holiday crafting.
This week I am featuring the In The Pines bundle from the August-December Mini catalogue. Check out this rustic fun fold card I made...
I took a basic box card and adhered it to a standard-sized card base so that it stands up better, allowing the diorama effect to really shine. The box portion is sized at 3-1/2" x 5-1/4" and it is adhered to a 4-1/4" x 5-1/2" card base. I used some of my beloved Plaid Tidings Designer Paper for the background on both the card base and the facing of the box portion. I used the Stitched Nested Labels dies to cut the window, allowing the trees, stamped in Old Olive on Whisper White card stock, to peek through. You can get a better idea of the dimension and 3D effect in this photo...
My thought had originally been to just use the trees on this card, but then I couldn't resist adding Mr. Moose...he's just too cute and makes the perfect addition, strolling through the trees. The best thing about this card is that with a simple change of sentiment, this could easily become a masculine birthday or Father's Day card.
On the inside of the card I added a piece of Whisper White card stock, on which I stamped more pine trees in Old Olive ink and a sentiment from the Merry Moose stamp set in Early Espresso.
Below is the video in which I demonstrated this card and two others using this bundle. All of the measurements for this card will be posted in the video description on my YouTube channel, so be sure to check it out!
Now, it's time to hop on over to Sandy's blog to see what she festive fun she has in store...


")


")


")


 Designer Series Paper")


 Braided Linen Trim")


