Tuesday, January 22, 2013

Happy Sale-a-bration!!


Happy Sale-a-bration!!!  Today marks the first day of two solid months of fabulous Freebies!!  What's not to love about that?!?  There are three ways to earn free product:
  1. Host - Host your very own stamping party or private class and receive extra  (sweet!) hostess benefits.
  2. Shop - For every $60 you spend you'll receive your choice of 16 fantastic options 
  3. Join - Join my Tri-City Stampers team and you'll receive an extra bonus 25% in your starter kit...that's $194 worth of product for just $125 (no shipping or tax added!!)
So what are you waiting for??  Get shopping...plan your party...or call me to chat about joining my team.  There's no better time to Sale-a-brate!

Now for some stamping.  Today's project was inspired by last week's sketch over at Freshly Made Sketches, but alas, I am too late to enter!  The linky list closed yesterday at noon, but I still want to share this fun little card with you.  First, here is the sketch:


And here is my version using some fantastic SAB freebies:

Cheerful Thank you card featuring the Madison Avenue SAB stamp set with sentiment from Made For You.
Fun, huh?  I love those little buttons!  Did you know they come bundled with three spools of ribbon as one of the Sale-a-bration options?  Talk about a deal!  15 yards of ribbon and 36 buttons FOR FREE!  Oh, how I love this promotion!  The images I used are from another SAB freebie:  the Madison Avenue stamp set.  Lots of great images and 2-step stamping to boot.  You'll have a hard time deciding which items to choose for free...so do what I did:  order enough to get EVERYTHING!!  LOL

Monday, January 21, 2013

Water Colour Silhouette

Happy Monday!  I hope you had a wonderful weekend filled with  lots of relaxation and a little stamping!  Most of my weekend was spent on household tasks, so I didn't get as much stamping time as I'd hoped, but I do have a few projects to show  you  this week.  Today, I want to show you another card I designed for my monthly techniques class last week.  It uses a technique I call Water Colour Background.  Have a look:

Thank you card featuring the Serene Silhouttes stamp set with sentiment from Lovely Little Labels.
This technique took me a while to master, but once I figured it out, it really was quite easy...and the results are fantastic! Much of the success of this technique lies in the choice of colours.  Here I used So Saffron, More Mustard, Soft Suede and Chocolate Chip, after seeing them used for this technique by a fellow demonstrator.  I love the way they blend and create a beautiful sunset background.  I stamped the tree image from Serene Silhouettes in Early Espresso.  The rest of the card is quite simple.  I used a bit of the woodgrain patterned Natural Compositions specialty paper and some of the fantastic new Natural 7/16" ribbon to add some texture.  The button is on of the Naturals Designer buttons from the Annual Catalogue and I added a couple of bitty button brads from the Vintage Trinkets.  The little tag is stamped using the Lovely Little Labels set and punched with the Jewelry Tag punch.  I didn't really set out to create a masculine card, but this most certainly has lots of manly features, though I'm sure most women would be happy to receive it as well!

Friday, January 18, 2013

Waxed Paper Resist Valentine Take Two!

Yesterday I showed you a masculine Valentine's card that used the Waxed Paper Resist technique.  Today I have another Valentine that uses the same technique but with a totally different look!  Check it out:

Cute little Valentine featuring the Itty Bitties and Simply Serif Mini Alphabet stamp sets


Cute, huh?  I love this little love note!  I used one of the notecards as the base, so this card measures just 5" x 3.5"...the perfect size for writing sweet nothings to your Honey.  I kept the design very simple, stamping the sentiment with my Simply Serif Mini Alphabet stamps in Raspberry Ripple ink and the little honey bees from the new Itty Bitties set in Summer Starfruit.  I added one of the fabulous new Designer build-a-brads, as well as a touch of Summer Starfruit stitched satin ribbon.  Simple, fun and oh, so cute!

Thursday, January 17, 2013

Waxy Valentine

Tonight my monthly techniques class meets and one of the techniques I'll be showing them is Waxed Paper Resist.  This easy-peasy technique is a fun way to create interesting backgrounds on your projects.  Here is one of the cards we'll be making tonight:

Masculine Valentine's card featuring the Clockworks stamp set with sentiment from Happy Hour.
Ok...the colour in this photo is WAY off!  It is supposed to be Soft Suede, Early Espresso and Cherry Cobbler...doesn't look anything like those gorgoues shades.  Man, do I need a new camera!! 
Anyhow, the background uses the Wax Paper Resist technique and then I stamped several of the images from the Clock Works set in various neutral shades:  Crumb Cake, Soft Suede and Early Espresso.  I also stamped the hand-drawn heart from the new Hearts A-flutter set in Cherry Cobbler.  The sentiment is from the Happy Hour stamp set, but I think works well with the clock images.  I added just a hint of texture to the card base with the new Needlepoint Border TIEF...love it!  Here is  shot of the inside of the card:

More stamped images from the Clock Works set and a sentiment from last year's P.S. I Love You set.  Here's hoping my class participants will like this technique as much as I do!

Wednesday, January 16, 2013

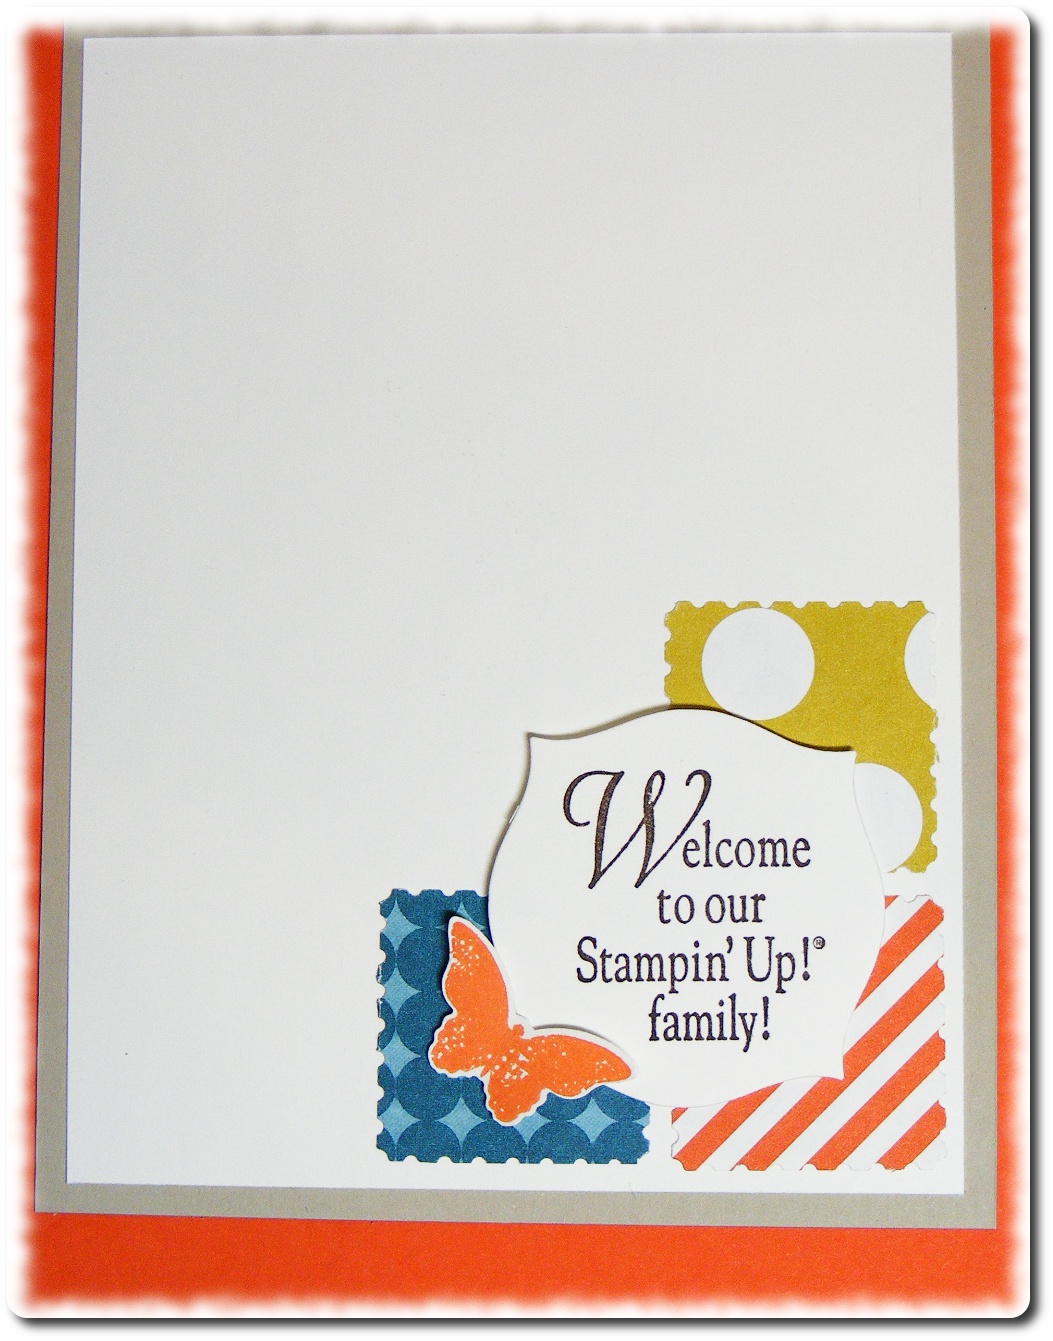
Welcome to the Team!


I so love welcoming new stamping friends to my Tri-City Stampers team.  This past Monday we had our monthly meeting and at it I got to welcome Mirela to my circle of stamping friends.  I am thrilled to have her as part of the group and wanted to make her a special card to mark her first team meeting.  As it happens, this card also works for this week's pattern and colour challenge over at The Friday Mash-up:

Here is the card I made for Mirela:

Bright and Bold card for FM92 featuring images from the Bloomin' Marvelous and Pretty Petites stamp sets.

Inside View with sentiment from Workshop Words
Talk about lots of patterns!  I pulled DSP from four different packs for this card!  Isn't it cool the way they all work together?  I used my Postage Stamp punch to punch the different squares of paper, adhered them to Early Espresso card stock and then ran it through my Big Shot with the new honeycomb TIEF.  Love that folder!!  I decorated some of the squares with various little bits and bobs I had laying on my desk...lots of fun little touches. Such fun to just play!!

Tuesday, January 15, 2013

One Week and Counting...


...till the start of Sale-a-bration!!  Are you excited?  I sure am!!  To help get you fired up, I 've got a couple of fun projects to show you over the next few days that feature some of the fantastic new products available for FREE during Sale-a-bration. 
Today I have a card I designed for this week's sketch challenge over at Retro Sketches.  Here is the sketch:

And here is my take on it using lots of SAB product:

CAS Any-Occasion card for RS46 featuring the Bloomin' Marvelous stamp set and Sycamore Street DSP
I just love this year's DSP offering for Sale-a-bration!  The bright colours and  bold patterns are fantastic!  I used two patterns on this design and chose my colour scheme from the paper.  I used Pool Party, Tangerine Tango, Summer Starfruit and Island Indigo with a  Sahara Sand base.  The stamped images are all from the Bloomin' Marvelous set...which is FREE during Sale-a-bration.  By the way, did you know the little butterfly in that set fits the new Bitty Butterfly punch from the Spring Catalogue??  It does.  Perfectly.  Sweet!!  The texture on the lower half of the card is from the Vine Street TIEF, which is  also available during SAB (for FREE!).  I added a touch of softness with a bit of ribbon from the Sycamore Street pack (did I mention this is FREE too??)  I am really happy with the way this turned out and how easy it was to put together.  This may just be one of my go-to designs for my SAB workshops!  Speaking of workshops, have you booked yours yet? The hostess benefits during Sale-a-bration are AWE-SOME!!  Tons of extras just for you.  If you haven't booked your event yet, what are you waiting for?  Call or email me today and let's get you some free stuff!

Monday, January 14, 2013

The Paper Pumpkin is here!


Wondering what the heck I'm talking about?  Paper Pumpkin is a new monthly crafting kit subscription from Stampin' Up! Starting today, you can sign up to receive your own box of creativity each and every month.  Here is how it works:
  • Each month Stampin' Up sends you a unique, surprise kit with a project-cards, journals, décor, and more! (They've even colour-coordinated, measured, and cut everything for you!)
  • Each kit includes stamps, ink, paper, and accessories-everything but adhesive. 
  • Your Welcome Kit (the first month of your subscription) includes a free gift:  a size "D" acrylic block, which you'll need to stamp your projects each month.
  • Your Paper Pumpkin will ship on or around the 15th of the month.  
  • You need to sign up for a kit by the 10th of the month to get that month's kit. If you sign up on the 11th of the month, your first kit will come the next month. (Let's say you sign up on May 10th, we'll send your kit around May 15th. If you sign up on May 11th, we'll send your first kit around June 15th.)
  • A Paper Pumpkin membership is just $24.95 per month (and shipping is included!)
  • There's no commitment, you can cancel your monthly Paper Pumpkin at anytime. You can also skip a month if you want.
  • Still not sure?  Starting in early March, you'll be able to purchase a Try-It kit from my online store if you'd like to try Paper Pumpkin for just one month. 
Still have more questions?  Click HERE for more information.  Ready to sign up?  Click HERE to subscribe!
I am SOOO excited about this program!  I can't wait to get my magical red box of stampin' goodness in the mail!  I am so sure you'll love it too that I'm scheduling a FREE new event called "The Pumpkin Patch", where each month you can bring your box of goodness over to put together with me and my other stamping friends.  What a fun way to share the Pumpkin magic!!  Watch for "The Pumpkin Patch" coming in February!

Now on to some stamping!  I spent lots of time in my stampin' corner this weekend designing the projects for my team's Sale-a-bration challenge (more on that later this week...after my team meeting tonight) and my monthly techniques class.  I've got lots to show you, so let's get on with it, shall we??  Today's project is a set of note cards with a cute little holder that I designed using some of the fab products from this year's Sale-a-bration brochure.  Check it out:

Notecard set featuring the Patterned Occasions stamp set, available Jan. 22nd as a FREE Sale-a-bration reward!


Card #1


Card #2
Card #3
Card #4
All bundled up for gift-giving
I had great fun creating this set!  I used the Notecards with envelopes as my starting point.  Those are the best-kept secret in the catalogue...20 cards with envelopes for just $7.50...doesn't get any better than that!  By the way, the box that is holding all of the cards and envelopes is made from one of the notecards too!!  I chose my colour scheme from the Sycamore Street DSP, which is another Sale-a-bration offering.  Such fun patterns and vibrant colours!  It was easy to put together different looks for each design with such a range of colour options.  The stamp set I used is called Patterned Occasions.  I chose to cut the sentiments and images on each stamp apart to make it easier to use the two separately...I do it with all of my stamps that contain images and text on the same stamp...makes them much more versatile!  The nice thing about clear mount is that when I want to use the image and text together, I just mount them side-by-side on my block!  You might have noticed the shiny satin ribbon on several of the designs...that is yet another SAB freebie!  You receive three rolls of ribbon and 36 buttons in the Sycamore Street Ribbon and Button pack!  What's not to love?!?  Sale-a-bration...starts January 22nd.  Have you got your wish list ready??
Related Posts Plugin for WordPress, Blogger...