Showing posts with label Happy Hour stamp set. Show all posts

Thursday, January 1, 2015

Happy New Year!!

Happy 2015!!  I hope you rang in the new year with someone special last night!  Today I have a card made just for this occasion that just happens to work with this week's challenge over at Hand Stamped Sentiments...

New year's card featuring the new Hello You Thinlits and the Happy Hour stamp set.
I went with a monochromatic look, sticking with silver and gray for my colour scheme.  I stamped "New Year" from the sentiment in the Bright and Beautiful stamp set by inking just that phrase with my Basic Gray marker.  I used my Stamp-a-ma-Jig to position it just right.  The background panel is Silver Foil Vellum layered on a piece of Whisper White card stock.  I used Silver Foil card stock to mat the focal panel, which I trimmed with some All is Calm Washi Tape.  The word "happy" is die cut using the new Hello You Thinlits, available in just 5 short days in the Occasions catalogue.

The champagne glasses are from the Happy Hour stamp set.  I stamped them in Basic Black ink and then fussy cut them out.  I added some silver glimmer champagne in each glass.  Of course, I needed more bling, so I added a few rhinestone bubbles floating up from the glasses.

On the inside I used more Washi tape and stamped the sentiment from the Happy Hour stamp set in Smokey Slate ink.
I hope 2015 finds you filled with hope and anticipation for what is in store.  I wish you all the best the new year has to offer!

Saturday, August 2, 2014

On the Fringe with the Twist

It's the first Saturday of a brand-new month which means it's time for a new challenge at The Technique Twist.  This time we're all on the fringe...scissors, that is!  I've had my pair of fringees for a while and have used them a fair bit, but not nearly as much as on this card...check it out!
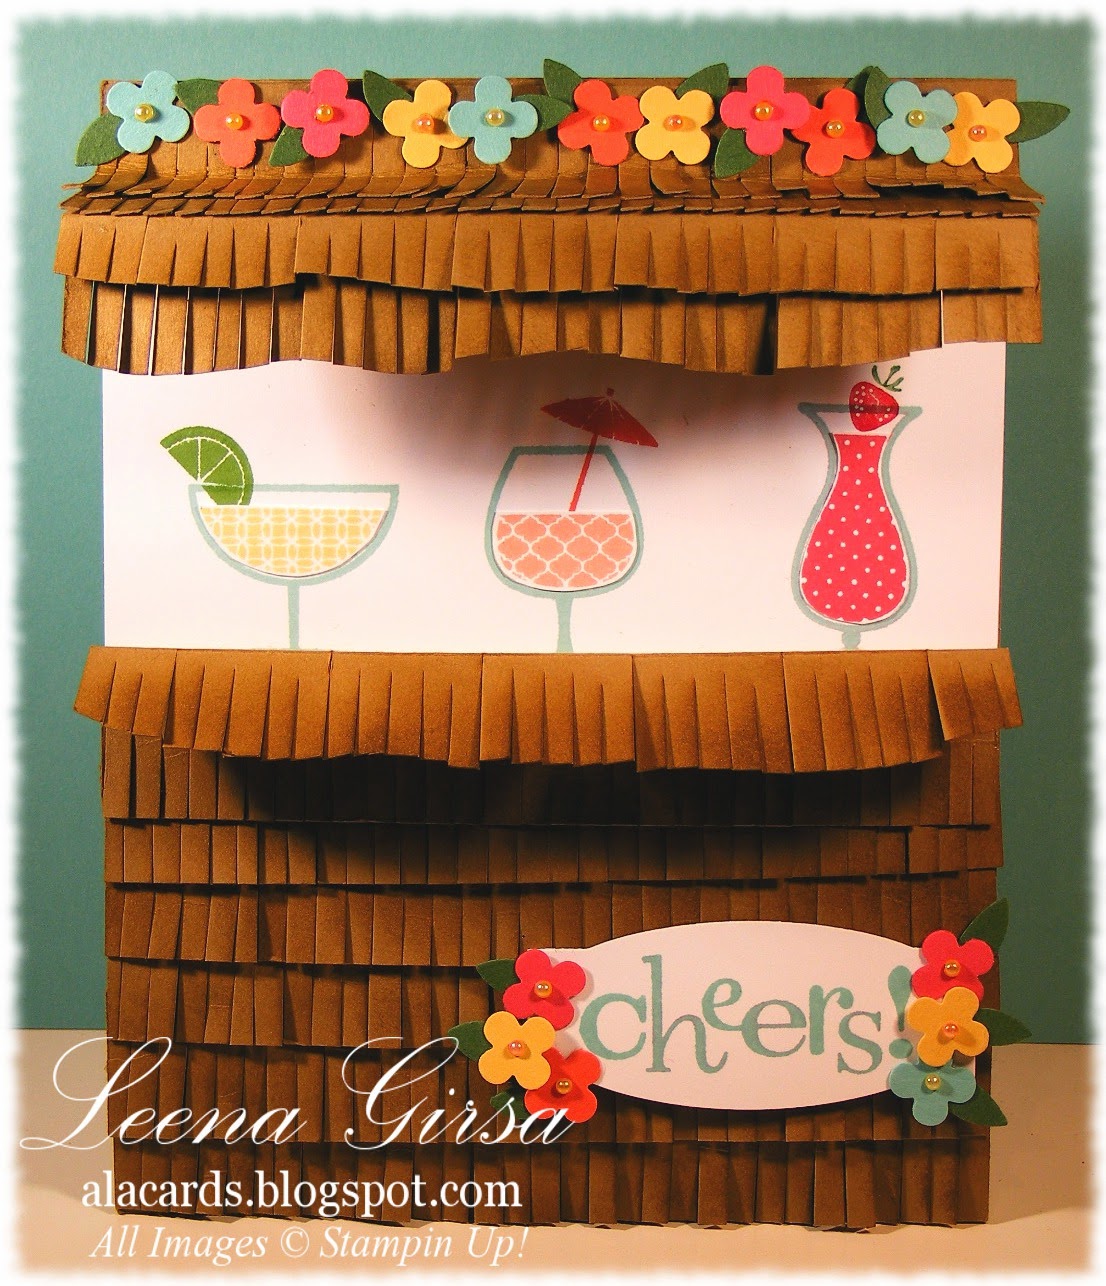
Birthday card featuring the Happy Hour stamp set and my trusty fringe scissors!
This was such fun to make!  I had seen awning cards before but had never made one, so I played around for a bit until I got my measurements right and then started fringing!  To get the wavy edges I free-hand trimmed the fringes with my paper snips.


I know someone out there is going to ask me for measurements, but I really don't know.  I just kept scoring and folding and trimming till I got something that worked.  I do know that each of the little fringe strips is 3/4" wide, but as for the larger parts of the card I have no clue!  This was truly a process of trial and error.  I did sponge each little strip with Baked Brown Sugar ink (I used Baked Brown Sugar card stock) to give them some texture and dimension.


Along the top of my little tiki hut I added some wee flowers punched with the Itty Bitty punch pack (retired) and added a leaf from the Bird Builder punch to each one, as well as some bitty pearls that I coloured with my Blendabilities.  Colours I used were Coast Cabana, Calypso Coral, Strawberry Slush, So Saffron and Garden Green for the leaves.  The drinks are stamped in Pool Party and then paperpieced using So Saffron (margarita), Crisp Cantaloupe (peach daiquiri) and Strawberry Slush (strawberry daiquiri)...can you tell I like my frosty beverages?  ;)

The sentiment is stamped in Coastal Cabana and die cut using the Project Life Cards & Labels framelits.  I added a few more flowers to add island flair.

The inside is sort of anti-climatic...sorry!  I simply stamped a sentiment from the Happy Hour set, along with a little paper umbrella.  After all that effort on the front I had nothing left for the inside..haha!

I hope you'll give this challenge a try.  Even if you don't have fringe scissors you can fake it (psst...I know at least two members of the Twisted Design Team who don't own fringees!).  It adds such fun texture and dimension to projects...you should give it a go and then post it over at The Twist so we can all admire your fringy goodness!

Saturday, April 20, 2013

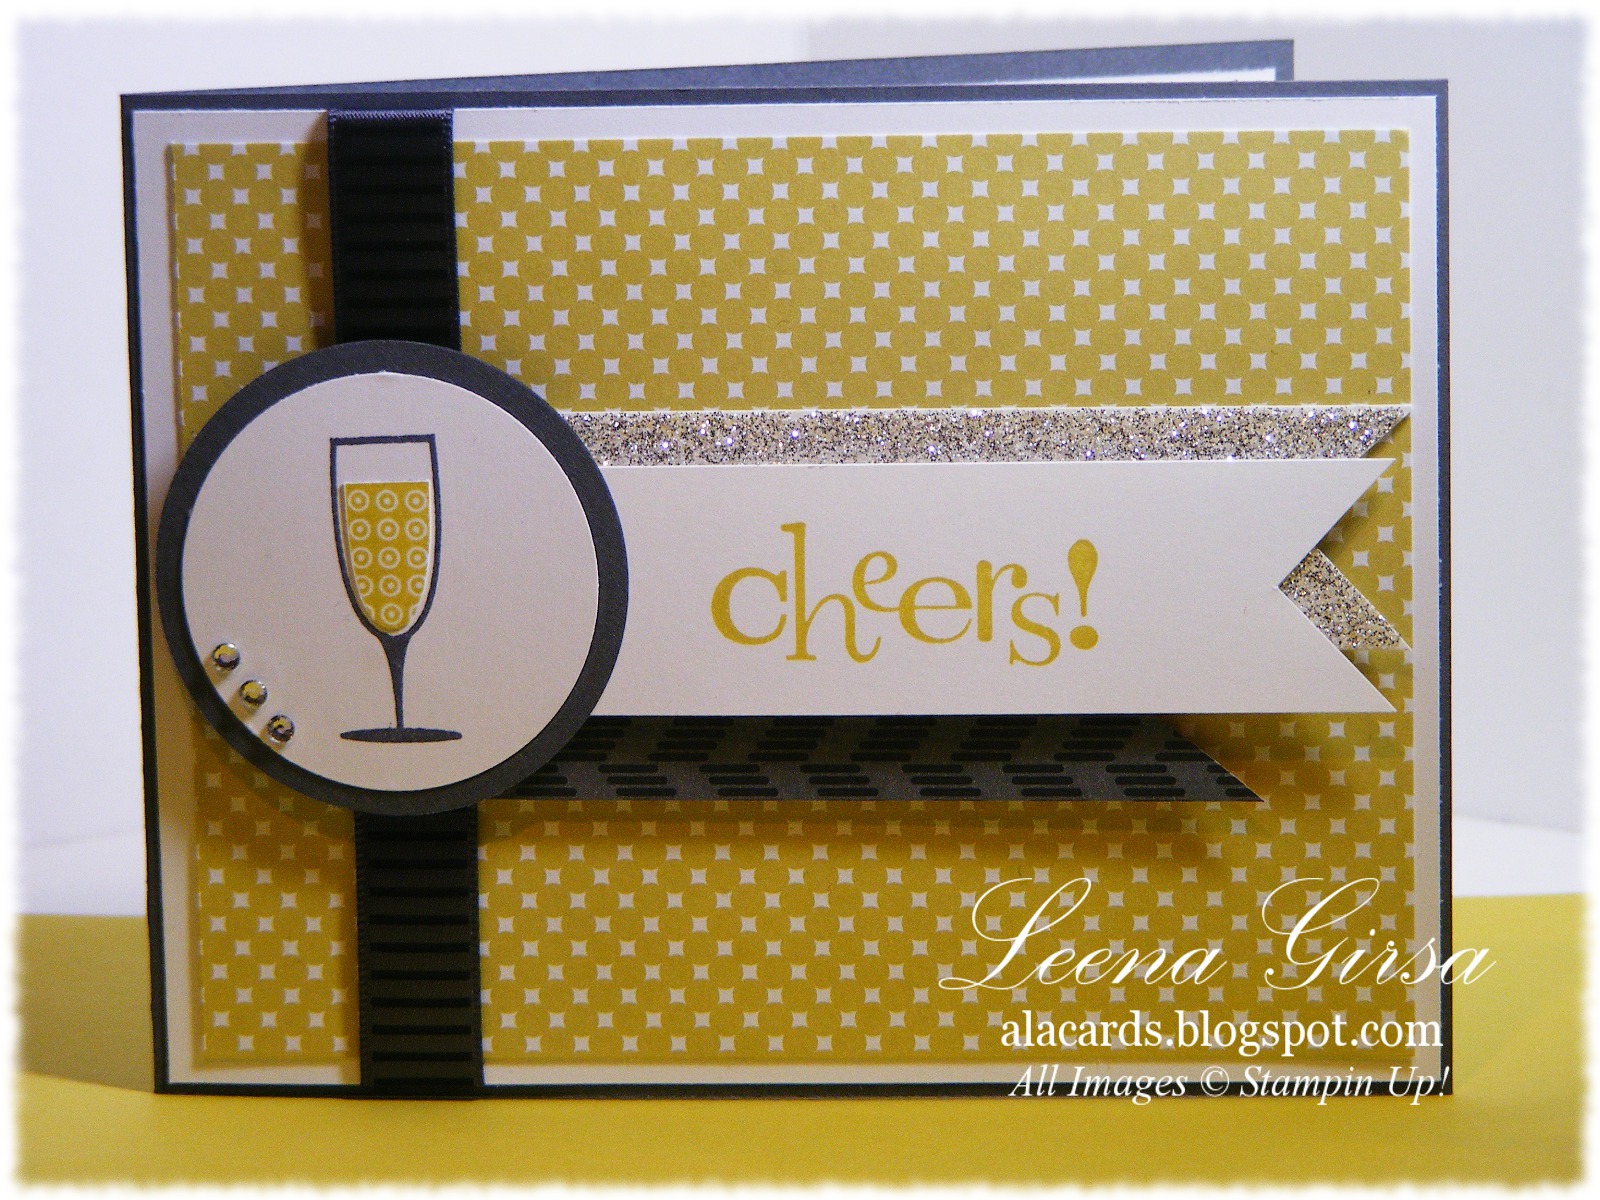
Cheers!

Any-occasion card featuring the Happy Hour stamp set


I am SO excited!  Tonight at 8:00 pm I get a sneak preview of the new 2013-14 Annual Catalogue a full four days before the general population of demonstrators do!  I was successful in earning this wonderful perk as a result of a recent incentive event offered by Stampin' Up.  I can't wait!!!  I will share some inside info with you tomorrow...as much as I am allowed to...and I'll have a good idea of which stamp sets and accessories will be retiring.  The actual retirement list comes out on Wednesday of next week and, as always, items on it are while supplies last, so it is sure to be a busy time for all of us!  The card above is one I designed a while back and I am confident that the stamp set I used will be back for another year.  Happy Hour was new in this year's catty and it is a great one!  So versatile and fun.  On this design I used some Birds of a Feather DSP, as well as some Howlstooth and Scaringbone DSP I had leftover from the fall.  The satin ribbon is also left over from the Holiday catalogue, but works perfectly on this card.  I couldn't resist adding a touch of sparkle with the Silver Glimmer Paper and a few rhinestones.  The liquid in the glass is paper-pieced, much easier than trying to ink with markers!  The colour scheme is Summer Starfruit, Basic Gray, Basic Black and Whisper White.
On another note, I want to remind you that time is running out to register for my Family Canvas class coming up this Friday, April 26th at 6:45 pm.  In case you missed it, here is the project we'll be creating:


Perfect for displaying treasured family photos, this project would make a lovely gift for Mother's Day, a new baby or just to keep for yourself to display in your home.  The class fee of $20 includes all materials and supplies to create one of the canvases pictured above, including the wooden easel to display it on!  Please indicate yoru colour choice when you register.  If desired, bring three photos with you to class to complete your project.  You'll need one 4"x6", one 3-1/2"x5" and one 2"x3".  Be sure to contact me to reserve your seat before the 23rd.

Thursday, January 17, 2013

Waxy Valentine

Tonight my monthly techniques class meets and one of the techniques I'll be showing them is Waxed Paper Resist.  This easy-peasy technique is a fun way to create interesting backgrounds on your projects.  Here is one of the cards we'll be making tonight:

Masculine Valentine's card featuring the Clockworks stamp set with sentiment from Happy Hour.
Ok...the colour in this photo is WAY off!  It is supposed to be Soft Suede, Early Espresso and Cherry Cobbler...doesn't look anything like those gorgoues shades.  Man, do I need a new camera!! 
Anyhow, the background uses the Wax Paper Resist technique and then I stamped several of the images from the Clock Works set in various neutral shades:  Crumb Cake, Soft Suede and Early Espresso.  I also stamped the hand-drawn heart from the new Hearts A-flutter set in Cherry Cobbler.  The sentiment is from the Happy Hour stamp set, but I think works well with the clock images.  I added just a hint of texture to the card base with the new Needlepoint Border TIEF...love it!  Here is  shot of the inside of the card:

More stamped images from the Clock Works set and a sentiment from last year's P.S. I Love You set.  Here's hoping my class participants will like this technique as much as I do!

Thursday, July 19, 2012

Cheers!

I recently did a private class for one of my customers and her friends and family.  They requested a feminine birthday card as one of the projects.  I decided to stay away from flowers and go in a different direction, so I pulled out my as-yet-uninked Happy Hour stamp set and got busy.  This is what I came up with...

Birthday card featuring the Happy Hour stamp set.

Inside view.
Fun, eh?  I drew my colour pallette from the fantastic Patio Party DSP and used the patio lantern patterned paper to add a bit of summer flair.  I stamped the three glasses in Midnight Muse ink and then stamped them again on a piece of scrap paper in Summer Starfruit, Primrose Petals and Baja Breeze respectively.  I then cut out the "liquid" from each of the coloured images and paper-pieced them onto the glasses.  This is a great way to get multi-coloured images without using markers.  The ribbon on the front of the card is Rose Red seam binding.  I didn't have any of the Primrose Petals stitched satin and the Rose Red was pretty close.  I also used some glimmer brads from the Brights pack...again, not an exact match for the Summer Starfruit, but still close enough to work.  The last touch on the front of the card was the embossing using the argyle folder...so love that pattern!
On the inside of the card I stamped the sentiment in Midnight Muse and then randomly stamped some of the garnish images in the colours I used on the front.  A fun little addition.  Now that I've finally inked up this set, I'm seeing many possibilities for it...stay tuned for future projects!
Related Posts Plugin for WordPress, Blogger...