Wednesday, August 7, 2013

Lovely as a Thankful Tree

Holiday card featuring the Truly Grateful (131733) and  Lovely as a Tree (127793) stamp set.

Yesterday I showed you a Harvest-themed card using the new Truly Grateful stamp set.  Today I want to show you just how versatile that set can be!  Here I used the chevron background image behind the iconic fir tree from Lovely as a Tree to create a Christmas card.

Sentiment is from the Pennant Parade (122742) stamp set and is punched with the Little Labels punch pack (126881).  Star is punched with the Merry Minis punch pack...still available on the Carryover List!

I love that background image.  It is going to be in my collection for quite some time!  Here are some tips for recreating this one:
  • I used Naturals Ivory card stock to stamp on and for my card base...it adds a lovely rustic texture.
  • The chevron background is stamped in Crumb Cake ink.
  • The tree is heat embossed in pewter.
  • The panel behind the focal image is Soft Sky card stock embossed with the new Pretty Print TIEF(132175)
  • The focal image is matted on Crumb Cake card stock.
  • The little sentiment label and glimmer paper star are adhered to the knot of the bow with glue dots.
  • I used Soft Sky Seam Binding Ribbon (131210) to add softness and shine.
This is certainly one that will be joining my Holiday class line-up this fall!

Tuesday, August 6, 2013

Fall in the air?

Harvest-themed thank you card featuring the Truly Grateful stamp set (131733) and Sweater Weather DSP (132184)

I hate to admit it, but the past couple of evenings have been decidedly cool around here.  If it weren't only the beginning of August I'd think Fall was definitely in the air!  The cooler temperatures (and the arrival of my Holiday Catalogue order!) have me thinking ahead to my favourite season of the year.  This card is the first I attempted with my Sweater Weather DSP  and Truly Grateful stamp set.  I love how easy that image is to colour...I literally swiped my blender pen over it a few times and it was done! 
Z-fold card open


Here are some quick tips to recreate this one:
  • I used Naturals Ivory card stock (101849) to stamp on.  Not only does the texture in it work well with the design, but it also stands up to watercolouring with a blender pen really well!
  • I coloured the wheat with Crushed Curry, Sahara Sand and Pumpkin Pie ink
  • I used the Deco Labels Framelits (130102) to die cut the focal image
  • To get the Z-fold, score a 4-1/4" x 11" piece of Chocloate Chip card stock at 5-1/2" and 2-3/4"
  • That burlap ribbon (132140) is fantastic!!  To get a rustic look fray the ends by pulling at them
  • Don't forget the inside of your card...I stamped the wheat sheaf in Sahara Sand on the inner panel.
  • If you don't want your inner panel to be visible from the front of the card be sure it is the same size or smaller than your focal panel.  I did 3-3/4".
I really love this stamp set...expect to see much more of it in the coming weeks!!


Monday, August 5, 2013

Playing with the Pop 'N' Cuts

Sometimes it takes me a while to get to using new products.  Althought the Pop'n'cuts dies have been around for a while I only recently cracked one open to try it out.  Here is the result of my first attempt...

Holiday card featuring the Festive Flurry stamp set with card base made using the Pop'n'cuts die.
The inside view...I used the Deco Label insert.  Sentiment is from Greetings of the Season (128033), which is on the carryover list from last year's Holiday catty and still available to order.
Pop up detail...I like the depth this die allows!
Inside sentiment from Many Merry Messages (retired)
So...whaddya think?  Not bad for a first attempt, if I don't say so myself!  Honestly, this die is so easy to use the learning curve is almost nil.  Here are some tips for recreating this card:
  • For the front of the card I embossed a panel of Pool Party card stock using the Northern Flurry TIEF, sponged with Whisper White craft ink and then with Illuminate ink to give it some shimmer.  
  • On the inside I used a bit of the Quatrefancy Specialty window sheets to cut the label.  I wanted it to be subtle so as not to distract from the snow storm happening around it...haha.  
  • The snowflakes are stamped on Whisper White using Pool Party ink and then die cut using the Festive Flurry Framelits (try saying that one ten times fast!).  I adhered them all at different depths using glue dots and dimensionals.  
  • The Greetings of the Season is heat embossed in pewter and die cut using the Chalk Talk Framelits.  I couldn't resist using one of the those gorgeous Designer Brads leftover from last spring's Occasions Catalogue. 
  • The inside sentiment is from the long retired Many Merry Messages set and is stamped in Basic Gray. 
This card is plenty thick...not one you'd want to send through the mail, but certainly one that would be much appreciated by the recipient!

Sunday, August 4, 2013

More fun with Faux Wax Seal

Happy Saturday!  We have a long weekend here in Ontario and it is the first of the summer when my DH hasn't had to work!  The weather is gorgeous and we are looking forward to a fabulous family time!
Today I want to show you another project I designed for this week's challenge at The Technique Twist.

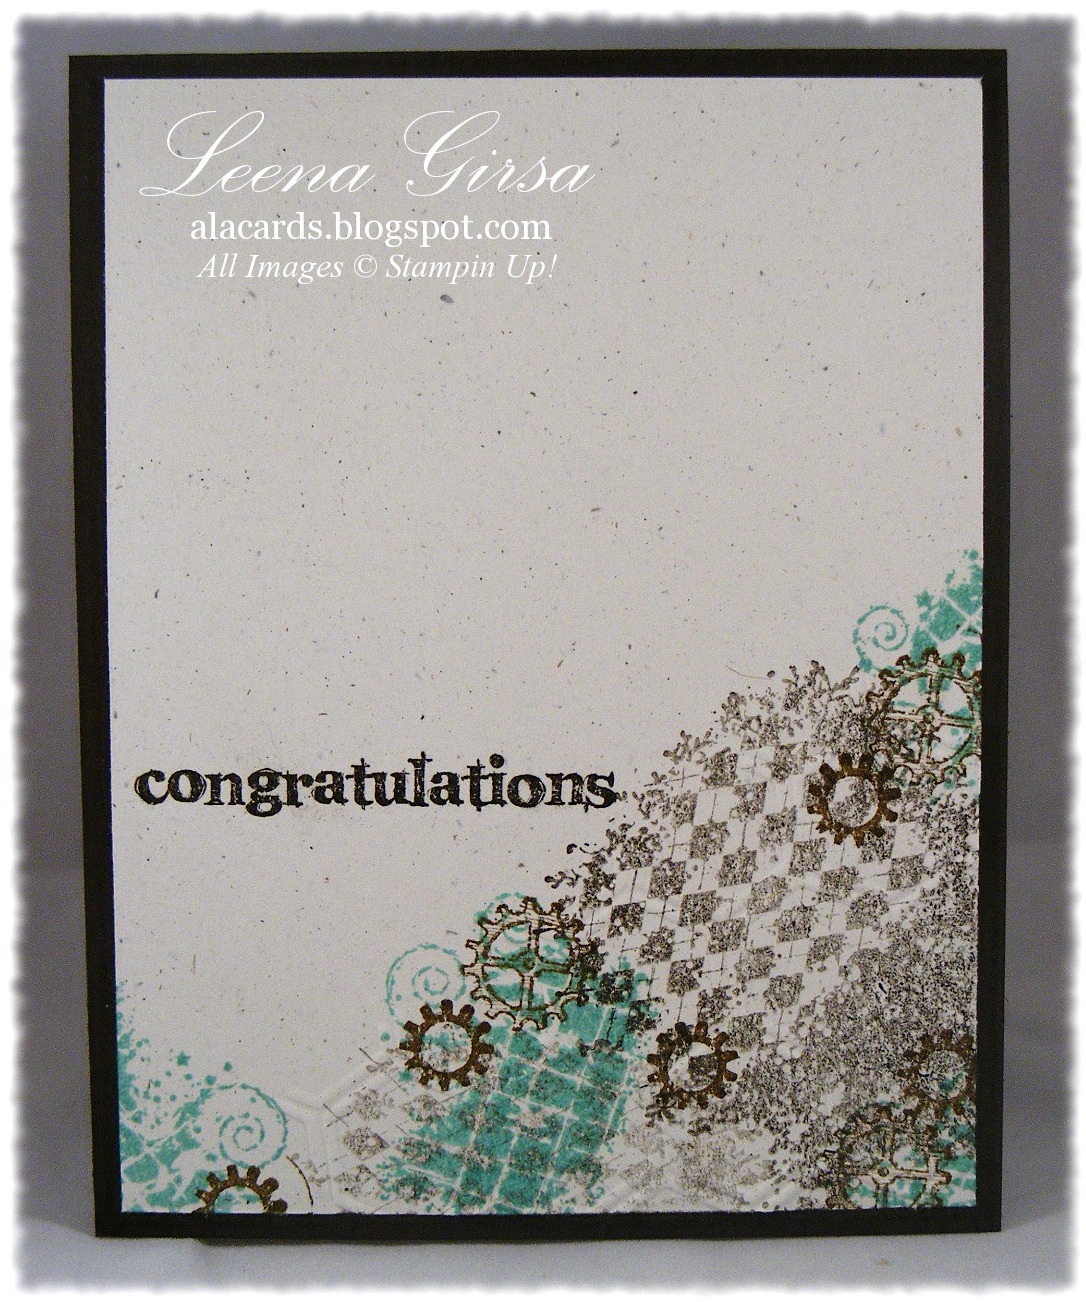
Any-Occasion card featuring the Clockworks set with sentiment from Really Good Greetings
Clock was done using the burnished vellum technique. 
Close up of 3D clock face
Inside view
I have to say this is one of my favourite designs ever.  I had such fun playing around with various techniques and embellishments to achieve the look I wanted.  It isn't often that I have the time to just play like this! 

Here's a quick how-to for the faux wax seal:
  • On a piece of scrap vellum dump a small pile of gold embossing powder.  
  • Heat the vellum from underneath, taking care not to scorch the vellum, until all of the powder has melted.  
  • Quickly place the gear stamp into the molten pool of gold and leave it in place until the liquid has hardened.  
  • Remove the stamp.  Trim the image so that you have a border of gold all the way around. 
  •  Sponge the edges with Early Espresso ink and adhere to card using Multipurpose Liquid Glue.

Here's how I did the clock:
  • On a scrap of Brushed Gold card stock, stamp the clock image in Versamrk.  
  • Heat emboss in gold.  Fussy cut the clock.  
  • Punch the centre of the clock out using the 1-3/4" circle punch.  
  • Stamp clock face numbers on a scrap of vellum card stock.  
  • Lay the stamped vellum, stamped-side-down, on the back of the clock, centering the numbers in the punched circle.
  • Using a stylus, burnish the non-stamped side of the vellum clockface inside the punched circle.  It will turn opaque white.
  • Adhere the clock to the burnished vellum using liquid glue.  
  • Trim the vellum so that it doesn't show around the clock body.
  • Pierce a hole in the centre of the clock face.  Insert a brad from the back side of the clock face so that the prongs become the hands of the clock.
  • Adhere clock to card using Dimensionals.
The rest of the design is just about sponging and distressing and generally getting grungy.  Such fun!!

Friday, August 2, 2013

One more Sketch Inspiration project

I have one more project inspired by last month's sketch.  Here is the sketch...


I took some significant liberties with this one...

Birthday shaker card featuring the Birthday Basics DSP.
As you can see, the only element I really kept was the three panels.  I created an envelope using a window sheet, Birthday Basics DSP and the Envelope Liner Framelits from the new Holiday Catalogue.  I punched heart and star confetti, layered it between the DSP and window sheet and then held it all together with some Epic Day This and That Washi Tape.  The Bermuda Bay background is embossed using the Alphabet Press TIEF which I sanded and sponged lightly.  The card base is Naturals Vanilla card stock.
Although this project bears little resemblance to the sketch, it goes to show how one sketch can be a jumping-off point for your own creativity.  If you haven't tried working from a sketch before I encourage you to give it a try...you'll amaze yourself with the results!

Thursday, August 1, 2013

Happy Holidays!

Click the catalogue to view it online

 I know it's only the first of August, but today is the day the Holiday season begins for me!  The new Holiday Catalogue is now live and all those fabulous new products are available for order!  I received my pre-order box of goodness earlier this week and let me tell you, you are in for a treat!  More to come on that later...

With the start of a new month comes a brand new challenge from The Technique Twist!  This week's technique is Faux Wax Seal.  Now, there are a ton of different ways to do this and if you visit The Technique Twist you will see many different ideas and how-to's from the design team.  I did a couple of different projects...here is the first (I'll save the second one for the weekend!)

Love note featuring the Faux Wax Seal technique with image from Best of Shelli (133488) and sentiment from Best of Love (132987)

Isn't that cool?  I love the way the stamped image almost looks like it was fingerpainted.  It would be a fun card for a child to give to a parent or grandparent.  I might actually use this one for my son to send to my parents to thank them for his wonderful week at Grammy's while I was at convention!
Anyhow...now for the nitty gritty.  Here's how to get this look:

1) Start with a 4" x 5-1/4" piece of Whisper White card stock.  Stamp some of the ink splotch images from the Gorgeous Grunge stamp set in Basic Gray and Cherry Cobblet in the lower left corner.  Stamp love to the right of the ink splotches in Basic Black.

2)  Run the embossing buddy all over the stamped card stock.  Dump a small pile of Cherry Cobbler embossing powder over top of the stamped splotches.  (You don't want too much powder because it will be hard to heat evenly, but you need enough to be able to stamp the image and have it show up.)  Flatten and even out the embossing powder with a flat edge (I used my bone folder).

3)  Ink the heart stamp with Versamark and set it aside.

4)  **This is the important instruction...read carefully!**  Carefully pick up the Whisper White card stock, trying not to dump the embossing powder all over the place.  Heat the embossing powder from the underside of the card stock.  This will take longer than it does when heating from above, but be patient and allow all of the powder to melt.  Be careful not to hold your heat tool too close to the card stock as it will burn (ask me how I know!)  Once all of the embossing powder has melted, quickly place the stamp in the molten pool and leave it there until the powder has hardened completely.

5)  Remove the stamp from the hardened powder to reveal your faux wax seal...cool, huh?

6) To finish the card, wrap some Cherry Cobbler Baker's Twine around the top of the Whisper White panel and tie a bow.  Adhere the panel to a 4-1/4"x 5-1/2" card base in Basic Black.

Really, aside from the danger of blowing embossing powder all over your house, and setting fire to your card stock with your heat tool, this is a pretty quick and easy technique.  Give it a go and then be sure to link up over at The Technique Twist!

Now for some other exciting news!  As if all the fab new products in the Holiday Catalogue weren't enough, Stampin' Up is also launching a new line of dies called Thinlits TODAY! 


They've been called flip cards, flip flop cards, swing cards, and more-but they have always been a bit tricky to create. Not anymore! Our amazing new Thinlits Card Dies cut and score to create a card that flips in just one step.

Item Description
Price
133479 Label Card Thinlits Die $40.95
133480
Circle Card Thinlits Die
$40.95

These new card dies come with extra die pieces that have versatile designs, so you can use them on other projects, not just flip cards. (The Circle Card Thinlits Die comes with 10 total pieces; the Label Card Thinlits Die comes with nine total pieces.)  With the number of dies you're getting, plus the die that creates the card itself, the price is a great value-especially to create an interactive card!

Click flyer for a larger view
The main shape in the cards (circle and label) can work with a lot of our stamp images so you can create tons of different kinds of cards using many different stamp sets. Here are just a few suggestions to get you started:

Label Card Thinlits Die (item 133479):
  • Happy Day Stamp Set (item 130294 W item 130297 C)
Circle Card Thinlits Die (item 133480):
  • Worth the Wait Stamp (item 131094 W)
  • Five-Way Flower Stamp (item 131088 W)
Both card dies pair well with:
  • Oh, Hello Stamp Set (item 131931 W item 130733 C)
  • Yippee-Skippee! Stamp Set (item 131341 W item 131344 C)
  • Really Good Greetings Stamp Set (item 130330 W item 130333 C)
  • Regarding Dahlias Stamp Set (item 130324 W item 130327 C)
  • These dies also work well with our new magnetic platform (item 130658) so you can place the dies exactly where you want them!  *Note the magnetic platform is currently unavailable due to supplier shortages.  It is expected to be available in the Fall.
 I am ordering these first thing this morning...Shelli demonstrated them at Convention and they are a-maz-ing!!  I can't wait to get my hands on them!!
 

Wednesday, July 31, 2013

It's the last day of July!!

How is it possible that today is the last day of July?!?  Where did the month go?  There is lots to tell you about but first, a little Christmas!  Check out this card I designed for this week's Friday Mash-up Christmas challenge using the sketch from this week's Retro Sketches challenge...

Here is the sketch:


Holiday card for RS74 and FM120 featuring the Festive Flurry stamp set and Framelits (available tomorrow in the Holiday Catalogue) with sentiment from More Merry Messages.
I am dying for my Holiday Catalogue order to arrive!!  I held off ordering all but a few incentive redemptions until after Convention, knowing I would likely get some freebies.  My order is arriving tomorrow, but that didn't stop me from using a couple of new items on this card.  The Festive Flurry stamp set and coordinating Framelits are available in a bundle for 15% off...I know you'll want to add them to your wishlist!  I paired them with some silver Glimmer Paper and This and That Epic Day DSP for a little Christmas in July. 
Now for a few reminders: 
  • Today is the LAST DAY  to take advantage of the Buy-three-get-one-free DSP offer.  Don't miss this chance to stock up on your favourite packs of DSP!
  • Today is also the LAST DAY to purchase Single Stamps.  After today these oh-so-popular stamp images will be gone for good.
I will be placing an order this evening, so be sure to call or email with your order by 7:00 pm or visit my online store to have your order ship directly to you.  Be sure to stop by tomorrow...there will, no doubt be lots of exciting news to share with you and I'll have a new challenge from The Technique Twist!!
Related Posts Plugin for WordPress, Blogger...