Happy Saturday! We have a long weekend here in Ontario and it is the first of the summer when my DH hasn't had to work! The weather is gorgeous and we are looking forward to a fabulous family time!
Today I want to show you another project I designed for this week's challenge at
The Technique Twist.
 |
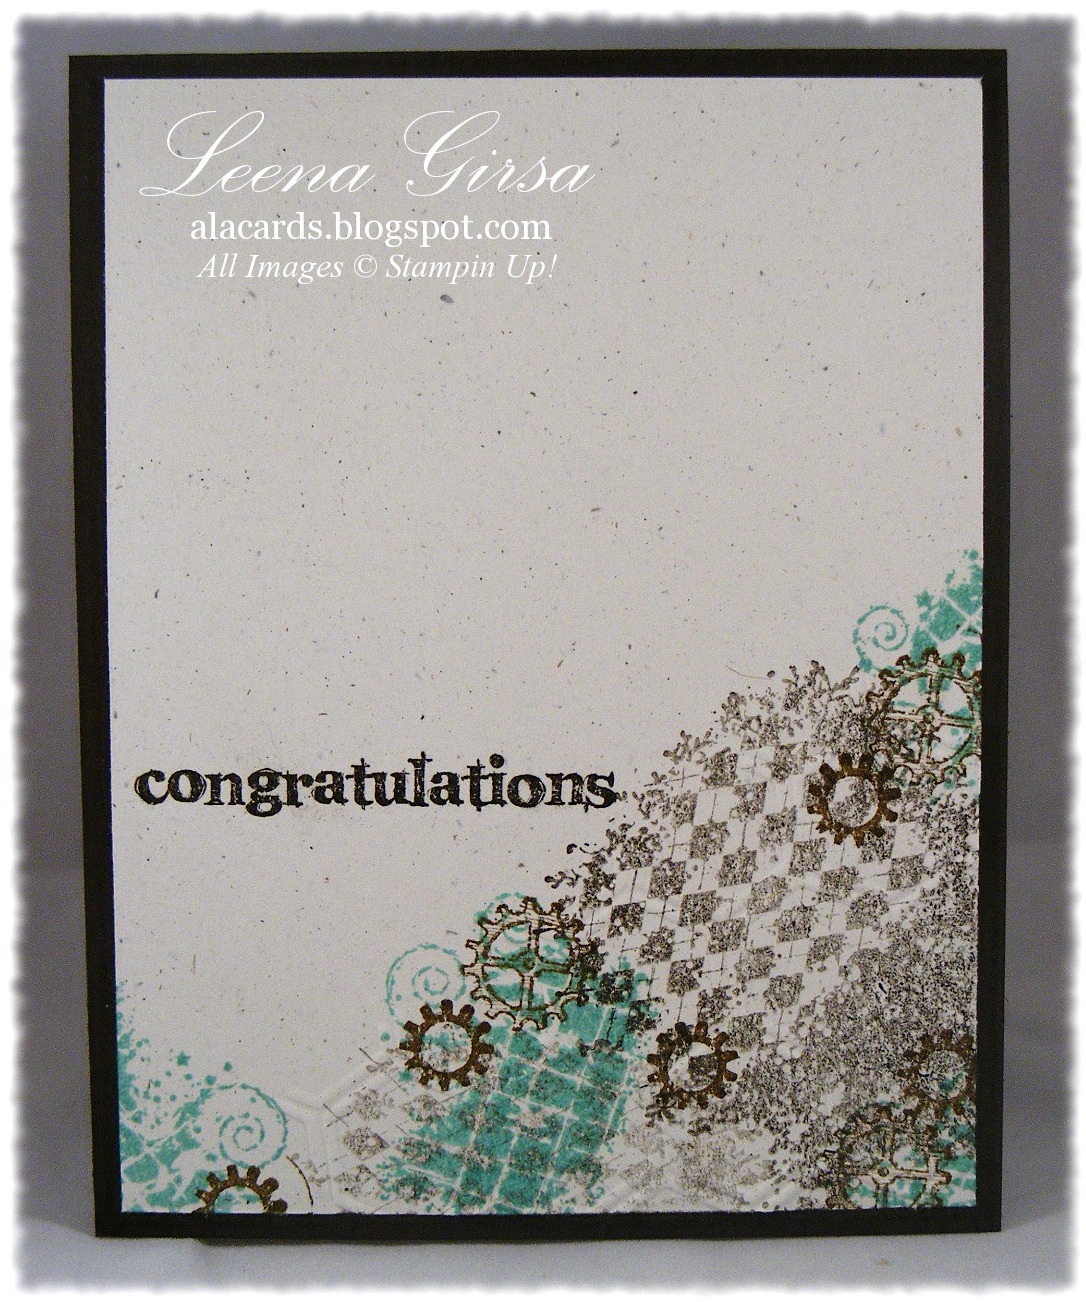
| Any-Occasion card featuring the Clockworks set with sentiment from Really Good Greetings |
 |
| Clock was done using the burnished vellum technique. |
 |
| Close up of 3D clock face |
 |
| Inside view |
I have to say this is one of my favourite designs ever. I had such fun playing around with various techniques and embellishments to achieve the look I wanted. It isn't often that I have the time to just play like this!
Here's a quick how-to for the faux wax seal:
- On a piece of scrap vellum dump a small pile of gold embossing powder.
- Heat the vellum from underneath, taking care not to scorch the vellum, until all of the powder has melted.
- Quickly place the gear stamp into the molten pool of gold and leave it in place until the liquid has hardened.
- Remove the stamp. Trim the image so that you have a border of gold all the way around.
- Sponge the edges with Early Espresso ink and adhere to card using Multipurpose Liquid Glue.
Here's how I did the clock:
- On a scrap of Brushed Gold card stock, stamp the clock image in Versamrk.
- Heat emboss in gold. Fussy cut the clock.
- Punch the centre of the clock out using the 1-3/4" circle punch.
- Stamp clock face numbers on a scrap of vellum card stock.
- Lay the stamped vellum, stamped-side-down, on the back of the clock, centering the numbers in the punched circle.
- Using a stylus, burnish the non-stamped side of the vellum clockface inside the punched circle. It will turn opaque white.
- Adhere the clock to the burnished vellum using liquid glue.
- Trim the vellum so that it doesn't show around the clock body.
- Pierce a hole in the centre of the clock face. Insert a brad from the back side of the clock face so that the prongs become the hands of the clock.
- Adhere clock to card using Dimensionals.
The rest of the design is just about sponging and distressing and generally getting grungy. Such fun!!


Very cool! Great techniques and thanks for the detailed directions.
ReplyDeleteThis is a fantastic card Leena, so full of texture! Can I feature you on my next Manly Monday?
ReplyDelete